- 20 -
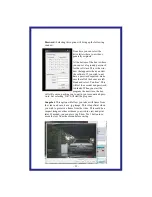
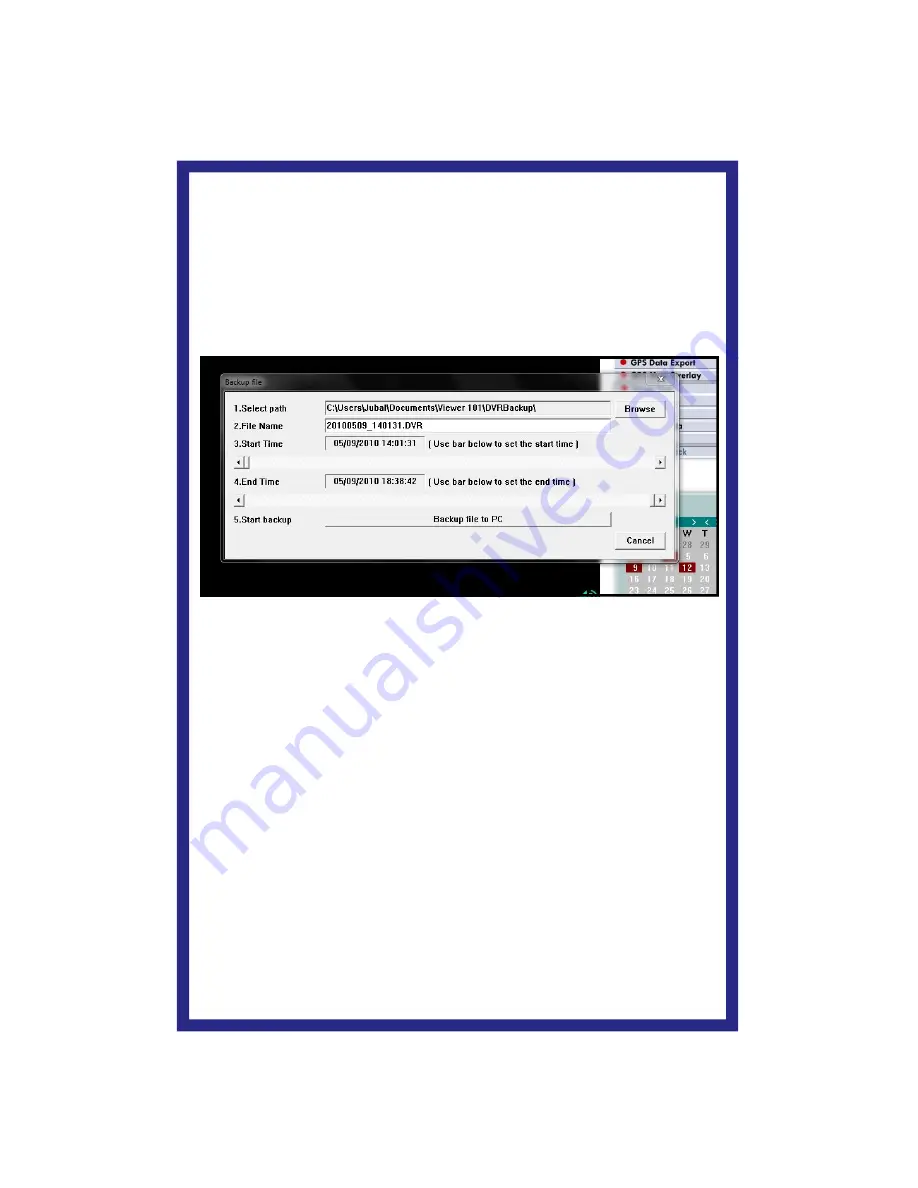
Starting at the top of the window ‘
Select Path’
you will put in the path to
the drive and folder you wish to save your file to. To make it easier, you can
you the ‘Browse’ button on the right. When the path is correct go to the next
box ;
‘
File Name’
. Here you will want to name the file so that is easily recogniz-
able later when you want to find it. For example, if you are saving a DUI
event where ‘JONES’ is the suspect. You might want to name it something
like ‘Jones DUI’. By default, the system will name it based only on the date
and time of the event.
Just below the window next to ‘
Start Time’
you will notice a long grey box
with a slider on the left. As you click and drag on the slider you will see the
date and time change next to ‘Start Time’. When you get it close to where
the start time is, you can use the arrows at each end of the slider box to
move in small increments.
When you have got the Start Time where it needs to be, repeat the process
on the next slider box to set the ‘
End Time’
window to where it needs to
be.
After you have double checked that the times in both Start Time and End
Time widows are correct, press the large ‘Backup File to PC’ button to save
the file to the folder you selected in the path window.
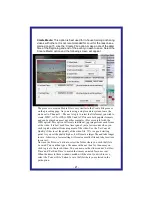
Create File:
Before using either the ‘Create File’ or ‘Create Media’ op-
tions, you will first need to write down the exact times that you want to
record. When the event you wish to save begins to play, make a note
of the exact date/time of the beginning of the vent. Now move the
slider over or use the FF or FR buttons to get to the end of the event
and make another note of the time it ends. Now select the ‘Create File’
option and the following window will appear:
Содержание 102sd
Страница 9: ... 9 ...
Страница 10: ... 10 ...
Страница 11: ... 11 ...
Страница 17: ... 17 Select the event you wish to play and select Open You will now be in the main playback window ...


