background image


505, 8

th

 Avenue, 10

th

 Floor, New York, NY 10018. Tel: 212-991-0090 email: [email protected] 


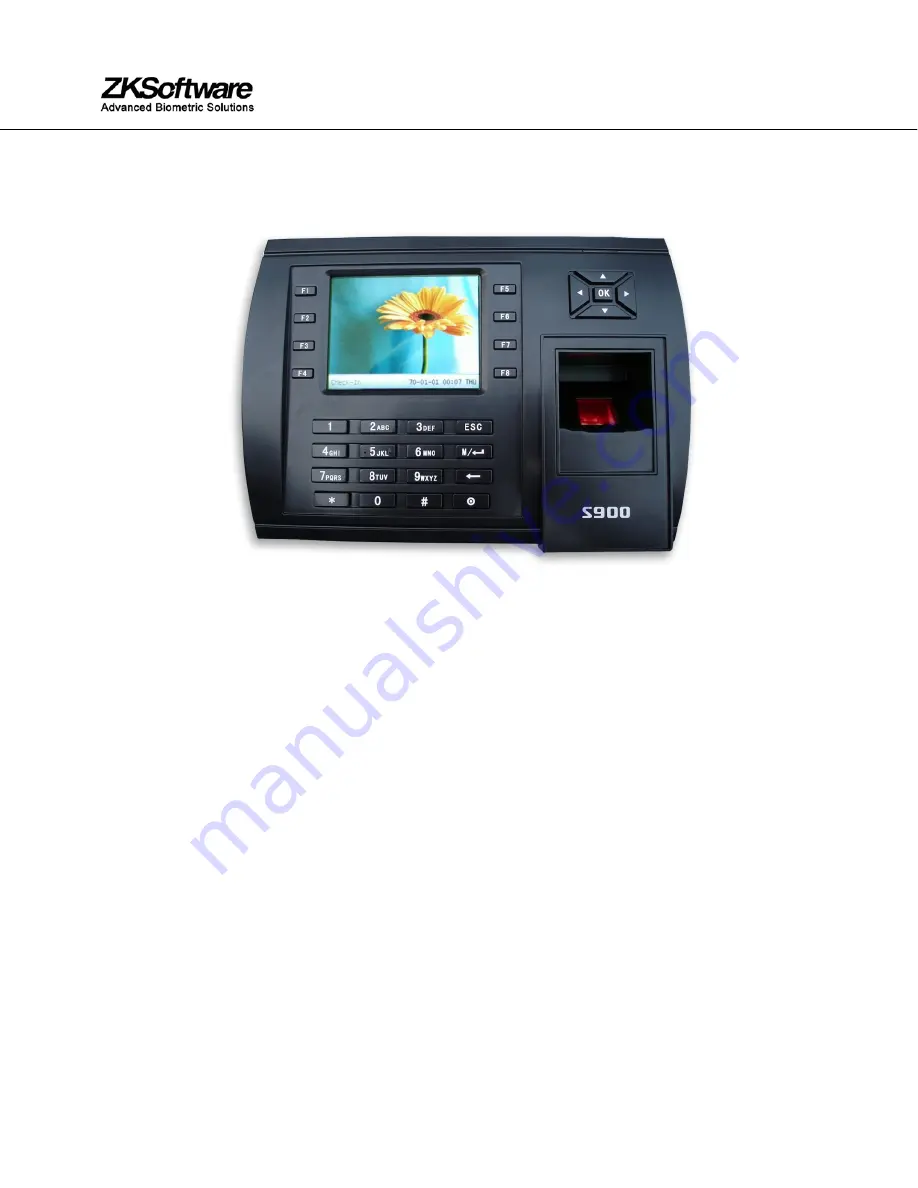
QUICK START GUIDE FOR S900 


Items included when your package arrives; 


Fingerprint terminal (S900). 


Screwdriver Tool 


Quick start Guide 


Important Notes 


Do not place the S900 outdoors without adequate protection from weather. 


Do not place the S900 under strong light. 


Use regulated 12V DC 1.5A power source (supplied from door control panel or separately 
purchased power supply). 


Do not place the S900 in a vulnerable location where it might be subjected to weather, 
vandalism, etc. 


Summary of Contents for S900

Page 1: ... S900 Screwdriver Tool Quick start Guide Important Notes Do not place the S900 outdoors without adequate protection from weather Do not place the S900 under strong light Use regulated 12V DC 1 5A power source supplied from door control panel or separately purchased power supply Do not place the S900 in a vulnerable location where it might be subjected to weather vandalism etc ...

Page 2: ... to the fingerprint sensor By placing the terminal at a comfortable height users will experience fewer fingerprint read errors Create conduits for the power cable and network cable so that the enclosed wiring running from the terminal to the wall is properly shielded Remove the screw at the bottom of the S900 when held vertically as shown in the picture below Figure 1 Removing this screw allows yo...

Page 3: ...n layout below Power is supplied by either the door control panel or a separately purchased 12V DC 1 5A power supply Make sure that the power requirements are strictly adhered to Incorrect power may cause permanent damage to the F4 Vista After powering on the S900 will perform a self test and then display the date and time J1 2Pin connector 1st GND Connect to Power GND 2nd 12V Connect to Power 12v...

Page 4: ...el 212 991 0090 email support zk usa com Date and Time Setup To change the date and time start at the Check Clock In screen and press the Menu key This opens the Main Menu Scroll with the and keys until Date Time is highlighted and press the OK key ...

Page 5: ...Enter the correct Date and Time When finished either press the OK key or highlight OK M and press OK to save Press the ESC key to cancel the operation and return to the previous menu Add New User s fingerprint Open the Main Menu by pressing the Menu key From within the Main Menu scroll with the keys and highlight User Press OK From within the User menu scroll with the and highlight New User Press ...

Page 6: ...eld Note The S900 automatically assigns the next available ID NO by default Press the OK key if you wish to accept the default ID NO If you prefer a different ID NO then use the backspace key and or scroll keys and type a different ID NO Then scroll with the keys until the cursor is in the FP fingerprint field Notice Enroll FP will become highlighted Press the OK key to accept selection Notice the...

Page 7: ... support zk usa com Place the preferred finger you wish to enroll on the sensor ensuring the finger is placed flat and centered Try to cover at least 80 of the sensor area as shown below DO NOT place the finger in the following positions Skewed Partial Upright Sideways ...

Page 8: ... are eventually highlighted As noted the S900 will beep with each successful fingerprint template recording When all 3 fingerprint template recordings are successful a check mark will appear beside the 3 colored green bars After 3 successful recordings of the user s fingerprint template is now successfully registered in the S900 database Press the OK key if you would like to continue recording add...

Page 9: ...e S900 sensor A successful verification will be indicated by a pre recorded voice file Thank you and a visual display green LED At this time the USER ID and timestamp will be recorded in the S900 s database Note The timestamp can be used for door access audit reports or with Time Attendance software applications An unsuccessful verification will be indicated by a pre recorded voice file Please try...

Page 10: ... support zk usa com Delete User s Start at the User Menu Scroll with the keys and highlight Manage Then press the OK key to open the User Manage screen Select the user you d like to delete by scrolling with the keys Then press the Menu key so the drop down menu appears ...

Page 11: ... can delete either the user fingerprint or password Scroll with the keys to highlight your selection Then press the OK key to delete your selection The S900 will prompt you OKDel Press the OK again to confirm deletion Set Communications Options The S900 can communicate via the Network Ethernet RS 232 or RS485 Network Ethernet Start at the Check Clock In screen Then press the Menu key to open the M...

Page 12: ...ith the keys until Network is highlighted Press the OK key to accept Notice the following Network settings are available Machine IP address Default IP is 192 168 1 239 You can modify it But do NOT use an IP address already being used by another network device Subnet mask Default mask 255 255 255 0 You can modify it Gateway address Default gateway address is 0 0 0 0 You can modify it Network speed ...

Page 13: ...y After selecting OK you ll be prompted Change Saved Successfully OK Press OK to continue The screen will change to the previous menu Press the ESC key to continue moving backward in the menu system RS232 485 Start at the Check Clock In screen press the Menu key to open the Main menu From the Main Menu highlight and select Comm to configure Communication Settings Then press the OK Key to accept Fr...

Page 14: ...ing RS485 communication select On Scroll with the keys to place the cursor in the desired field Use the scroll keys keys to change between pre defined values After making changes either press the OK key or highlight the OK M button and then press the OK Key After selecting OK you ll be prompted Change Saved Successfully OK Press OK to continue and the screen will change to the previous menu Press ...

Reviews: