


Summary of Contents for EN54
Page 41: ......
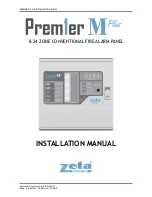
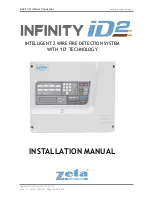
The Zircon EN54 is a high-quality fire alarm system that ensures the safety of your building. Make sure to download the Installation & Configuration Manual for free from our website to easily set up and configure your device. This comprehensive manual will guide you through the process step-by-step.
Page 41: ......