background image

Configuration & Settings

Configuration & settings affect the “Dim” sockets only. The “hot power” sockets will be unaffected by these
settings.

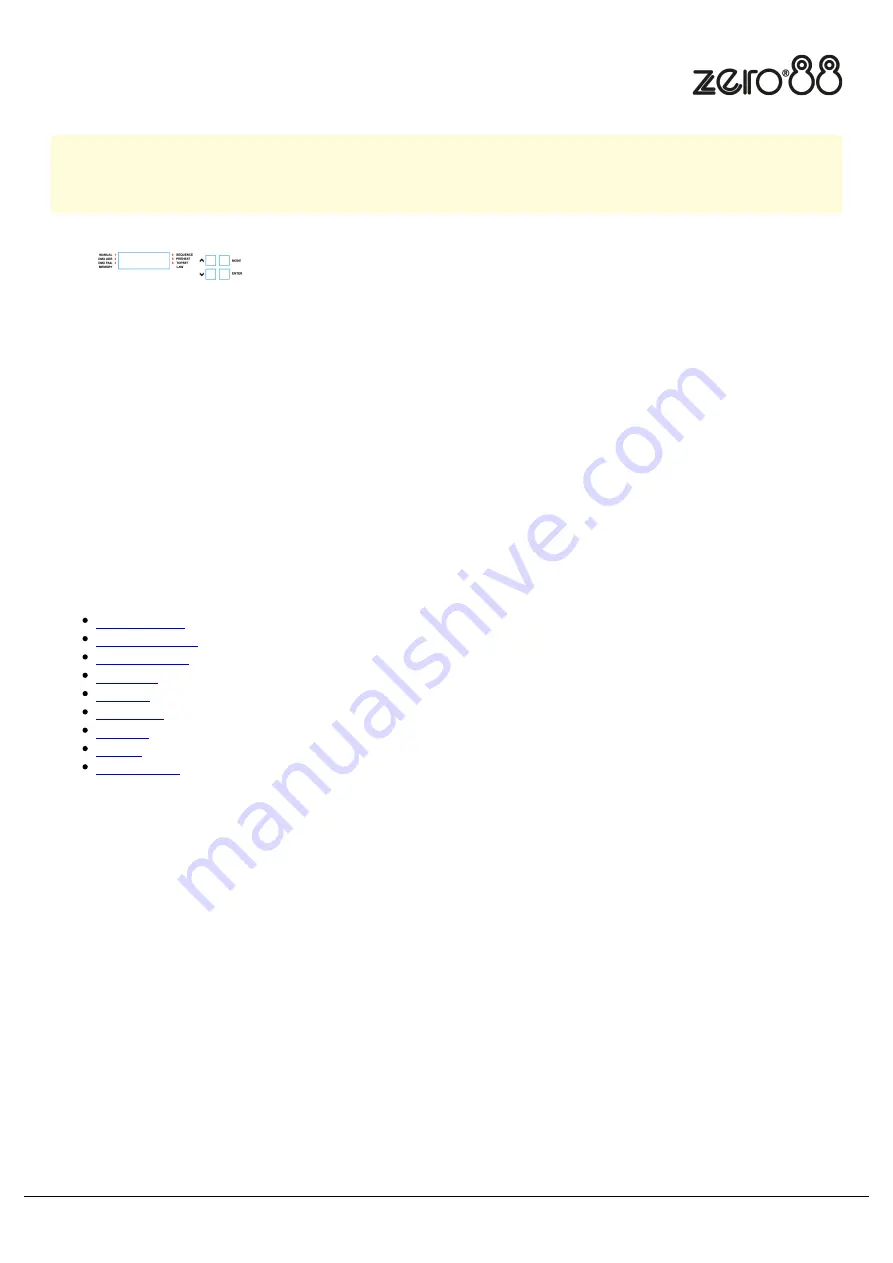
The main display consists of four seven-segment displays; the data
displayed is dependent on the set-up mode of Betapack 4. Around the
outside of these displays are eight red LEDs which indicate the current
set-up mode of Betapack 4. An additional green LED is used for DMX
indication.

Betapack 4 has a default mode for operation. In this mode none of the set-up mode LEDs will be lit, and the main
display will show the DMX address(es).

Mode button

The Mode button is used to cycle through the different set-up modes.

Click the modes to find out more...

Default Mode
Manual Control
DMX Address
DMX Fail
Memory
Sequence
Preheat
Topset
Dimmer Law

Enter button

The Enter button is used to confirm actions.

Up & Down buttons

These are used to adjust the values shown in the main display. Pressing both buttons together will reset the display to
the default values.

Zero 88 - Betapack 4 - Page 1 of 12

Printed: 26/04/2021

Summary of Contents for BETAPACK 4

Page 1: ...Betapack 4 has a default mode for operation In this mode none of the set up mode LEDs will be lit and the main display will show the DMX address es Mode button The Mode button is used to cycle throug...

Page 2: ...n either case the DMX address is prefixed by the channel number Holding down the Enter button in default mode will change the display to Out and the top 6 setup LEDs numbered will change to displaying...

Page 3: ...C is the channel number and LLL is the level Select the channel you require or A for all channels using the Up Down Arrows and press Enter Now set the level you require using the Up Down Arrows and p...

Page 4: ...start addresses is 001 512 Select DMX ADR using the Mode button the display will show C AAA where C is the channel number and AAA is the current DMX address for that channel Select the channel you re...

Page 5: ...ack fade to memory and fade to sequence Select DMX Fail using the Mode button Using the Up Down Arrows select your preferred choice If there is no DMX present the selected memory sequence will be re c...

Page 6: ...ows select the required memory number and press the Enter button to confirm A p should appear next to the memory to signify that it has been programmed Holding both the Up Down Arrows for 1 second wil...

Page 7: ...Enter button to confirm Step 5 For steps If there is no DMX present the selected memory will be immediately re called Use the Up Down Arrows to select the memory for that step and press the Enter but...

Page 8: ...the Mode button Select required channel or A for all channels using the Up Down Arrows and press Enter to confirm Now select on off using the Up Down Arrows Press Enter to confirm and return to the ch...

Page 9: ...l channels using the Up Down Arrows and press Enter to confirm Now select the topset level you require again using the Up Down Arrows and press Enter to confirm and return to the channel selection Not...

Page 10: ...ws select the channel required or A for all channels Press Enter to confirm Now select the law you require again using the Up Down Arrows and press Enter to confirm and return to the channel selection...

Page 11: ...igrade The Enter button has no function in this mode RDM To enable or disable RDM Remote Device Management functionality on the DMX control port press the Up Down Arrows until ron or rof is displayed...

Page 12: ...re version is shown in the display e g 02 00 Press and hold the Enter button for 1s and Betapack 4 s CPU serial number will be displayed Press the Enter button again to return to the version display N...

Reviews: