Zanussi ZCG92496XA, User Manual
The Zanussi ZCG92496XA gas range is a versatile cooking appliance that offers efficient performance and stylish design. With its user-friendly features, this product ensures convenience and precision in the kitchen. Get your free user manual for the Zanussi ZCG92496XA today at manualshive.com, allowing you to easily download and access all the necessary instructions.
Share
Download


Reviews:
No comments
Related manuals for ZCG92496XA

BPV6421B
Brand: Brandt Pages: 20

imago
Brand: FALMEC Pages: 84

SmartVide 5
Brand: Sammic Pages: 68

ARC-914B
Brand: Aroma Pages: 11

Infusion-100 Induction
Brand: Rangemaster Pages: 40

GL 1016 SS
Brand: Glen Pages: 2

CP 956 G
Brand: SCHOLTES Pages: 13

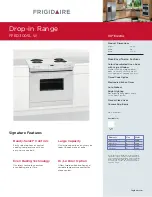
FFEF4005LW
Brand: Frigidaire Pages: 4

FFEC3605L
Brand: Frigidaire Pages: 3
FFED3005LW
Brand: Frigidaire Pages: 5

FFES3005LB
Brand: Frigidaire Pages: 7

FFEC3603LW
Brand: Frigidaire Pages: 5

FFEC3625LS1
Brand: Frigidaire Pages: 6
FFGC3015L S
Brand: Frigidaire Pages: 12

FFES3005LB
Brand: Frigidaire Pages: 2

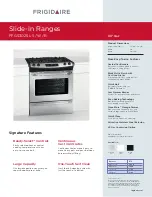
FFGS3025L W
Brand: Frigidaire Pages: 2

FFEC3624PB
Brand: Frigidaire Pages: 16
FFGS3025L S
Brand: Frigidaire Pages: 2


