


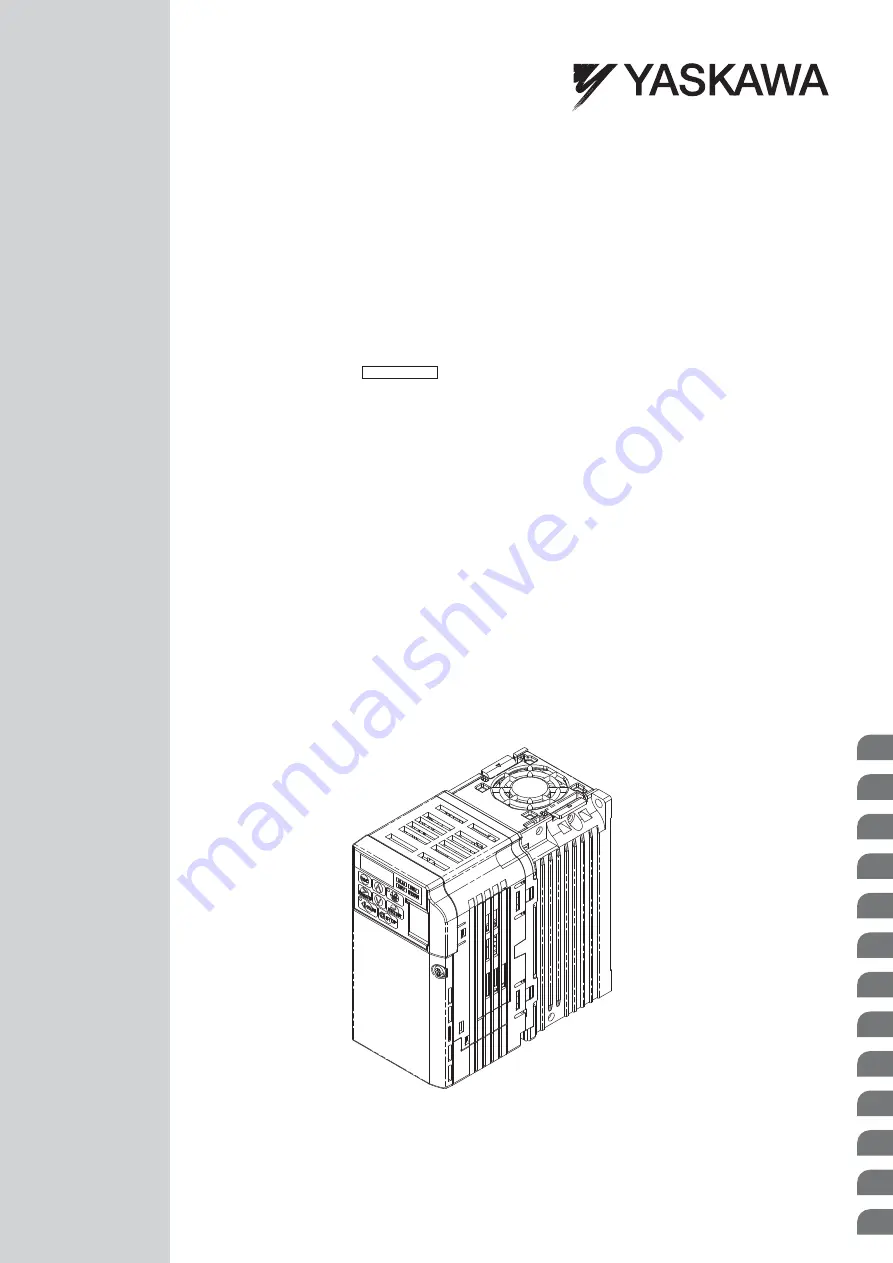
YASKAWA AC Drive T1000V
AC Drive for Textile Applications
Technical Manual
MANUAL NO. SIEP C710606 44B
Models: 200 V Class, Three-Phase Input: 0.1 to 18.5 kW
200 V Class, Single-Phase Input: 0.1 to 3.0 kW
400 V Class, Three-Phase Input: 0.2 to 18.5 kW
Type: CIMR-TC
V
Receiving
Mechanical Installation
Electrical Installation
Start-Up Programming &
Operation
Parameter Details
Troubleshooting
Periodic Inspection &
Maintenance
Peripheral Devices &
Options
Specifications
Parameter List
MEMOBUS/Modbus
Communications
Standards Compliance
Quick Reference Sheet
1
2
3
4
5
6
7
8
A
B
C
D
E
1
2
3
4
5
6
7
8
A
B
C
D
E


