60-2277-6
Owner's Manual
WARNING:
Read and follow all safety rules and operating instructions before
using this product.
!
TOLL-FREE HELPLINE: 1-866-523-5218
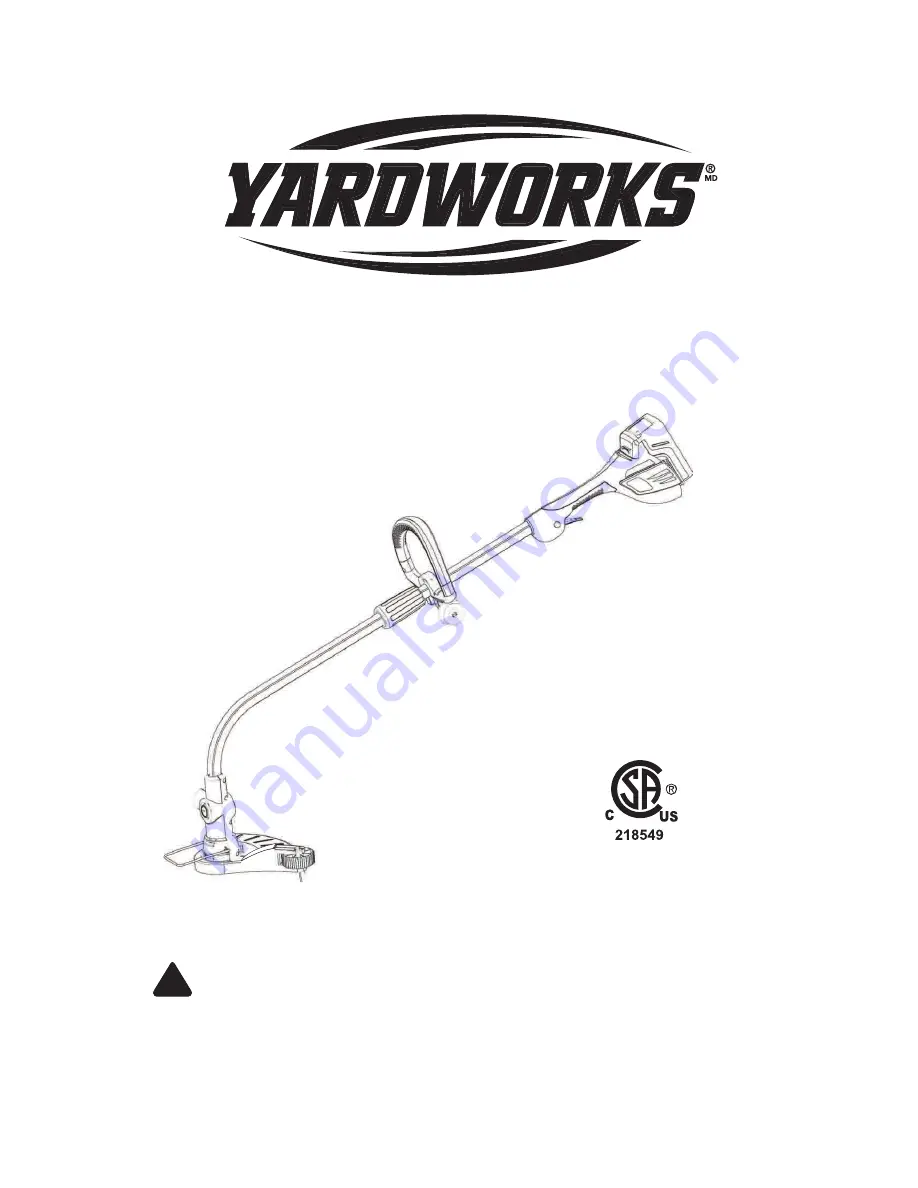
20 V (6 Ah) LITHIUM-ION
CORDLESS GRASS TRIMMER/EDGER
Page 1: ...2277 6 Owner s Manual WARNING Read and follow all safety rules and operating instructions before using this product TOLL FREE HELPLINE 1 866 523 5218 20 V 6 Ah LITHIUM ION CORDLESS GRASS TRIMMER EDGE...
Page 2: ...RY INSTRUCTIONS OPERATING INSTRUCTIONS 15 WARRANTY MAINTENANCE 21 22 Battery 20 V 6 Ah lithium ion Charge time approx 4 5 hours Feed Automatic Speed 8000 RPM no load Cutting Path 12 30 5cm Line diamet...
Page 3: ...ormation Safety Tool Symbols IMPORTANT Some of the following symbols may be used on your tool Please study them and learn their meaning Proper interpretation of these symbols will allow you to operate...
Page 4: ...per footing and balance at all times Proper footing and balance enable better control of the tool in unexpected situations Tool Use and Care Do not use tool if switch does not turn it on or off A tool...
Page 5: ...tting head and motor clean to reduce the risk of injury Use only the specified size and type of cutting line Do not substitute For Battery Pack and Charger To avoid serious injury risk of fire explosi...
Page 6: ...charger for the battery A charger that may be suitable for one type of battery may create a risk of fire when used with another battery Use a battery operated tool only with the specifically designate...
Page 7: ...aged please call 1 866 523 5218 for assistance To reduce the risk of fire electric shock and personal injury Read all instructions before using this tool Basic safety precautions should always be foll...
Page 8: ...NOW YOUR 20 V CORDLESS TRIMMER EDGER Battery pack Switch lock out button Auxiliary assist handle Extra line spool storage location Auxiliary handle locking knob Edger adjustment button Edging guide wh...
Page 9: ...dicator 3 will illuminate indicating that the battery is in CHARGE MODE 5 Once the battery has reached a full charge level the LED indicator 3 will switch from RED to GREEN 6 The battery may be remove...
Page 10: ...e battery to water or salt water You should place the battery in a cool and dry environment 4 Do not place the battery in high temperature locations such as fire heater etc 5 Do not reverse the positi...
Page 11: ...NOTE The battery pack fits snugly into the handle to prevent accidental dislodging It may require a strong pull to remove To install the battery 1 Align the tongue 3 of the battery pack with the cavi...
Page 12: ...It cannot be removed or disassembled 1 Remove the battery pack 2 Invert the grass trimmer edger to access the trimmer head 3 Using a Phillips head screwdriver remove the pre installed screw 1 from th...
Page 13: ...iliary handle adjustment knob 1 counter clockwise several turns to loosen the auxiliary handle 2 2 Adjust the handle position to provide the best level of balance and control for the operator 3 Secure...
Page 14: ...housing 3 To replace the spool 1 Replace the spool 1 with a new pre wound spool 2 Insert the end of line through the opening 4 in the spool housing 3 3 Align the tabs on the spool cover with the slot...
Page 15: ...rn On Off 1 Press the safety lock out button 2 and squeeze the trigger switch 1 to start 2 Release the trigger switch 1 to stop WARNING Always allow 5 seconds or more for the cutting line spool to sto...
Page 16: ...and walkways or any areas requiring a well groomed edge line 1 Push on the edge button and tilt the trimmer head 90 degrees until the head locks into position and release button IMPORTANT The battery...
Page 17: ...additional line to the correct length as it wears down If the line does not automatically advance the trimmer line may be tangled or empty To replace the spool see Page 14 Replacement spool model num...
Page 18: ...ible guide the grass trimmer edger to the left to cut The line will cut as soon as it leaves the guard and the clippings are thrown away from you To produce a smoothly trimmed area move the grass trim...
Page 19: ...conditions Always unplug the charger when there is no battery pack in it The battery pack may be stored in the charger however it is recommended to disconnect the charger from the power source To ensu...
Page 20: ...e centre distance is 3 5 32 8 cm Use proper wall fasteners to accommodate the combined weight of the charger and the battery pack approximately 3 1 2 lb 1 6 kg CORD WRAP The charger is equipped with a...
Page 21: ...trimmer edger battery pack LITHIUM ION a toxic material All toxic materials must be disposed of in a specified manner to prevent contamination of the environment Before of damaged or worn out lithium...
Page 22: ...nal purchaser to be free from defects in material and workmanship for a period of one hundred twenty 120 days from the date of retail purchase How to Obtain Service Warranty service is available by ca...
Page 23: ...23 PARTS LIST...
Page 24: ...77 34101177 34106177 link assembly 34103177 back shell tail 31110177 3050211 3050111 31109177 3220239 1 1 1 1 1 1 1 13 1 1 1 1 1 1 1 4 1 2 2 1 1 1 1 1 1 1 1 1 1 1 1 1 1 1 1 1 148cm 158cm 1 4 screw M4...