Yardworks 060-1314-4, Manual
The Yardworks 060-1314-4 product is a powerful and efficient yard maintenance tool. For detailed instructions on how to use this product effectively, download the free manual from our website. Ensure you have the necessary information to easily operate and maintain your Yardworks equipment. Download the manual now at manualshive.com.
Share
Download


Reviews:
No comments
Related manuals for 060-1314-4
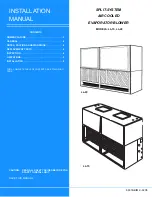
LL-15
Brand: Unitary products group Pages: 20

421886
Brand: Poulan Pro Pages: 40

BG 56
Brand: Stihl Pages: 28

311AE9P6
Brand: Cub Cadet Pages: 56

HD 240
Brand: Herz Pages: 7

Razor E17
Brand: KENT Pages: 4

111750
Brand: Husqvarna Pages: 32

C459-52925
Brand: Craftsman Pages: 52

C459-52926
Brand: Craftsman Pages: 56

C950524302A
Brand: Craftsman Pages: 68

CMXGBAM1054538
Brand: Craftsman Pages: 2

Craftsman 536.886531
Brand: Craftsman Pages: 44

CMGB21179
Brand: Craftsman Pages: 36

CMGSB24208
Brand: Craftsman Pages: 37

C950-52915-0
Brand: Craftsman Pages: 88

C950-52935-1
Brand: Craftsman Pages: 36

CMXGBAM 795756
Brand: Craftsman Pages: 56

C950-52122-0
Brand: Craftsman Pages: 100


