


Summary of Contents for FTM-3207DE
Page 49: ......
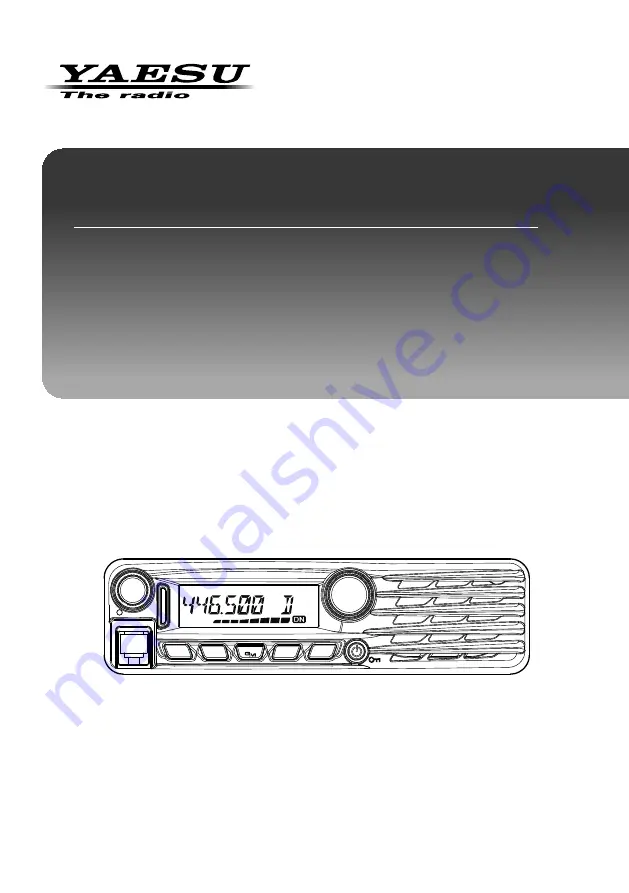
The Yaesu FTM-3207DE is a high-quality mobile transceiver that offers advanced features for amateur radio enthusiasts. For detailed instructions on how to operate this radio, be sure to download the free Operating Manual from manualshive.com. This manual provides essential guidance and information for maximizing the performance of your Yaesu FTM-3207DE.
Page 49: ......


