


T r a y D o c k E x t r e m e U s e r ’ s M a n u a l
- 1 -
TrayDock Extreme™
USER’S MANUAL
Revised October 3, 2006
Features
•
Dual FireWire 800 host interface ports
•
FireWire 400 host interface port
•
Available with 2 or 4 drive bays
•
Hardware RAID for high performance
and simple, plug-and-play configuration
•
May be configured as RAID 0 or JBOD
via switch
•
Drives are easily removable /
replaceable via the front panel
•
Footprint is very small relative to storage volume
•
Ideal for audio / video editing
•
LED displays power status
•
Anodized silver aluminum case. It’s beautiful and durable.
Installation Instructions
1.
Check the accessories with your TrayDock.
Please contact WiebeTech if any items are missing
or damaged. The box should contain:
TrayDock containing 2 or 4 trays
1
Power cable
1
FireWire 400 cable
1
FireWire 800 cable
1
Packet of drive screws and keys
1 or 2
CD with Manual and Warranty information
1
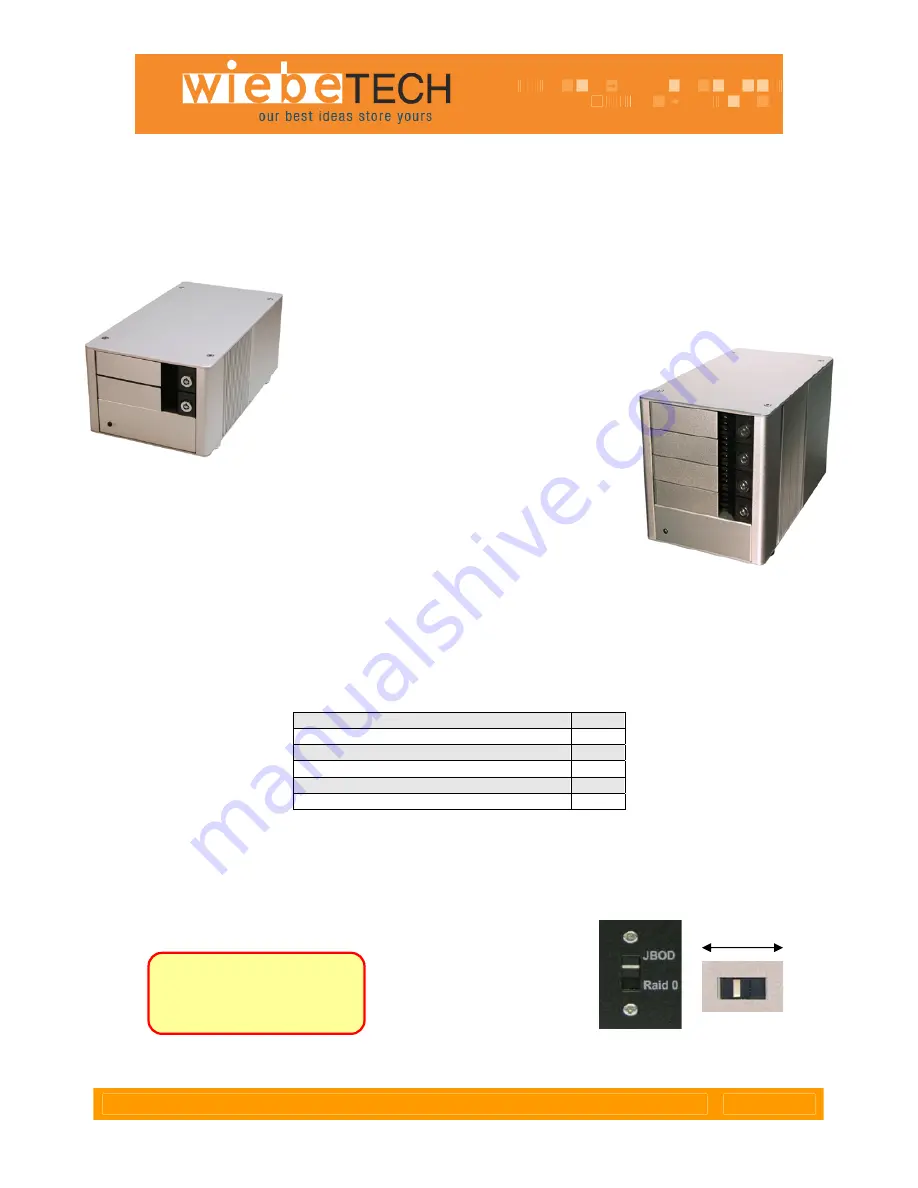
2.
Select your RAID configuration.
A switch on the back of the unit activates or deactivates the
hardware RAID 0. When set to JBOD, your TrayDock will allow you to access each hard drive as a
separate volume. When set to RAID 0, the TrayDock will set the drives in a “striped” RAID. This will split
your data between the drives, offering faster performance and high capacity with a single volume. After
switching you must reformat your drives.
RAID 0
JBOD
Warning:
Back up data
before switching RAID types.
You must reformat your
drives afterwards.
Four-bay
Unit
Two-bay Unit


