

For assistance, please contact Welch Allyn Customer Support at 1.800.535.6663, Option 2, 1, 3, or visit
www.welchallyn.com/support
.
Updated 2015-06-03;
723609
DIR 80020436 Ver. A
Problem: Camera Unable To Find Retina or Acquire Image
Resolution 1: Ensure the patient is properly positioned as follows:
(a)
The patient’s chin should rest firmly on the chin rest.
(b)
The patient’s forehead should be pressed firmly against the forehead rest.
(c)
When in proper position, the patient’s head should be centered squarely in the
headrest (Fig 1). If the patient is seated off to the left or the right, the camera
may not be able to acquire a proper image.
(d)
The chin rest should be positioned in the middle of its adjustment range. If the
chin rest is completely lowered (or raised), the camera will not be able to move
sufficiently to acquire the images.
Resolution 2: Be sure the patient looks straight ahead past the blinking green light.
Fig. 1.
Proper Patient Position
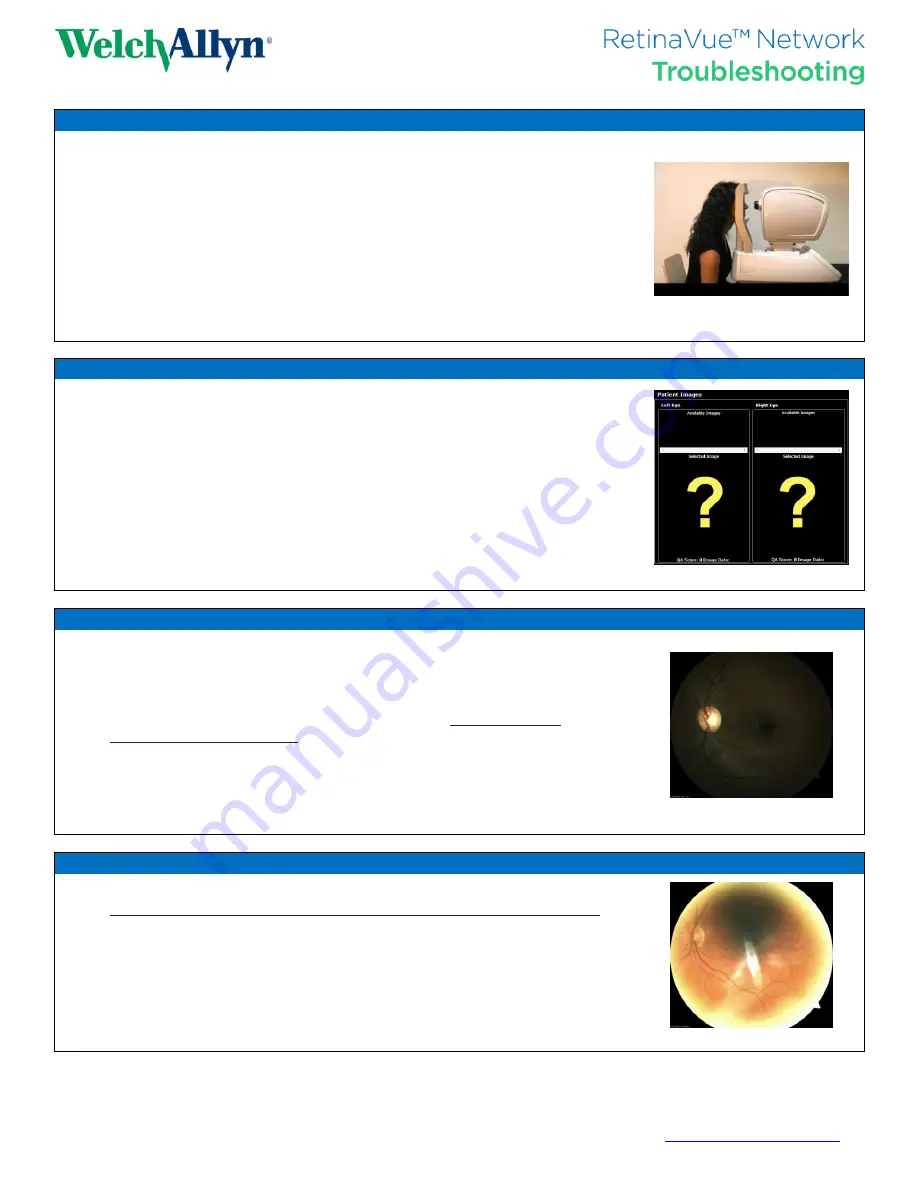
Problem: Retinal Images Do Not Appear In The RetinaVue Network™ Software
Resolution 1: Right-click on the Exams Pending list and select ‘Refresh’ from the menu.
Resolution 2: Restart the camera and manually export the images from the camera.
(a)
The camera may lose network connectivity with the RetinaVue Network
software. In most cases, restarting the camera will resolve the issue. Refer to the
How-To Guide to properly restart the camera.
(b)
After restarting the camera, manually export any images that were already
acquired but did not appear in the RetinaVue Network software. Refer to the
How-To Guide in this document to manually export images.
(c)
Restarting the camera every morning and powering down the camera at the close
of business is an effective preventative measure to experience uninterrupted
imaging sessions.
Fig. 2.
Missing Retinal Images
Problem: Dark Images / Features Not Visible / Poor Image Quality Score
Resolution 1: Be sure the patient’s pupil has had enough time to dilate in the dark.
(a)
The best workflow for ensuring sufficient pupil dilation is: (1) position the
patient, (2) turn off the lights, (3) enter the patient information in the RetinaVue
Network software, and (4) acquire images.
(b)
Be sure that the patient has had an opportunity to sit
in the dark for a
minimum of three minutes.
(c)
If you need to retake an image of the same eye, be sure to wait at least five
minutes to allow the patient’s pupil to re-dilate.
Resolution 2: Ensure the patient is properly positioned (see above)
.
Resolution 3: Be sure the patient looks straight ahead past the blinking green light.
Fig. 3.
Insufficient Pupil Dilation
Problem: Image Artifacts
Resolution 1: Prevent debris on the camera lens.
(a)
Always replace the lens cap immediately after acquiring a patient exam
.
(b)
The camera is very sensitive – even small debris invisible to the naked eye can
cause image artifacts.
Resolution 2: Clean the camera lens.
(a)
Only use a lent-free microfiber cloth to clean the lens. Never use a Kleenex.
(b)
If debris is caked on the lens, use lens-cleaning spray followed by a microfiber
cloth.
Fig. 4.
Dirty Lens


