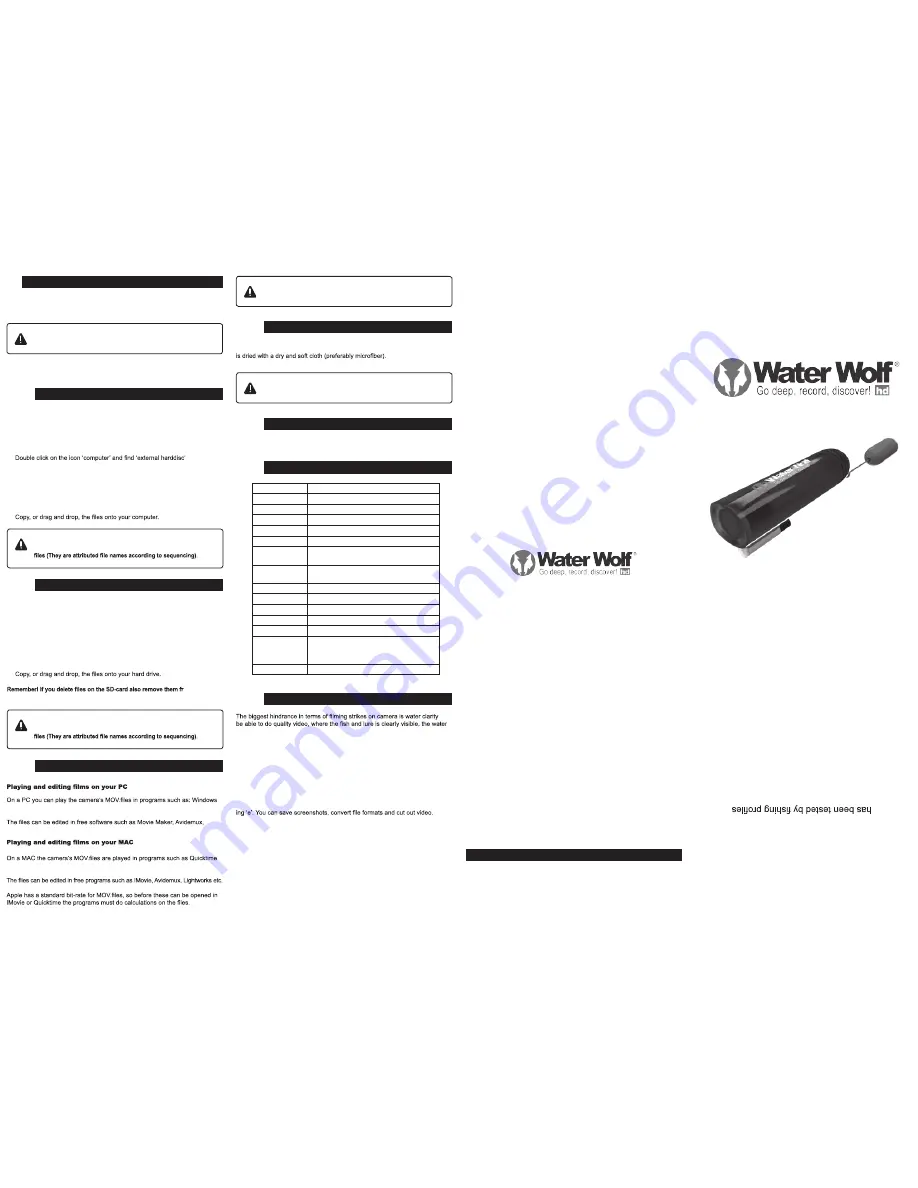
Congratulations on your new
Water
Wolf underwater camera.
Water
Wolf UWC1.1 has been de
-
signed and developed in Denmark
over a period of three years, and it
in the US, Australia and Europe.
We recommend that you visit
www
.waterwolfhd.com and watch
the instructional videos for tips and
tricks on how to get started.
Upload your own videos on www
.
facebook.com/waterwolfhd and
see what other people have re-
corded below the surface.
CAMERA SPECIFICATIONS
15
Sensor
1/4” 1 megapixel CMOS-sensor
Video Format
1280x720p HD, 30 FPS, H.264 MOV
Storage space
Approx. 60 minutes of recording = 4GB
Battery capacity
3,7 V/1200 mAh
Energy use
1,2 V
Power supply
DC5V1A or larger
Continual
recording
Approx. 4 hours on fully charged battery
Battery charge
time
Approx. 4 hours
USB interface
Micro USB 2.0 High Speed
Storage type
Micro SD-card or SD-HD card
Memory card
Supports 2GB – 32GB TF/Micro SD-Cards
Weight
65 grams / 2,3 ounces
Dimensions
115 x 34 x 31mm (L x H x B)
Operative
system
Microsoft Windows Win 7/ Win8 or later.
Mac OS X 10.4 or later.
Waterproofness
Waterproof down to 120 meters
CONTENT
MAINTENANCE AND CARE
13
SOFTWARE UPDATES
14
The camera is rinsed in lukewarm water with the cap mounted. Subsequently it
Don’t use rubbing alcohol or other chemical products
because it might damage the camera lens!
Please visit www.waterwolfhd.com for updates and follow the instructions.
USER MANUAL
WATER WOLF UWC1.1
. To
visibility must be 1 meter or more. Oftentimes, algae and other water sedi-
ments – especially in ponds and lakes, will cause diminished water clarity.
The deeper the camera is probing, the less colour will show up in the footage.
Furthermore, algae and sediments will tend to make the recordings greenish.
To enhance details on your recordings – if they display unnatural colours or
they’re diffuse - watch them in Sepia* mode.
Open the VLC Player menu ‘Adjustments and effects’ and choose ‘Sepia’ in the
‘Colour’ menu. This can be done while you playback your recorded video.
In the VLC Player it is also possible to see the strikes frame by frame. Pause
the video by clicking the ‘space’ button and move on to the next frame by click-
Please visit https://wiki.videolan.org/Hotkeys_table/ to see all the keyboard
shortcuts and to learn more about the interface.
*Sepia is a VLC Player function that enhances contrasts and clarity in your
footage.
FILMING UNDER WATER / VLC PLAYER
16
If you have more than one camera, please create separate folders
for each camera. Otherwise, you might end up overwriting existing
1.
Turn off the camera and take out the Micro SD-card. Alternatively, the
camera can be connected to your MAC via the USB cable, and the camera
turned on.
2.
Insert the Micro SD-card into your MAC’s card slot.
3.
The card is recognized by your MAC as an external disc. Double click
the icon (external disc/storage unit). Now all recordings are shown.
4.
om your
‘Paper/trash bin’. Otherwise, they will continue to take up space on the SD-card.
PLAYING AND EDITING FILES ON YOUR PC AND MAC
12
Media Player, Media Player Classic, VLC Player, Quicktime Player or similar.
VSDC etc.
7, VLC Player, Quicktime Player or similar.
And this
can take some time.
We recommend that you use VLC Player:
www.videolan.org/vlc/
TRANSFERRING FILES TO YOUR COMPUTER
10
If you have more than one camera, please create separate folders
for each camera. Otherwise, you might end up overwriting existing
1.
Turn off the camera and take out the Micro SD-card. Alternatively, the
camera can be connected to the computer via the USB cable, and the camera
turned on.
2.
Insert the Micro SD-card into your computer’s card slot.
3.
4.
Double click on the ‘external harddisc’ icon.
5.
Double click ‘DCIM’.
6.
Double click ‘100MEDIA’. Now all your recorded video is shown.
7.
MEMORY CARD/SD-CARD
9
The camera is compatible with Micro SD and Micro SDHD cards, from 2 GB to
32 GB.
Only insert and take out the Micro SD-card (See chapter 3.
Record – How to get started), when the camera is turned off.
Follow the guidelines of the Micro SD-manufacturers in terms of temperatures
and handling.
TRANSFERRING FILES TO YOUR MAC
11
Waterproof to 120 m / 390 feet
4 hours recording time
Extremely light sensitive
HD video
1
EQUIPMENT – WHA
T’S IN THE BOX?
2
USER INTERFACE
3
RECORD – HOW TO GET S
TARTED
4
THE DIODE LIGHT
5
HOW TO MOUNT THE CAMERA
7
UNI
VER
SAL
FI
LM
ING
M
OUN
T
8
MEMOR
Y CARD/SD-CARD
LEN
S P
RO
TEC
TIV
E C
AP
9
TR
AN
SFE
RR
IN
G FI
LE
S T
O Y
OU
R P
C
10
TRANSFERRING FILES TO
YOUR MAC
11
PLA
YING AND EDITING FILES ON PC/MAC
12
MAINTENANCE AND CARE
13
SOFTW
ARE UPDA
TES
14
CAMERA
SPECIFICA
TIONS
15
16
FILMING UNDER W
ATER/VLC PL
AYER
6
THE PURPOSE OF THE BRASS WEIGHT


