>
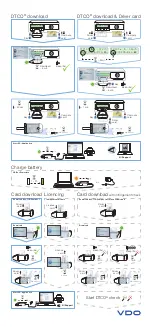
WWS800 or WWS850 scanner setup instructions
WWS800 or WWS850 scanner setup instructions
Sicaro Burnett - 2017-07-14 - in
Notes & steps for getting the WWS800 or WWS850 to work with a Bluetooth base:
A. Look at the bottom of the base. If there are 2 barcode labels (1 with Set Connection and 1 serial number) this is the Bluetooth
base, and it is the easiest base to work with. There is another base which is charging only, and it does not have a Set Connection
barcode. If it's charging-only, a separate Bluetooth adapter (or built-in Bluetooth) will need to be used.
B. The base has an AC adapter that needs to be plugged in so the base is powered on, with red or blue LEDs lit up.
C. The data communication cable has an HD15 plug at one end that connects to the base. Usually the other end of that cable is
USB. If it's PS2 (round) or serial (9-pin trapezoid), a USB cable can be purchased from Wasp since it is by far the easiest to work
with.
Steps to pair a WWS800 or WWS850 scanner to its Bluetooth base station:
1. From the bottom of the base, scan the Set Connection barcode. If it beeps 3 times, go to Step 4.
Note: If you have trouble scanning this one, you can scan Set Connection from page 1 of the Reference Guide; these are identical.
2. Then scan the serial number barcode next to it.
3. Test the connection by opening Notepad, MS Word, or some other application that accepts text input from a keyboard, then
scan a barcode from the Test Symbols section of the manual, or a UPC barcode from a product. The application should show the
data from the barcode.