Wahl 9870-800, Instructions Manual
The Wahl 9870-800 is a premium grooming tool that comes with an Instructions Manual to help you get the most out of your device. This manual is available for free download on manualshive.com, ensuring that you have all the information you need to keep your grooming routine on point.
Share
Download


Reviews:
No comments
Related manuals for 9870-800
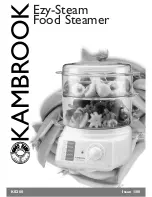
Ezy-Steam KS200
Brand: Kambrook Pages: 20

Curtis Stone
Brand: Dura Electric Pages: 10
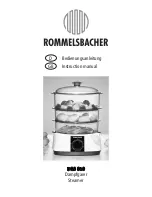
DGS 850
Brand: Rommelsbacher Pages: 24
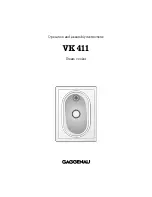
VK 411
Brand: Gaggenau Pages: 24

TA09
Brand: La Hacienda Pages: 5

GC543
Brand: GAMA Pages: 28

360S-3
Brand: Braun Pages: 12

SelfCookingCenter series
Brand: Rational Pages: 72

DLLLR33EJ
Brand: GE Pages: 3

ACSK15
Brand: GE Pages: 16

ADVANTIUM PSA9240
Brand: GE Pages: 80

PP962SM
Brand: GE Pages: 2

P 071 AquaDuo
Brand: KING Pages: 19

B150
Brand: Sanotechnik Pages: 19

MH8BXDF
Brand: Mr. Heater Pages: 104

Devil 330
Brand: Clarke Pages: 12

BHT250
Brand: Remington Pages: 100

AI-CLT4
Brand: ACIFINITY Pages: 28


