


VIVOTEK - Built with Reliability
User's Manual - 1
Rev. 1.6.1.11
Rev. 1.0
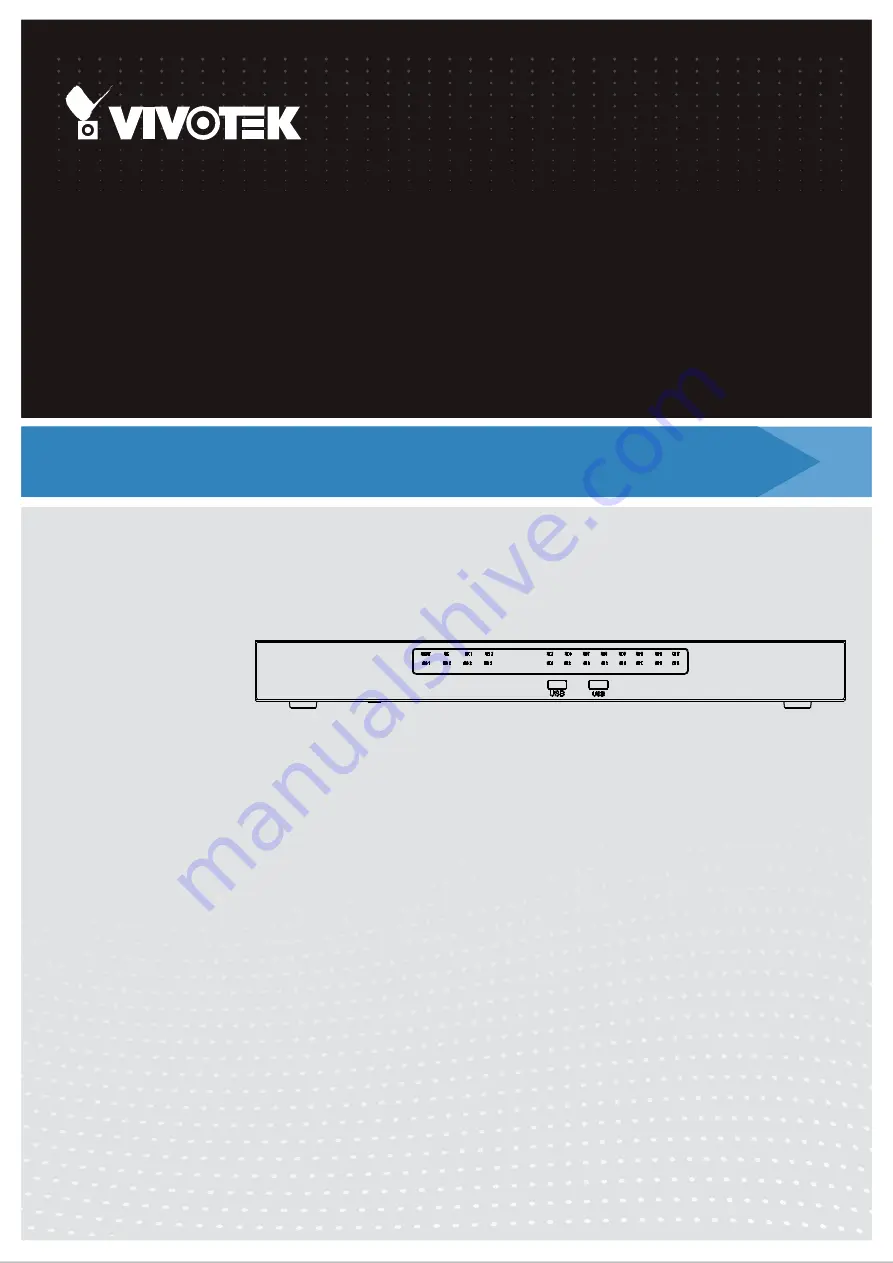
User’s Manual
ND9541 / ND9441
Network Video Recorder
H.265 • 32-/16-CH • 16 port PoE • 4 HDDs • ONVIF • PoE Management • Fisheye Dewarp •
HDMI/VGA Monitor Display • RAID • VIVOCloud • POS Integration
ND9541P / ND9441P
Rev. 1.8