VIPowER Portable External Enclosure VP-9258(T), User Manual
The VIPowER Portable External Enclosure VP-9258(T) is a high-quality external enclosure for your hard drive, offering portability and convenience. Enhance your storage capabilities with this sleek and reliable product. For detailed instructions on how to use the VP-9258(T), download the free User Manual from manualshive.com.
Share
Download


Reviews:
No comments
Related manuals for Portable External Enclosure VP-9258(T)

MPG Gungir 110R EVA e-PROJECT
Brand: MSI Pages: 13

IB-382H-C31
Brand: Icy Box Pages: 16

TR-004-US
Brand: QNAP Pages: 46

1028-08-ANT5-B
Brand: OBERON Pages: 2

KR8-315DS
Brand: Artesyn Pages: 3
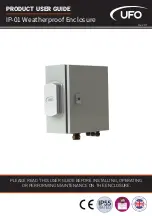
IP-01
Brand: UFO Pages: 12

Superfly
Brand: Outline Pages: 28

Anvil
Brand: Gigabyte Pages: 1

Urban R31
Brand: Thermaltake Pages: 14

Armor+ MX LCS VH8000 Series
Brand: Thermaltake Pages: 17

EZL 1030-20 L
Brand: Sennheiser Pages: 8

Elox Series
Brand: Chieftec Pages: 6
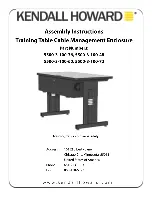
5500-3-100-36
Brand: Kendall Howard Pages: 2

cinch ModICE LE 30 I/O
Brand: BEL Pages: 11

KIVA SB15M
Brand: L-Acoustics Pages: 100

IB-289-C3
Brand: Icy Box Pages: 20

SecureBack M Series
Brand: Kensington Pages: 8

Digilent Eclypse Z7
Brand: National Instruments Pages: 5


