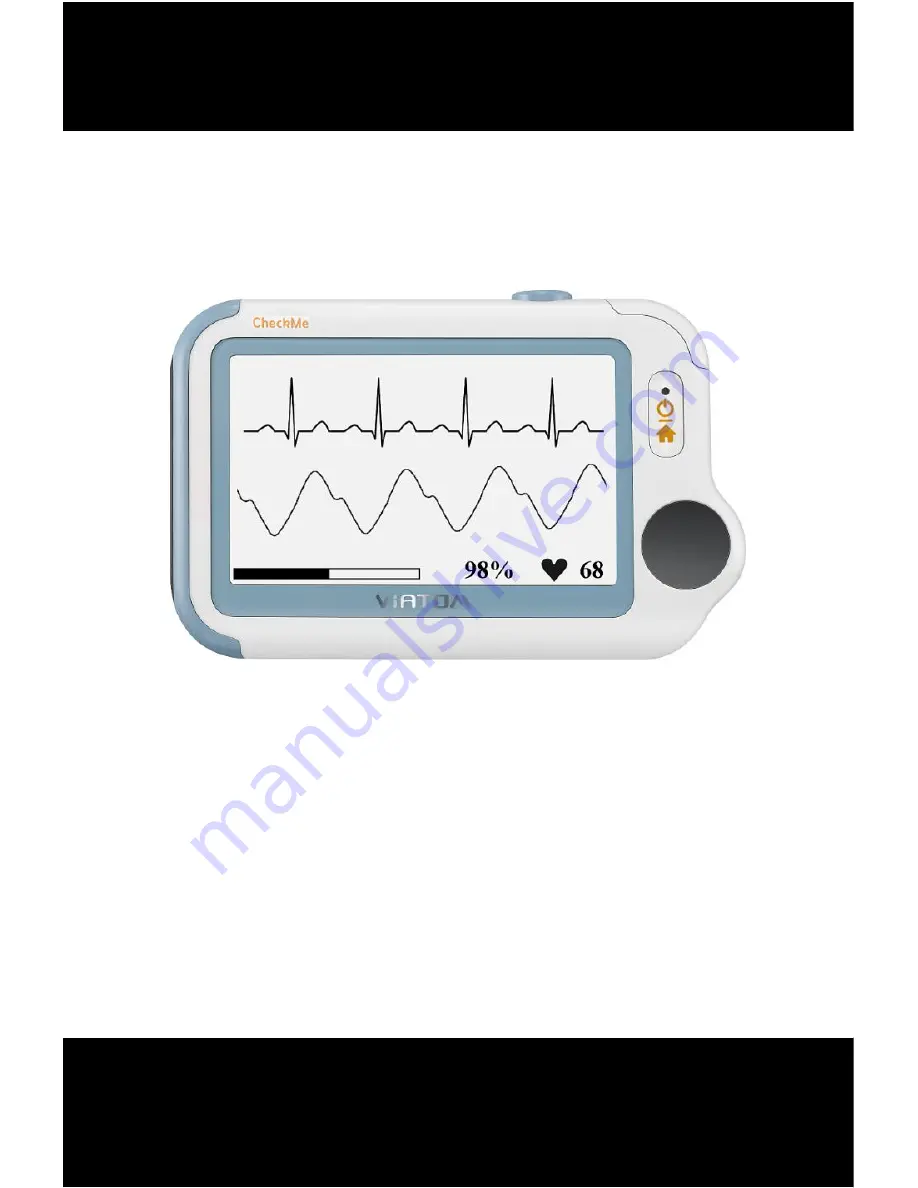
background image


Checkme

TM


Health Monitor 


1.


The Basics ........................................................................................ 1


2.


Intended Use ................................................................................... 4


3.


Getting Started ................................................................................ 8


4.


Using Checkme ................................................................................ 9


5.


Settings .......................................................................................... 26


6.


Review ........................................................................................... 30


7.


Maintenance ................................................................................. 32


8.


Accessories .................................................................................... 36


9.


Specifications ................................................................................ 37


10.


Electromagnetic Compatibility ...................................................... 40


User’s Manual 

Knowing and Tracking Your Health 

Summary of Contents for Checkme

Page 1: ...he Basics 1 2 Intended Use 4 3 Getting Started 8 4 Using Checkme 9 5 Settings 26 6 Review 30 7 Maintenance 32 8 Accessories 36 9 Specifications 37 10 Electromagnetic Compatibility 40 User s Manual Knowing and Tracking Your Health ...

Page 2: ... displayed on the device are for reference only and cannot be directly used for diagnostic interpretation or treatment We recommend not to use this device if you have a pacemaker or other implanted devices Follow the advice given by your doctor if applicable Do not use this device with a defibrillator Do not use this device during MRI examination Do not use the device in a combustible environment ...

Page 3: ...iseases of differing degree of severity Please consult a medical specialist if you believe you may have an illness or disease Vital signs measurements such as those taken with this device cannot identify all diseases Regardless of the measurement taken using this device you should consult your doctor immediately if you experience symptoms that could indicate acute disease Do not self diagnose or s...

Page 4: ...eception which can be determined by turning the equipment off and on the user is encouraged to try to correct the interference by one or more of the following measures Reorient or relocate the receiving antenna Increase the separation between the equipment and receiver Connect the equipment into an outlet on a circuit different from that to which the receiver is connected Consult the dealer or an ...

Page 5: ...creening purpose only and cannot be directly used for diagnostic or treatment 2 1 About Checkme 1 Touch Screen Use the pad of your finger to tap or slip on the touch screen Do not use your fingernail or any other object to tap the screen 2 Infrared temperature sensor 3 Internal SpO2 sensor 4 LED indicator Off the monitor is turned off or working in Standby Mode Green the monitor is turned on and w...

Page 6: ... to your left palm left abdomen or left knee 10 Neck stripe hole 11 ECG back electrode Use right forefinger or middle finger to press on it 2 2 Main Screen The Main Screen is shown as below Slipping your finger from right to left can switch to the second page and vice versa Press a button in the Main Screen will start a measurement activate a function or open corresponding menu 2 3 Calendar Screen...

Page 7: ...n 7 1 for details 5 If you failed to respond to the previous reminder event then that event will be shown in this area 6 This icon appears when Quick ECG is enabled Please refer to Section 5 4 for details 7 This icon appears if you have set reminder event When the device enters Calendar Screen it also begins to work in Standby Mode which is an ultra low power consumption mode In Standby Mode the t...

Page 8: ...Voice memo is only available for Daily Check and ECG Recorder measurements Select button to review previous results Press button to open the help information In the Result Screen if there is no operation for 2 minutes the device will automatically returns to Standby Screen 2 5 Symbols Symbol Meaning Application part type BF Manufacturer CE0197 In conformity with Directive 93 42 EEC Europran Repres...

Page 9: ...aging material as they can be used if the device must be reshipped Keep the warranty card which is useful within the period of warranty When disposing of the packaging material be sure to observe the applicable waste control regulations and keep it out of children s reach The equipment might be contaminated during storage and transport Before use please verify whether the packages are intact espec...

Page 10: ...hen you finish those steps as above 4 Using Checkme 4 1 Prior to Use Warnings and Cautionary Advices Use only cables electrodes sensors and other accessories specified in this manual The device has no alarms and will not sound if the measurement reading is too low or too high Before using ECG Before using Daily Check or ECG Recorder function pay attention to the following points in order to obtain...

Page 11: ...conductive parts or with earth In particular make sure that all of the ECG electrodes are attached to the patient to prevent them from contacting conductive parts or earth If using the ECG for long term monitoring periodically inspect the electrode application site to ensure skin quality If the skin quality changes replace the electrodes or change the application site Do not use this device during...

Page 12: ...s normalized Warnings and Cautionary Advices Limit finger movement as much as possible when using the Daily Check or Oximeter which might result in incorrect reading or analysis Do not use the Oximeter on the same hand arm when using a blood pressure cuff or monitor Do not use the Oximeter outside the specified operating and storage temperature ranges Do not use this device during MRI magnetic res...

Page 13: ...r health evaluation For each individual the correlation among those parameters measured by Daily Check is different so when Daily Check function is used by more than one user you need to create the user profile for each user Before using Daily Check measurement or reviewing the Daily Check data ensure that the correct user is selected Please refer to Section 5 8 to know how to manage users Setting...

Page 14: ...the ECG electrode which may result in EMG electromyograph interference Just hold gently and ensure good contact with the ECG electrode Do not exert pressure on the finger that put in the SpO2 sensor Just fit it inside but gently to ensure good blood perfusion 1 Put the right forefinger into the built in SpO2 sensor Use the finger nail to squeeze the edge of the SpO2 sensor cover then move in upwar...

Page 15: ...n user if the reference has not been set then when finishing the Daily Check tap the icon to set current measurement as the reference If the reference has already been set tap the icon again will set the current measurement as a new reference Warnings and Cautionary Advices For a given user it is suggested to set a new reference every three months BP Calibration To get blood pressure readings this...

Page 16: ... the calibration is valid and finished If the readings are not close to each other please wait for a few minutes and then start the calibration again Warnings and Cautionary Advices For a given user it is suggested to make BP calibration every three months The BP calibration should be made at the same time period with the Daily Check measurements you are going to make afterwards Ensure that your b...

Page 17: ...rence and incorrect readings or analysis result The most suitable method or procedure depends on the heart configuration shape of the heart of each individual user If it is not possible to take stable measurements using a given measurement method this could have a harmless cause such as the shape of the heart However the cause may also be an illness or disease Generally it is recommended to use me...

Page 18: ...nd stay calm 5 Once the device detects stable waveform it will automatically start the measurement The countdown bar moves from left to right 6 When the bar if fully filled the device will analysis your data and then show the measurement result Please refer to Section 2 4 to understand the result screen Measuring with Cable To start an ECG Recorder measurement with cable 1 If the device is in Cale...

Page 19: ...r electrode in the left lower abdomen 5 The display will then show your ECG waveform The device will monitor your ECG continuously however no data will be saved until you press the button 6 Press the button to start collecting your ECG data The countdown bar moves from left to right 7 When the bar is fully filled the device will analysis your data and then show the measurement result ...

Page 20: ...on please read the Section 4 1 The Checkme Health Monitor measures the amount of oxygen in your blood your pulse rate and pulse index The Checkme works by shining two light beams into the small blood vessels or capillaries of the finger reflecting the amount of oxygen in the blood and displaying the measurement on the screen The oxygen saturation SpO2 is measured and displayed as a percentage of f...

Page 21: ...e will analysis your data and then show the measurement result Please refer to Section 2 4 to understand the result screen Measuring with Cable 1 Connect the external SpO2 sensor to the multi functional connector 2 Put your index finger or middle finger into the external SpO2 sensor Make sure the cable is positioned along the top of the hand and the finger nail is in the position as shown below Fi...

Page 22: ...data and then show the measurement result Please refer to Section 2 4 to understand the result screen 4 5 Temperature About thermometer Warnings and Cautionary Advices The thermometer is only designed for the measuring area on the human body stated in this manual Check before each use that the lens is intact If it is damaged please contact your retailer or the service address The device needs to b...

Page 23: ...1 8 F in different parts of the body This device use infrared thermometer to measure forehead temperature Influences on forehead temperature include but not limited to A person s individual metabolism Age Forehead temperature is higher in babies and infants than in adults Greater temperature fluctuations occur faster and more often in children Normal forehead temperature decreases with age Environ...

Page 24: ...rome is estimated at 2 to 5 in the adult population Due to intermittent blockage of the upper airway reduction or cessation of airflow occurs during sleep resulting in recurrent oxygen desaturation and sympathetic neural activation Common symptoms of OSAS include snoring restless sleep daytime fatigue and morning headaches Checkme offers a non invasive method to monitor sleep status for adult user...

Page 25: ...n to enter the Main Screen Then Tap the Sleep Monitor icon to enter the screen as below 5 Tap the button to start the sleep monitoring During monitoring a countdown timer is always displayed at the lower left part 6 You can press Home button to lock the screen as shown below The device will work in a very low power consumption mode 7 Insert the device into the wrist band cover and then begin to sl...

Page 26: ...r account 3 Select a user to enter the screen as below 4 Tap the button to set your target if needed 5 Tap the button to start calculating steps 6 Place the device into your pocket 7 When you finished calculating steps press the Home button to stop the pedometer 8 Press Home button again to exit pedometer function 4 8 Reminder Up to 6 reminder events can be set by user You can add edit and delete ...

Page 27: ...hird row set the time when the reminder is triggered then tap 6 Tap to save this reminder To edit or delete a reminder in the Reminder menu choose the reminder which you want to edit or delete Change the repeat interval event and or time then save the change by following the same procedure as adding a reminder Tap the button and then Yes to delete a reminder 5 Settings 5 1 Opening Settings Menu To...

Page 28: ... 2 Choose Language 3 Choose the language from the list 5 3 Setting ECG Bandwidth 1 In the Setting menu choose General 2 Tap to page down 3 Tap the ECG bandwidth area to change between Normal and Wide 5 4 Setting Date Time 1 In the Settings menu choose General 2 Choose Date Time 3 Tap or button to change the date then tap 4 Tap or button to change the time ...

Page 29: ...er area to change between Celsius degree C and Fahrenheit degree F 5 8 User Management To use the Daily Check measurement you must create your account If the Daily Check measurement is used by more than one user then each user must create his her own account To create a user account 1 In the Settings menu choose User Management 2 Tap a button to open the menu below 3 Tap each button to edit corres...

Page 30: ...rsion of your device Telling the version information when reporting a problem may help to identify and solve your problem 5 10 Turning On Off Bluetooth Checkme has built in Bluetooth wireless connectivity which enables exporting measured records to mobile phones and pads running iOS or Android platform To turn on the Bluetooth 1 Press the Home button to enter Main Screen 2 Slip your finger from ri...

Page 31: ...platform is available on the Apple App store and Android App store 6 Review To open the Data Review menu 1 If the device is in Calendar Screen press the Home button 2 In the Main Screen tap the Review icon 6 1 Reviewing Daily Check To review Daily Check records 1 In the Data Review menu select DailyCheck 2 Choose the right user to open the list as below then select one record to review more inform...

Page 32: ...Select to return to the Daily Check list 6 2 Reviewing ECG Recorder To review ECG Recorder records in the Data Review menu select ECG Recorder The operations you can perform is almost the same with Daily Check However there is no trending graph 6 3 Reviewing Oximeter To review Oximeter records in the Data Review menu select Oximeter The operations you can perform is almost the same with ECG Record...

Page 33: ...ns you can perform is almost the same with Pedometer Recorder However there is no voice memo 7 Maintenance Warnings and Cautionary Advices Have the device repaired by authorized service centers only otherwise its warranty is invalid 7 1 Warranty The product is warranted to be free from defects in materials and workmanship within warranty period when used in accordance with the provided instruction...

Page 34: ...Connect the other end of the USB charging cable to the USB charging port 3 Please make sure that the LED is blue and press the Home button to enter the Main Screen if needed 4 When the LED turns to green it means the battery is fully charged Then you can unplug the USB cable Warnings and Cautionary Advices The device cannot be used for any measurement during charging Use charging adapter provided ...

Page 35: ...lectrode is not stable or too much 2 Hand or body may be moving 1 Hold the device stably and gently 2 Try to keep perfectly still and test again SpO2 or pulse rate shows no value or the number fluctuates 1 Finger may not be inserted correctly 2 Finger or hand may be moving 1 Remove finger and reinsert as directed 2 Try to keep perfectly still and test again The app cannot find the device The Bluet...

Page 36: ...ker in the Settings menu SpO2 value is too low when measured using integrated sensor 1 Finger pressed too hard 2 Finger may not be inserted correctly 1 Reinsert your finger gently and stably 2 Make sure your finger is in right position Temperature value is too low 1 The measurement area is covered by hair 2 The thermometer sensor is too far away from your skin 3 The thermometer sensor is dirty 1 R...

Page 37: ...specifications Part Number Description 540 00192 00 ECG cable with 2 leadwires snap 540 00193 00 SpO2 finger sensor 25 cm FP 10 540 00194 00 USB charging cable micro D 560 00197 00 Neck stripe 560 00198 00 ECG electrode 10 pcs 560 00208 00 Desktop folding stand green 560 00209 00 Wristband 540 00240 00 USB charging cable micro B Checkme Pod 155 00207 00 Charging adapter ...

Page 38: ...Pod 2 7 touch screen HD Checkme Lite 2 4 touch screen color backlit Connector Micro D connector Pro Plus Lite Micro USB connector Pod Wireless connectivity Built in Bluetooth dual mode support 4 0 BLE Power Supply Charge adapter input AC100 240V 50 60Hz Charge adapter output DC5V 1 0A Battery type Rechargeable lithium polymer battery 560 mAh Battery run time Only daily check 1000 times Continuous ...

Page 39: ...h a CO oximeter Pulse oximeter measurement are statistically distributed and about two thirds of the measurements are expected to come within the specified accuracy range compared to CO oximeter measurements SpO2 range 70 to 100 SpO2 Accuracy Arms 80 100 2 70 79 3 PR range 30 to 250 bpm PR accuracy 2 bpm or 2 whichever is greater PI range 0 5 15 Measurement summary SpO2 PR PI Summary Normal Blood ...

Page 40: ... Reminder No of reminder 6 Reminder event Wake up Check me Medicine Self define Review Data review Graphic trend list trend Waveform review Full disclosure waveform Daily check 100 pcs of records without audio memo ECG recorder 100 pcs of records without audio memo Oximeter 100 pcs of records Thermometer 100 pcs of records Sleep record review 5 pcs of records 10 hours each record Mobile APP Operat...

Page 41: ...and mobile communication equipment may affect the performance of this device Other devices that have RF transmitter or source may affect this device e g cell phones PDAs and PCs with wireless function Guidance and Declaration Electromagnetic Emissions The Health Monitor is intended for use in the electromagnetic environment specified below The customer or the user of the device should assure that ...

Page 42: ...t Surge IEC 61000 4 5 1 kV line s to line s 2 kV line s to earth 1 kV line s to line s 2 kV line s to earth Voltage dips short Interruptions and Voltage variations on power supply input lines IEC 61000 4 11 5 UT 95 dip in UT for 0 5 cycle 40 UT 60 dip in UT for 5 cycles 70 UT 30 dip in UT for 25 cycles 5 UT 95 dip in UT for 5 s 5 UT 95 dip in UT for 0 5 cycle 40 UT 60 dip in UT for 5 cycles 70 UT ...

Page 43: ...meters m Field strengths from fixed RF transmitters as determined by an electromagnetic site survey a should be less than the compliance level in each frequency range b Interference may occur in the vicinity of equipment marked with the following symbol Note 1 At 80 MHz to 800 MHz the separation distance for the higher frequency range applies Note 2 These guidelines may not apply in all situations...

Page 44: ...distance according to frequency of the transmitter m 150 kHz 80 MHz P d 2 1 80 MHz 800 MHz P d 2 1 800 MHz 2 5 GHz P d 3 2 0 01 0 12 0 12 0 23 0 1 0 38 0 38 0 73 1 1 20 1 20 2 30 10 3 80 3 80 7 30 100 12 00 12 00 23 00 For transmitters rated at a maximum output power not listed above the recommended separation distance d in metres m can be estimated using the equation applicable to the frequency o...

Page 45: ...ictly forbidden Contents of this manual are subject to changes without prior notice All information contained in this manual is believed to be correct Viatom shall not be liable for errors contained herein nor for incidental or consequential damages in connection with the furnishing performance or use of this manual Copyright 2014 Shenzhen Viatom Technology Co Ltd All right reserved PN 255 00157 0...

Reviews: