Vertex Standard VZ-30-G6-4, User Manual
The Vertex Standard VZ-30-G6-4 is a high-quality two-way radio that boasts advanced features and durability. To ensure seamless usage, we provide a comprehensive User Manual that can be downloaded for free from manualshive.com. Get detailed instructions and unleash the full potential of your Vertex Standard VZ-30-G6-4 today.
Share
Download


Reviews:
No comments
Related manuals for VZ-30-G6-4
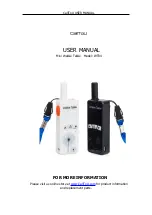
WT04
Brand: CallToU Pages: 6

IC-2720H
Brand: Icom Pages: 2
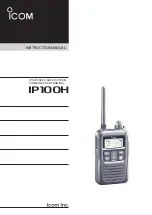
IP100H
Brand: Icom Pages: 33

usb box
Brand: perfect pro Pages: 177

AN/TRC-207
Brand: Racal Instruments Pages: 102

GXT 400 Series
Brand: Midland Pages: 18

TwinTop 400
Brand: Swissvoice Pages: 104

XBee RR
Brand: Digi Pages: 67

GMRS-V1
Brand: BTECH Pages: 83

SRF-46
Brand: Sony Pages: 3

Walkman SRF-M37
Brand: Sony Pages: 3

Stream Radio&TV 120
Brand: ENERGY SISTEM Pages: 16

iTuner 320
Brand: auna Pages: 132

Worldwide
Brand: auna Pages: 49

DR-130
Brand: Alinco Pages: 23

DX-R8E
Brand: Alinco Pages: 65

IC-A6
Brand: Icom Pages: 36

120
Brand: TriStar Pages: 10


