background image

Page 1 of 22

AT1700 series Manual D07-00-066P Rev. A00

USER MANUAL

Please direct all questions to your local VeEX Sales Office, Representative, or Distributor. Or, contact VeEX technical support at 

www.veexinc.com. Copyright 2014 VeEX Incorporated. All rights reserved.

No part of this user manual may be reproduced, translated into a  foreign language, or be transmitted electronically without prior 

agreement and written consent of VeEX Incorporated as governed by International copyright laws. Information contained in this 

manual is provided “as is” and is subject to change without notice. Trademarks of VeEX Incorporated have been identified where 

applicable, however the absence of such identification does not affect the legal status of any trademark.
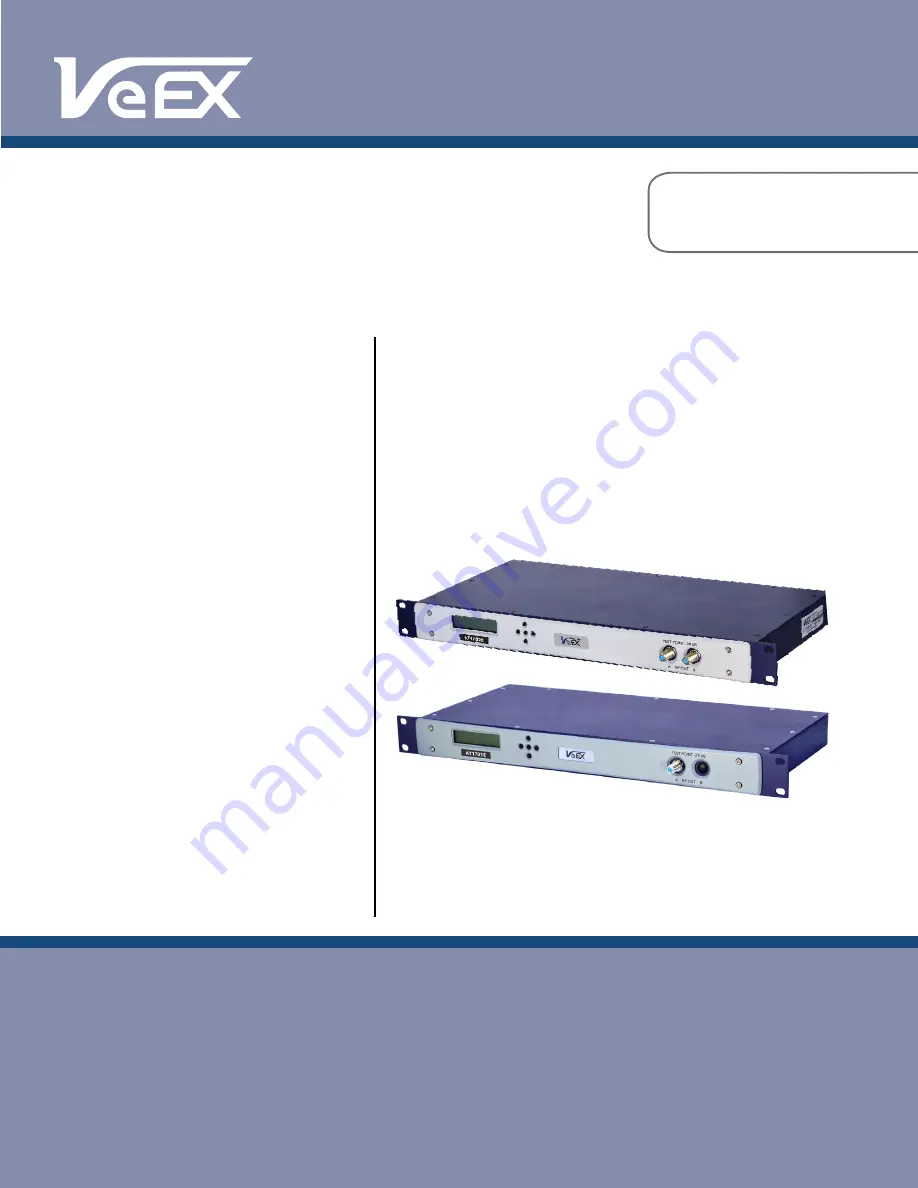
AT1700 Series

Broadband Switches / Multiplexers

Summary of Contents for AT1701

Page 1: ...be reproduced translated into a foreign language or be transmitted electronically without prior agreement and written consent of VeEX Incorporated as governed by International copyright laws Informati...

Page 2: ...cal Location 8 3 3 Electrical Connections 8 3 4 Signal Connections 8 3 5 RS 232 Controller Requirements 8 3 6 Ethernet 9 4 FEATURES AND FUNCTIONS 10 4 1 Buttons 10 4 2 Reset 10 4 3 Test Points 10 4 4...

Page 3: ...7 SERVICE AND SUPPORT 19 7 1 Technical Support 19 7 2 Warranty Information 19 8 PRODUCT SPECIFICATIONS 20 8 1 GENERAL SPECIFICATIONS 20 8 2 ELECTRICAL SPECIFICATIONS 21 8 3 MECHANICAL ENVIRONMENTAL S...

Page 4: ...ccordance with the terms of the agreement It is against the law to copy the software on any medium except as specifically allowed in the license or nondisclosure agreement The purchaser may make one c...

Page 5: ...dwidth of 1 GHz a nominal 10 dB gain and 50 dB isolation Multiplexers can either be cascaded or outputs combined for flexible selection of one signal source from a mul tiplicity of sources The AT1700...

Page 6: ...ront Panel Status Indicator An LED is located behind the VeEX Logo in the center of the AT1700 front panel and is powered on when the unit is connected to the main power source 2 3 Rear Panel Page 6 o...

Page 7: ...tion Left Right Arrows are for navigation and sequence from screen to screen Up and Down arrows increment or decrement the current selected setting The Center button selects the highlighted item and i...

Page 8: ...r off by connecting or disconnecting the power source either at the AC mains or at the DC power connection to the unit WARNING Always use a three pronged AC power cord supplied with the product and in...

Page 9: ...ddress and use the Up and Down arrows to sequence each digit in the IP address until the desired IP is displayed Press ENTER In addition the Subnet Mask and Gateway must be setup From the IP Address s...

Page 10: ...llowing this step 4 3 Test Points A 20 dB Test Point female F connector is provided for each Output Port and is located on the front panel for easy access 4 4 RF Inputs and Outputs Sixteen 1 GHz bandw...

Page 11: ...00 series switches may be physically separated by some distance cable up to 100 feet or 30 meters may be used Depending on the environment cable may need to be shielded for proper operation If AT1600...

Page 12: ...Note If the IP address is changed you will need to re connect your browser to the new IP address When a Firmware Upgrade is required it may be installed via the webpage interface Click on the BROWSE...

Page 13: ...or right arrow to navigate to the desired Port selection and pressing the Up or Down arrow to change the desired setting If the AT1700 is in Manual mode the UI Timeout will begin If a button is not pr...

Page 14: ...except for the LOCAL REMOTE function which may be used to manually change to the Manual mode of operation The RF Input Indicators continue to show the selected RF input as in LOCAL mode 1 to 16 Port A...

Page 15: ...a combiner for other switches it should be configured as port 1 In addition each port must be configured to match its controller Use the Left or Right arrow keys to select Setup mode for Port A or Por...

Page 16: ...l Press Channel B Mbutton to accept Aonly 4 b4 Baud Rate Port A 1 19 2 KBaud 2 38 4 KBaud 3 57 6 KBaud 4 115 2 KBaud Press Channel A Mbutton to accept 5 b4 Baud Rate Port B 1 19 2 KBaud 2 38 4 KBaud 3...

Page 17: ...to receive commands The auto remote delay applies only when the switch has been manually put into the LOCAL mode via the front panel buttons If the multiplexer is set into LOCAL mode by a remote contr...

Page 18: ...ipt of this command the RF Input Indicators will either show the first input in the sequence table Leading Update mode or will stay on the current channel Trailing Update mode See AT1700 Protocol Spec...

Page 19: ...olved over the telephone saving the user more precious time and shipping costs A number and e mail address for technical and sales support are provided below Tel 1 510 651 0500 Fax 1 510 651 0505 E ma...

Page 20: ...1 2 Independent outputs and controls for each channel Test Points 1 2 One for each channel located on front panel Comm Ports 3 5 2 Input ports 1 for each channel and 2 Output ports 1 for each channel...

Page 21: ...l 0 5 dB max Across the band Noise Figure 3 0 dB Across the band Operate time Short Protocol 2 1 msec to 7 msec max 115 2 kBaud Message actuation ACK With traffic on other com port Operate time Long P...

Page 22: ...ry II Altitude Up to 2000m Humidity 80 up to 31 C Decreasing linearly to 50 at 40 C Shock and vibration 3 g maximum Powering 15 VDC 10 Electrical Supply Class II Certified plug in power supply rated a...

Reviews: