Veeder-Root TLS-450PLUS, Manual
The Veeder-Root TLS-450PLUS Operator's Manual is available for free download on manualshive.com. This comprehensive manual provides detailed instructions on how to operate and maintain the TLS-450PLUS system. Download your copy today to get the most out of this industry-leading product.
Share
Download


Reviews:
No comments
Related manuals for TLS-450PLUS

TM300
Brand: Samson Pages: 58

LS9 Editor
Brand: Yamaha Pages: 2

AW2816
Brand: Yamaha Pages: 2

SliceSy
Brand: Bamix Pages: 104

PSM2420
Brand: Hill Audio Pages: 6
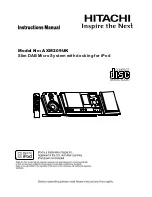
AXM209UK
Brand: Hitachi Pages: 16
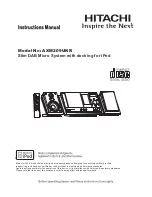
AXM209UKR
Brand: Hitachi Pages: 15
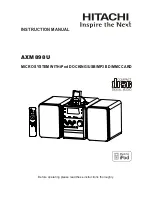
AXM898U
Brand: Hitachi Pages: 18

AXM628E
Brand: Hitachi Pages: 33

AX-M136i
Brand: Hitachi Pages: 25
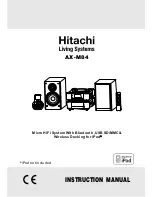
AX-M84
Brand: Hitachi Pages: 22
AX-M3E
Brand: Hitachi Pages: 44

AXM10E
Brand: Hitachi Pages: 120

GJ461-A
Brand: APURO Pages: 20
AXM239UK
Brand: Hitachi Pages: 15

MDR624
Brand: Samson Pages: 24

dc 2000
Brand: SoundCraft Pages: 199
DC-DA2000
Brand: Sanyo Pages: 8


