


TROTEC
®
GmbH & Co. KG • Grebbener Straße 7 • D-52525 Heinsberg
Tel.: +49 (0) 24 52 / 962 - 400 • Fax: +49 (0) 24 52 / 962 - 200
www.trotec.de • E-Mail: [email protected]
TRO-TR-BA-
EC060-HS-001-DE-GB
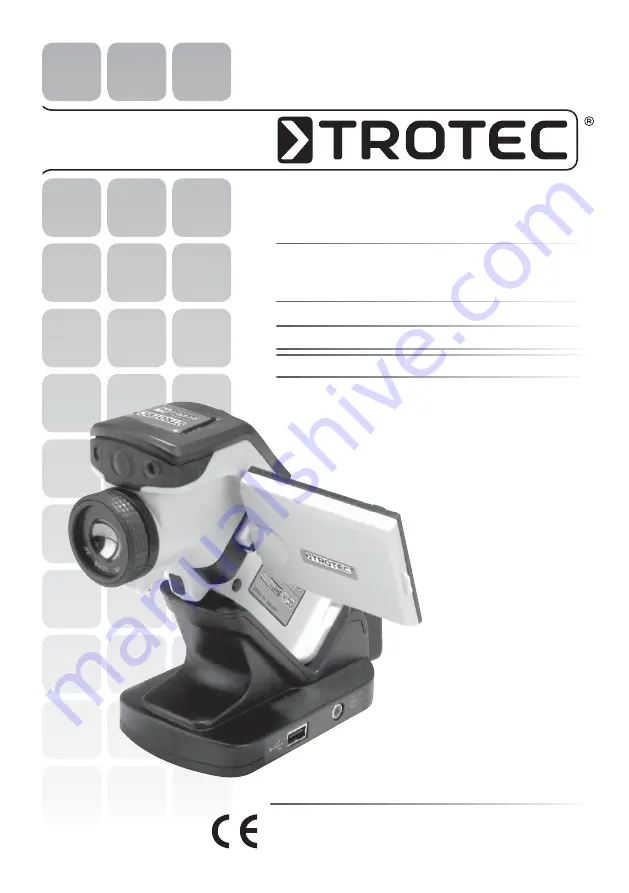
EC-Series
Bedienungsanleitung – Infrarotkamera
A - 1
Operating manual – Infrared camera
B - 1


