Summary of Contents for D-R1
Page 111: ...Library data To facilitate your collecting Using Library data ...
Page 116: ......
Page 132: ......
Page 133: ...Others Troubleshooting Language Code List Specification ...
Page 144: ......
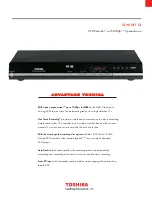
The Toshiba D-R1 is a high-performance DVD recorder with an array of impressive features. Access the comprehensive Specification Sheet and detailed manual for free on our website, allowing you to download and enjoy the full potential of this exceptional product. Visit manualshive.com to access your free downloads today!
Page 111: ...Library data To facilitate your collecting Using Library data ...
Page 116: ......
Page 132: ......
Page 133: ...Others Troubleshooting Language Code List Specification ...
Page 144: ......