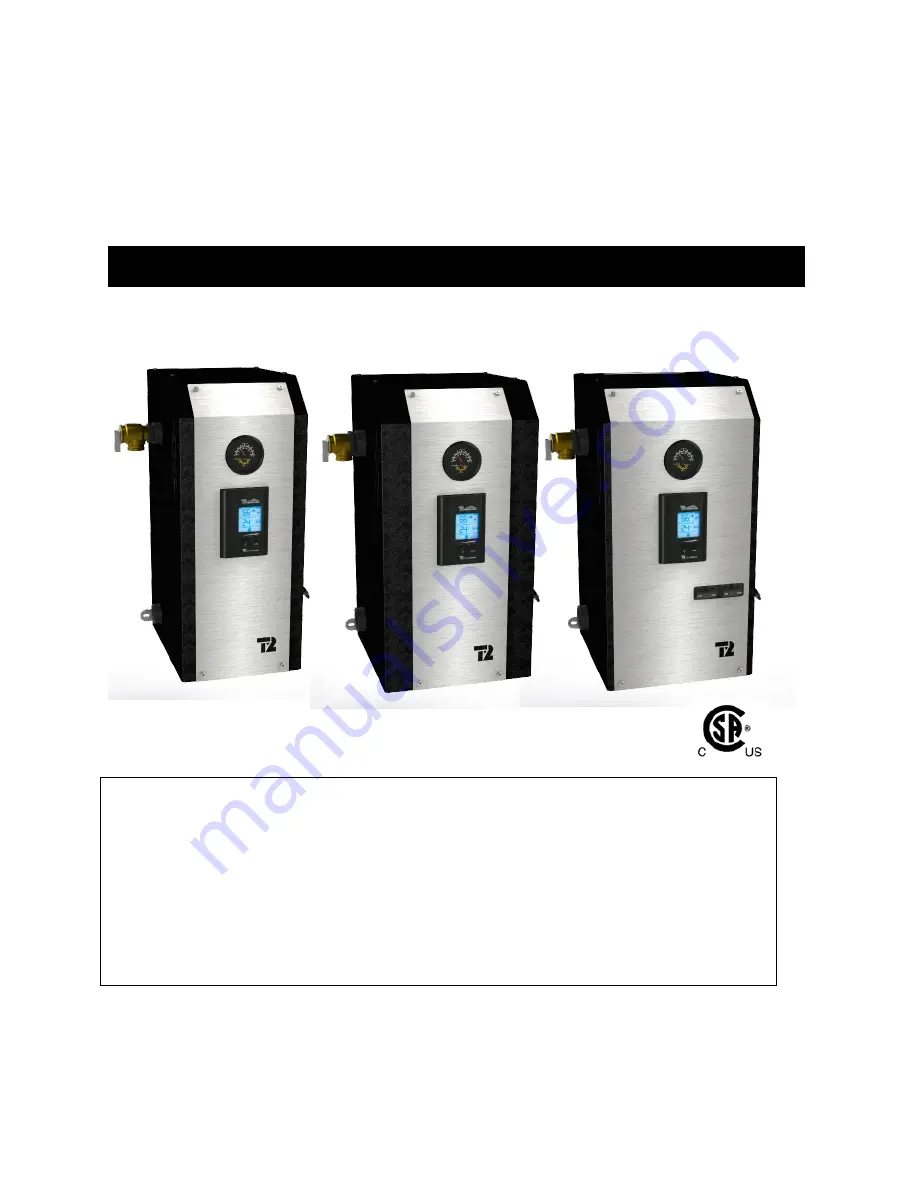
background image

Electric Boilers 

BTH ULTRA


Models ranging from 12 kW to 36 kW 208/240 Volts (1 phase)


INSTALLATION & OPERATION MANUAL 


THERMO 2000 INC. 


Revision : June 2015


Printed In Canada 

Your 

BTH ULTRA Electric Boiler 

has been carefully assembled and factory tested to provide 

years of trouble-free service. The following information and safety measures are provided to 
enable proper installation, operation, and maintenance of this product. 

  
It is imperative that all persons who are expected to install, operate or adjust this boiler should 
read these instructions carefully.   
 
Any questions regarding the operation, maintenance, service or warranty of this electric boiler 
should be directed to the supplier.   


When all installation steps have been completed, keep this installation manual in a safe place 
(close to the boiler) for future reference. 

Summary of Contents for BTH ULTRA

Page 1: ...mation and safety measures are provided to enable proper installation operation and maintenance of this product It is imperative that all persons who are expected to install operate or adjust this boiler should read these instructions carefully Any questions regarding the operation maintenance service or warranty of this electric boiler should be directed to the supplier When all installation step...

Page 2: ... 3 4 5 Water pressure regulator 11 3 4 6 Air eliminator 11 3 4 7 Circulating pump 11 Table 5 Temperature rise vs flow rate GPM 11 3 4 8 Drain valve 11 3 4 9 Strainer 11 3 4 10 Dual Energy piping 12 3 5 ELECTRIC CONNECTIONS 12 3 5 1 Main Electric supply 12 3 5 2 Electrical supply of External accessories 13 3 5 3 Outdoor temperature sensor 13 3 5 4 Connecting the thermostat and pump 13 3 5 4 Dual en...

Page 3: ...valves 9 Figure 6 Multi pump zoning 9 Figure 7 Typical Installation in Dual Energy Series 10 Figure 8 Typical installation with three way valve 10 Figure 9 Zoning with Multiple pumps 13 Figure 10 Zoning with motorized valves 14 Figure 11 Connexions without three way valve 14 Figure 12 Connexions with three way valve 14 Figure 13 Wiring diagram 12 24 KW 15 Figure 14 Wiring diagram 27 36 KW 15 Figur...

Page 4: ...5 KW 6 1 x 1 or 2 x 64 1 x 00 or 2 x 44 2 x 80 or 175 33 25 33 119 6 137 5 3 x 5 KW 3 x 6 KW 6 2 x 45 2 x 25 2 x 100 36 27 36 130 5 150 6 x 6 KW 6 2 x 45 2 x 25 2 x 100 1Electrical supply 120 240V or 120 208V 1ph L1 N L2 with three conductors and a ground or a supply with two conductors 240V or 208V 1ph L1 L2 with a ground if the application does not require a 120V electrical supply for external a...

Page 5: ...63 lbs Item Dimension inches A 21 1 2 B 9 C 11 3 4 D 3 5 8 E 2 3 8 F 14 3 4 G 5 H 9 3 4 I 20 J 1 1 2 Table 3 Boiler connections and dimensions 27 36 KW Connections Inlet return 1 NPT Fem Outlet supply 1 NPT Fem Pressure relief valve 1 reduced to 3 4 NPTFem Drain valve 1 reduced to 3 4NPT Fem Shipping weight 75 lbs Item Dimension inches A 21 1 2 B 11 C 11 3 4 D 3 1 2 E 2 3 4 F 14 1 4 G 7 H 11 5 8 I...

Page 6: ...uctions and in conformity with local codes or in the absence of local codes with the National Plumbing Code and the National Electric Code current edition In any case where instructions in this manual differ from local or national codes the local or national codes take precedence 2 2 CORROSIVE ENVIRONMENT The electric boiler must not be installed near an air duct supplying corrosive atmosphere or ...

Page 7: ...ler having a lower setting this controller will be added to the system and connected in series with the factory installed limit control 3 2 LOCATION The electric boiler should be installed in a clean dry location Long hot water lines should be insulated to conserve water and energy The electric boiler and water lines should be protected from exposure to freezing temperature The boiler can be mount...

Page 8: ...tions shown below Make sure that the fluid flows is in the proper direction Figure 3 Mounting positions 3 4 1 Type of installation You will find below on figures 4 to 8 the typical piping arrangement for the two main types of installation The first being as a self operating unit and the others being connected to an auxiliary boiler in dual energy Figure 4 Typical Installation on heating floor ...

Page 9: ...BTH ULTRA Electric Boilers Installation Operation manual Revision June 2015 9 Figure 5 Typical installation on fin tube baseboards with zoning valves Figure 6 Multi pump zoning ...

Page 10: ...BTH ULTRA Electric Boilers Installation Operation manual Revision June 2015 10 Figure 7 Typical Installation in Dual Energy Series Figure 8 Typical installation with three way valve ...

Page 11: ...e water supply network local regulation should be applied 3 4 6 Air eliminator Installation of manual or automatic air vents are required to eliminate all air from the boiler and the heating distribution system The main air eliminator must be installed near the outlet of the boiler on the highest point of the main supply piping It is imperative to insure that all air possibly located in the boiler...

Page 12: ...oiler electrical supply is on 208V the position of wire terminal on the transformer connected to 240V will have to be changed to 208V The electrical supply can be done in two different ways depending on the necessity of supplying or not external accessories such as a pump at 120Vac Alternative 1 A 120VAC electrical supply is required to serve external accessories Models 12 to 24 kW Electrical wiri...

Page 13: ...oiler when the outdoor temperature exceeds the selected value corresponding to the maximum temperature required for heating If you wish to operate the boiler at a fixed target temperature simply do not connect the sensor before applying the power to the unit The sensor shall be connected to terminals S1 S1 in the boiler using two 20 ga conductors Maximum length 100 ft 33 m Do not put a jumper betw...

Page 14: ...Open the front access panel to the boiler electric compartment Remove the screw at the bottom of the controller raise the upper section of the controller You will see a switch at the back of the controller having two positions ELECT and Bi Energ Position the switch at Bi Energ o Install a 2 wire 18ga cable between the contact N F close contact to allow the operation in electricity Red R wire and g...

Page 15: ...hement manuel High limit manual reset T T ZDV200 DIABTHU4 Figure 13 Wiring diagram 12 24 KW L1 2 Diagramme électrique Wiring diagram BTH ULTRA 240V 1ph 27 36 kW 208V 1ph 20 27 kW N L1 1 R5 R3 50VA 208 240Vac 24Vac Disjoncteur 33 36kW Breaker 33 36kW only Contrôleur Control ULTRA SMART R6 R4 C2 EL1 R1 C1 white blue red black black red red 208 240V 1ph 12 11 10 9 Com 8 Boil in 7 Boil O 6 Sup D 5 Os ...

Page 16: ...water of the heating system flows directly from the boiler to the heating distribution system Standard parallel Piping system Two operation modes are then offered Fixed boiler temperature set point the outdoor sensor shall not be installed Or Outdoor reset 4 2 DISPLAYED INFORMATION The electronic control uses an LCD display to make all adjustments and to visualize the operation of the system Figur...

Page 17: ... of the boiler near the selected target temperature A rotation of the stages based on an equal time period of operation is provided N B The supplied outdoor temperature sensor shall not be connected before applying the electrical power to the unit 4 5 OPERATION WITH OUTDOOR RESET For installation where the boiler target temperature shall modulate in relation to the outdoor temperature when the out...

Page 18: ...e heat demand has been satisfied This selection shall be selected on systems equipped with motorised fast closing zone valves in order to prevent noise from water hammering 15 sec to 60 min delay where the pump will be kept running to enable the pump to circulate water into the system to equilibrate the heat in all the building ON The pump is in continuous operation Required on particular heating ...

Page 19: ...parameters will be restored as they were established before the failure Table 5 below shows the presentation sequence of the menus Table 6 CONFIGURATION SEQUENCE OF THE MENU Appuyez 2 secondes sur le bouton ITEM DESCRIPTION RANGE DEFAULT Choose the units the user prefers to work with F or C F Select the type of heating system on which the boiler will be installed Radiant Floor in concrete Radiant ...

Page 20: ...periods occurring during sunny days Long periods without heating which needs higher boiler temperature to recuperate Return to normal room temperature after thermostat s night set back program Three Boost operating options are available when the is pressed for 6 sec The icon will appear and the three options ON1 ON2 and OFF will be proposed Press the button to select The controller will register t...

Page 21: ... boiler terminals P1 P2 will be energized at 120volts and the pump will be activated At the same time the contact will close on the AUX terminals to activate the auxiliary boiler This boiler will be activated only when there will be a heat demand to the R W terminals and when the auxiliary boiler temperature will be lower than the settings of its own temperature controls If a three way valve is us...

Page 22: ...ned earlier and set the purge delay of the pump from On to its normal operation setting The pump should stop 5 2 STARTUP INSPECTION Set the room thermostat ON to generate a heat demand The pump shall start The heating elements shall gradually come on and the boiler temperature will increase N B A rapid activation of all the elements and external components can be done by pressing simultaneously th...

Page 23: ...s and eliminate air from the radiators 6 4 ANNUALY Make sure that the power on the unit has been turned off before opening the electrical compartments of the boiler It is recommended that a visual inspection be made on the electrical compartments of the boiler to check the water tightness of the gasket on the element flange and also check for any signs of overheating of the components and wires At...

Page 24: ...mmersion well located at the top of the elect element compartment Check the resistance value ohms of the sensor It should correspond to the value shown on the table below otherwise it should be replaced Stage 2 is ON but not Stage 1 There is no problem A rotation of the stages is provided to allow an equal time of operation of the stages When stage 3 or 4 comes ON stage 1 or 2 comes OFF This seque...

Page 25: ... to the boiler Boiler safety valve is leaking Pressure reading at the indicator shows a pressure above 28psi Pressure is below 28psi The pressure regulator on the distribution system is defective or the expansion tank is too small or defective Replace the safety valve Table 7 Resistance value of the outdoor sensor vs outdoor temperature Temperature Resistance Temperature Resistance Temperature Res...

Page 26: ... 208 240V x 24Vac ZEL400 20842440 40VA Fuse ZEL250 TDMIDJ5 UltraSmart Controller ZEL100 ULTRA Temp Pressure indicator ZMC300 75P160CN Figure 18 Spare parts front 12 24 KW Surface High Limit manual reset switch on some Models ZEL200 DISC227 High Limit automatic reset Switch ZEL200 L6C732 Heating elements 3kW ZEL300 240V3KW 4 5kW ZEL300 240V45KW 5kW ZEL300 240V5KW 6kW ZEL300 240V6KW Figure 19 Spare ...

Page 27: ...roller ZEL100 ULTRA Power relay 24Vac ZEL100 24ACNO30 Pressure relief valve ZMC200 SV30PSI1 4 poles Contactor 24Vac ZEL100 4P50A24 Surface High Limit manual reset switch USA Models only ZEL200 DISC227 High Limit automatic reset Switch ZEL200 L6C732 Heating elements 3kW ZEL300 240V3KW 4 5kW ZEL300 240V45KW 5kW ZEL300 240V5KW 6kW ZEL300 240V6KW Figure 20 Spare parts front 27 29 KW Figure 21 Spare pa...

Page 28: ...ZMC200 SV30PSI1 Power relay 24Vac ZEL100 24ACNO30 4 poles Contactor 24Vac ZEL100 4P50A24 Temperature and Pressure Indicator ZMC300 75P160CN Transformer 208 240V x 24Vac ZEL400 20842450 50VA Fuse ZEL250 TDMIDJ5 UltraSmart Controller ZEL100 ULTRA Breaker ZEL900 2P100A Figure 22 Spare parts front 33 36 KW ...

Page 29: ...sure is not installed or if it is not functioning properly or when it is not connected to a drain to avoid damage to the property E Installation in which liquid circulating in the tank does not remain in closed circuit or installation in which piping is leaking or on systems with polybutylene pipes or other having no oxygen absorption barrier F Installation where the acidity of water is not within...

Reviews: