


Helpline no.: UK/N. Ireland: 08 458 684 540
Rep. of Ireland:
076 60 600 29
Web Support: www.unisupport.net
P50615
1
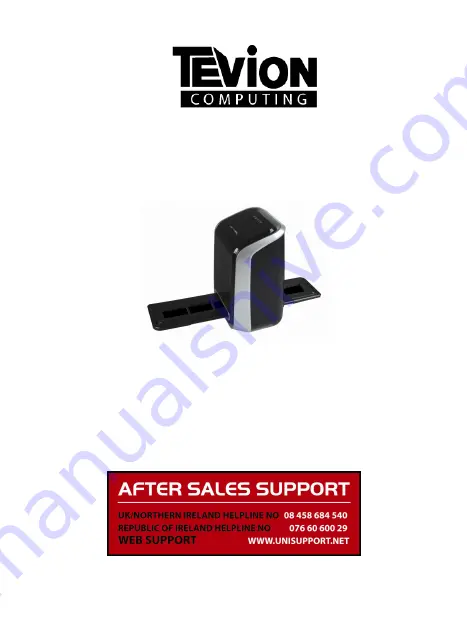
Film Strip Scanner
User Manual
After Sales Support
Now you have purchased a TEVION Film
Strip Scanner you can rest assured in the
knowledge that as well as your 3 year
parts and labour warranty you have the
added peace of mind of dedicated help
lines and web support:


