


R
2800 LAURA LANE • MIDDLETON, WI 53562 • (800) 288-9383 • FAX (608) 836-9044 • www.tcsbasys.com
1
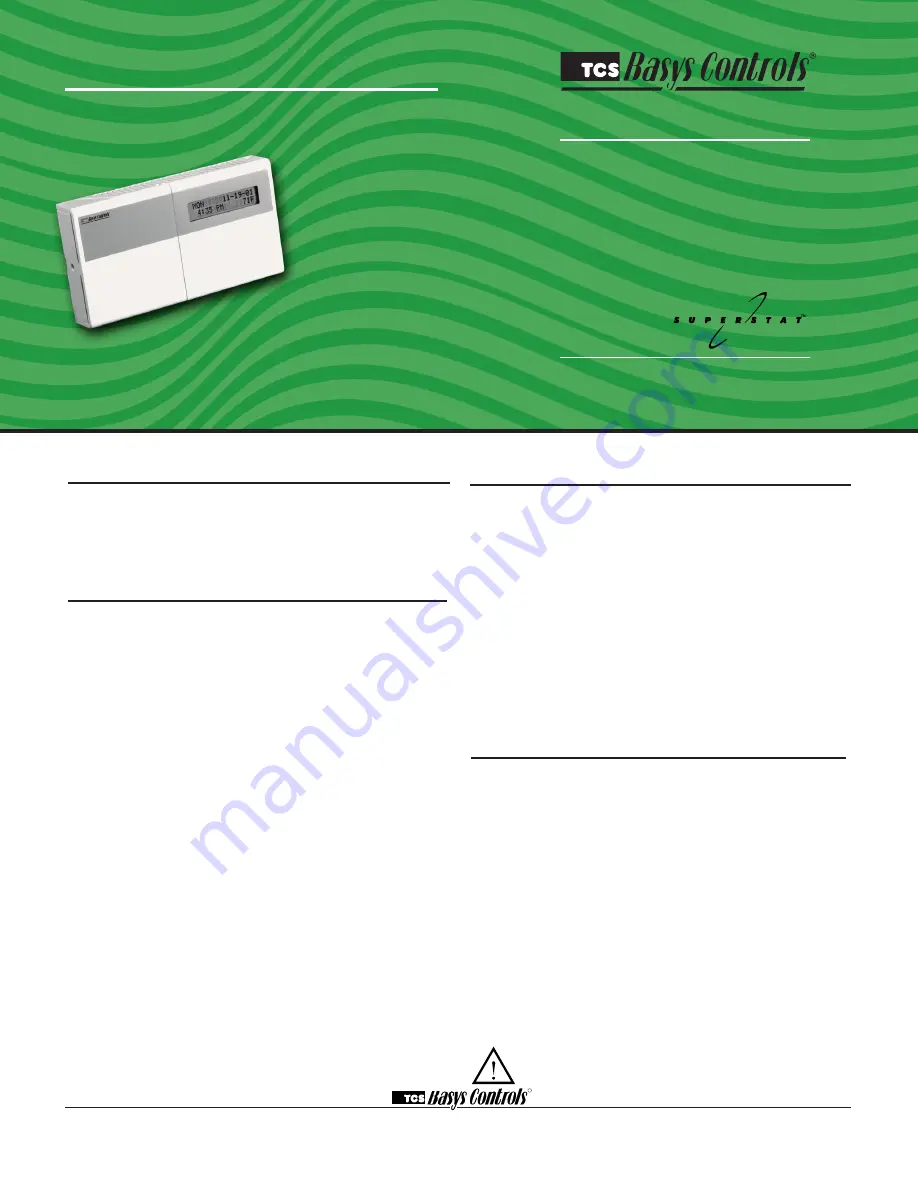
SZ1041A
Make Up Air Unit Thermostat
Product Manual
Description
The SZ1041A is a microprocessor-based programmable
thermostat designed to control air handling units and
make up air units with modulating economizers and/or
modulating heating or cooling. The SZ1041A has a 365-
day time clock.
Features
• Stand-alone or network operation
• Outdoor air sensor input with heating & cooling lockout
• Adjustable delay on power-up and start-up for
soft starts
• P+I control option on digital stages
• Smart Recovery
• No battery backup required
• Built-in HVAC equipment protection
• 32 character LCD display
• Six status LEDs for monitoring
• Remote room sensing capability
• User setpoint adjustment limits
• Local and remote override capability
• System and fan switching with access lockouts
• Equipment monitoring inputs and indication
• External time clock input
• Access to programming or schedule may be locked
out or limited with the use of an access code
• Fahrenheit or Celsius temperature display
Contents
Description
. . . . . . . . . . . . . . . . . . . . . . . . . . . . . . . . . . 1
Features
. . . . . . . . . . . . . . . . . . . . . . . . . . . . . . . . . . . . 1
Mounting
. . . . . . . . . . . . . . . . . . . . . . . . . . . . . . . . . . . 1
Wiring
. . . . . . . . . . . . . . . . . . . . . . . . . . . . . . . . . . . . . . 2
Setup
. . . . . . . . . . . . . . . . . . . . . . . . . . . . . . . . . . . . . . 3
Programming
. . . . . . . . . . . . . . . . . . . . . . . . . . . . . . . . 4
Setting Clock & Schedule
. . . . . . . . . . . . . . . . . . . . . . . 8
Operation . . . . . . . . . . . . . . . . . . . . . . . . . . . . . . . . . . . 9
Checkout & Troubleshooting
. . . . . . . . . . . . . . . . . . . . 12
LED Description
. . . . . . . . . . . . . . . . . . . . . . . . . . . . . . 14
Limiting Occupant Access . . . . . . . . . . . . . . . . . . . . . . 15
User’s Guide
. . . . . . . . . . . . . . . . . . . . . . . . . . . . . . . . . 15
Mounting
The SZ1041A is designed for wall mounting using
two #6 sheet metal screws, either over a horizontally
installed 2" x 4" junction box, or directly to block or dry-
wall.
For best results, the thermostat should be mounted on
an interior wall which reflects normal room environment,
at a height of approximately five feet from the floor.
Avoid areas exposed to direct sunlight, unusual heat
or cool sources, open doors and windows, unventilated
locations and hot or cold air from diffusers.
If using a remote room sensor, it should be mounted in
the manner described above. The thermostat may then
be mounted in an area which is accessible for adjusting
its settings.
Caution
: Remove power from thermostat prior to
mounting.
Communicating Thermostats


