background image

Cubase LE 5 

Quick Start Guide


TASCAM  Cubase LE 5


1

This chapter explains basic operations for 
using the unit with Cubase LE 5.
This explanation is not intended to replace 
the user’s manual for Cubase LE 5. Also, 
since Cubase LE 5 is a product provided by 
Steinberg Media Technologies GmbH, it is 
not supported by TASCAM. 
Please use the Cubase LE 5 Help menu (and 
access the PDF manuals) for information 
about how to use this software.

Trademarks

TASCAM is a trademark of TEAC 


Corporation, registered in the U.S. and 
other countries.
Microsoft, Windows, Windows XP, 


Windows Vista, and Windows 7 
are either registered trademarks or 
trademarks of Microsoft Corporation in 
the United States and/or other countries.
Macintosh, Mac OS and Mac OS X are 


trademarks of Apple Inc., registered in 
the U.S. and other countries.
Cubase and VST are registered 


trademarks of Steinberg Media 
Technologies GmbH. ASIO is a 
trademark of Steinberg Media 
Technologies GmbH.
Other company names, product names 


and logos in this document are the 
trademarks or registered trademarks of 
their respective owners.

Installing Cubase LE 5

1  Insert the Cubase LE 5 DVD-ROM 

into the DVD-ROM drive on your 
computer.


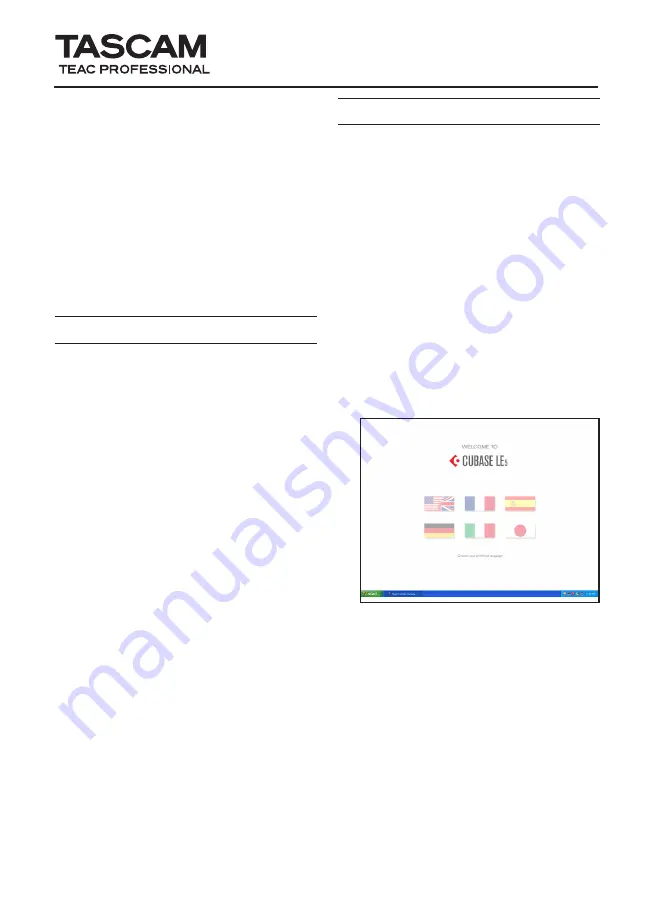
The system displays the language 
selection screen (below). Select the 
language you prefer.


If this language screen does not 
appear automatically, do the 
following:


Windows: Run the 


Cubase_LE_5_Start_Center.exe

 on 

the DVD-ROM.


Mac: Run the 

Cubase LE 5 Start 

Center

 program on the DVD-ROM.

Summary of Contents for US-122MKII

Page 1: ...demarks of Microsoft Corporation in the United States and or other countries Macintosh Mac OS and Mac OS X are trademarks of Apple Inc registered in the U S and other countries Cubase and VST are regi...

Page 2: ...plays the eLicenser Welcome screen Click the Next button to start the installation 5 The system displays the License Agreement for end users Read the contents then select I accept the license agreemen...

Page 3: ...elect I accept the terms in the License Agreement if you agree to the terms Click the Next button 9 A screen appears where you can select the location where you want to install the software Designate...

Page 4: ...5 from the following Steinberg website We recommend that you always use the latest version Please abide by all the precautions listed on the site before updating http www steinberg net en support stei...

Page 5: ...se LE 5 and select Device Setup from the Devices menu 2 Click VST Audio System on the left side of the Device Setup window Set the ASIO Driver item on the right to US 122MKII US 144MKII 3 When the fol...

Page 6: ...igital input and output on the Input and Output tabs of the VST Connections window Click the Add Bus button When the following dialog appears set the Configuration to STEREO and the Count to 1 and the...

Page 7: ...OTE If you choose the Empty template use the Add Track item from the Project menu to add audio tracks TIP When recording a vocal or an acoustic guitar for example with a single microphone create and r...

Page 8: ...er you have completed setting the input buses for every track click the Record Enable buttons making them red for the tracks that you want to record on 3 Press the REC button in the transport section...

Page 9: ...ired settings then press the Export button On this screen set the File Name Path location where saved File Format Sample Rate Bit Depth and other attributes of the file to be created 4 The following s...

Page 10: ...record choose Stereo track s or add Audio track s as Stereo If the project does not have a stereo track select Project menu Add track Audio and create the number of stereo tracks that you need As sho...

Page 11: ...different A6 Could the sampling rate of your project be set to 48 kHz If your ultimate objective is to create a CD TASCAM recommends that the sampling rate be set to 44 1 kHz from the beginning To spe...

Page 12: ...47 Ochiai Tama shi Tokyo 206 8530 Japan D01113620A Printed in China Q8 The sound is distorted A8 Make sure that the signal is not overloading If the signal is analog the ideal level is when the overlo...

Reviews: