

A. Remove the back cover
D. Install a memory card
Before you start
Set up your T-Mobile G1 for the first time
Set up your T-Mobile G1 involves just a few simple steps. After you turned on the phone for the first time, you will be prompted
to set up a Google Mail account. Touch the T-Mobile G1 to begin.
B. Install the SIM card
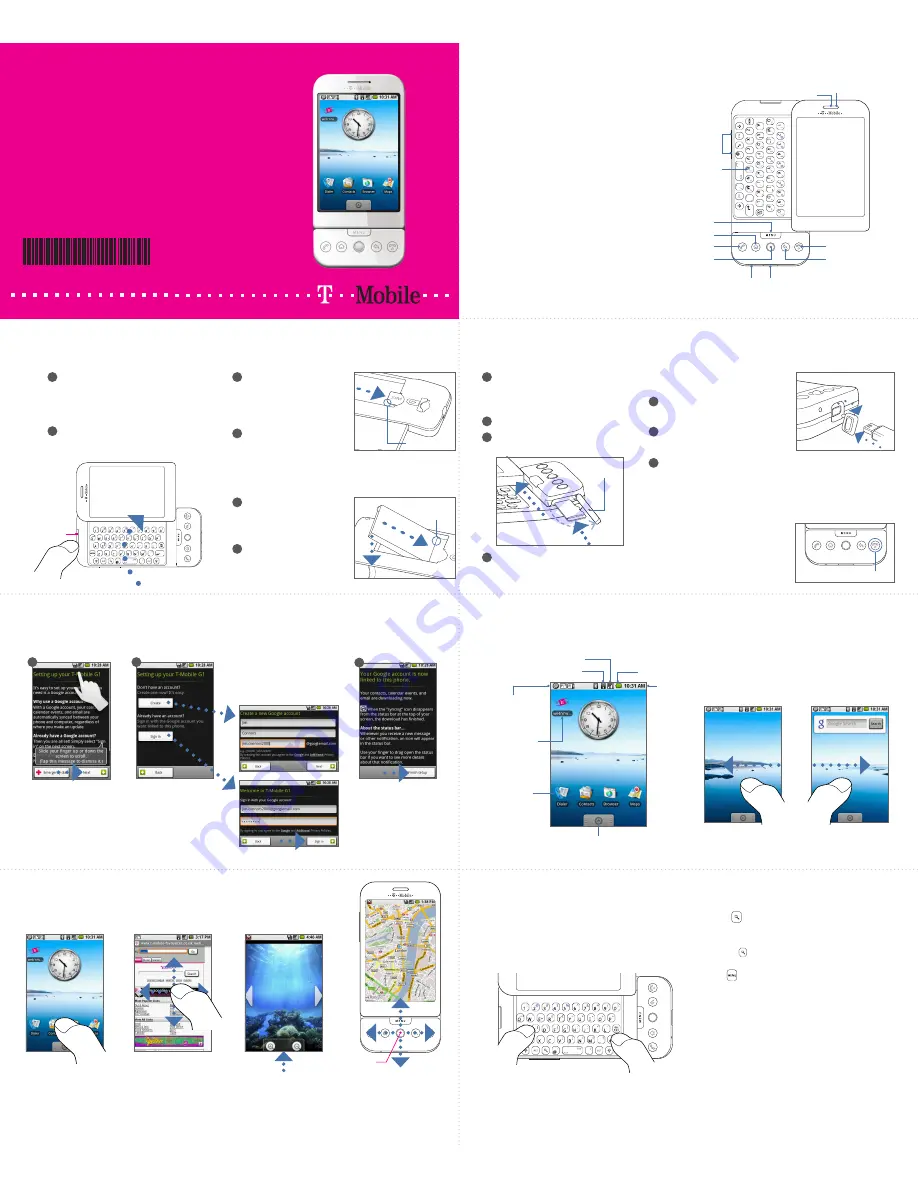
Getting started
This handy guide will get you up and running with your
T-Mobile G1 with Google.
For a complete guide to your phone, check the User Manual in
the User Manual disc.
91H00815-33M Rev.A
Hold the phone sideways with the
control buttons on the right, then
slide the screen panel up to reveal
the keyboard and the back cover
release tab.
1
Push down the back cover release
tab until it disengages from the
phone.
Locate the SIM card slot then
insert the SIM card with its
gold contacts facing down
and its cut-off corner facing
out the card slot.
Check that you’ve received
everything
These are the items that you should find
inside your box.
1. T-Mobile G1
2. USB Cable
3. AC Adapter
4. Wired Stereo Headset
5. Pouch
6. Battery
7. 2GB Memory Card
8. User Manual Disc
9. Screen Protector
10. Getting Started Guide
11. Safety and Regulatory Information
The T-Mobile G1
Notification LED
Touch Screen
HOME
END CALL/POWER
BACK
TRACKBALL
CALL
MENU
Earpiece
Keyboard
Volume Control
buttons
PC Connector/
Earphone Jack
Microphone
Back cover
release tab
1
2
Slide the SIM card completely
into the slot.
C. Install the battery
Align the battery’s exposed
copper contacts with the
battery connectors inside the
battery compartment.
Insert the contact’s side of the
battery first and then gently
push the battery into place.
Replace the back cover.
Flip open the PC connector cover
at the bottom panel of your phone.
While holding the phone sideways,
slide up the keyboard, then locate
the memory card slot at the side of
the control buttons.
Pull open the memory card slot cover.
1
2
Insert the memory card into the slot
with its golden contacts facing down.
Replace the slot cover. Make sure
that both ends of the cover are
properly seated on the slot.
E. Charge the battery
Press the END CALL/POWER button
to turn on the phone.
Note
When the phone is on, press and
hold the END CALL/POWER
button, then tap
Power off
on the
options menu to turn the phone off.
F. Turn the T-Mobile G1 on
Insert the USB connector of the AC
adapter to the PC connector.
Plug in the AC adapter to an electrical outlet to start charging
the battery. The battery is fully charged after about
3
hours
of
charging.
Cut off corner
Copper
contacts
2
Memory card
slot cover
3
1
END CALL/POWER
What you will see on your Home screens
The Home screen, which is actually three screens in one, is your starting point for using the applications on your phone.
You can customise the Home screens to display application icons, shortcuts, and widgets that suit you.
Read the “Setting up your
T-Mobile G1” information,
then tap
Next
.
If you have an existing
Google Mail account, tap
Sign in
, enter your existing
account details, then tap
Sign in
.
Your Google Mail contacts,
calendar events, and emails
are downloaded to your
phone. Tap
Finish setup
to
display the Home screen.
Your notifications.
Signal strength
Battery status
Connection status
Tap an icon to
open the related
application
Applications
tab.
Tap to open the
Applications
tab and select an application.
Time
Tap to open the
web'n'walk site in
Browser.
In addition to the Home screen, slide your finger left
or right on the Home screen to display the extended
Home screens.
Note
You can add application shortcuts, widgets, and
folders to any of the Home screens. Refer to the User
Manual for details.
Enter text and more with the keyboard
When you start an application or select a field that requires
text or numbers, you can use the QWERTY keyboard to
enter information. The QWERTY keyboard is similar to a
computer keyboard with some special keys. To open the
keyboard, hold the device sideways with the control buttons
on the right, then slide the screen panel up.
Note
The screen automatically changes to landscape
orientation when you open the keyboard (except in
Browser and Pictures, where you can fix the screen
orientation regardless of whether the keyboard is open).
Your battery won’t be charged
when it comes out of the box.
Select, scroll, and navigate on your screen
Use the following selection, scroll, and zoom techniques to select
items and navigate through your screens, applications, and menus.
Touch or tap
When selecting items on
the screen, simply touch
or them with your finger.
Zooming
While browsing web pages,
and viewing pictures and
maps, tap the screen to
open the zoom control tab.
Use the TRACKBALL
Roll the TRACKBALL to navigate
selectable items on the screen.
Press the TRACKBALL to select
a highlighted item or action.
Swipe or scroll
Drag or slide your finger
vertically or horizontally
across the screen to scroll
up or down in a list or page.
TRACKBALL
Special keys
Search ( )
Press the
Search
key to open the Search bar. In the
search bar, enter the information you want to search,
then press again, or tap
Search
.
Menu ( )
Instead of pressing the MENU button, you can press the
Menu
key, located at the left of the Z key, to open the
menu for each screen.
Keyboard shortcuts
You can set keyboard shortcuts that open individual
applications when used together with the
Search
key.
To assign a shortcut key:
1.
Press HOME, then press MENU.
2.
Tap
Settings
, scroll down the screen, then tap
Applications > Quick launch
. See the user manual
for details.
2
1
2
1
2
1
2
3
4
1
2
3
1
2
3
Tap
Create
, then open the
keyboard to set up your new
Google Mail account. Follow
screen prompts to proceed.


