


Indesit Company UK Ltd
© 2015 Reg. Office: Peterborough PE2 9JB Registered in London: 106725
Service
Information
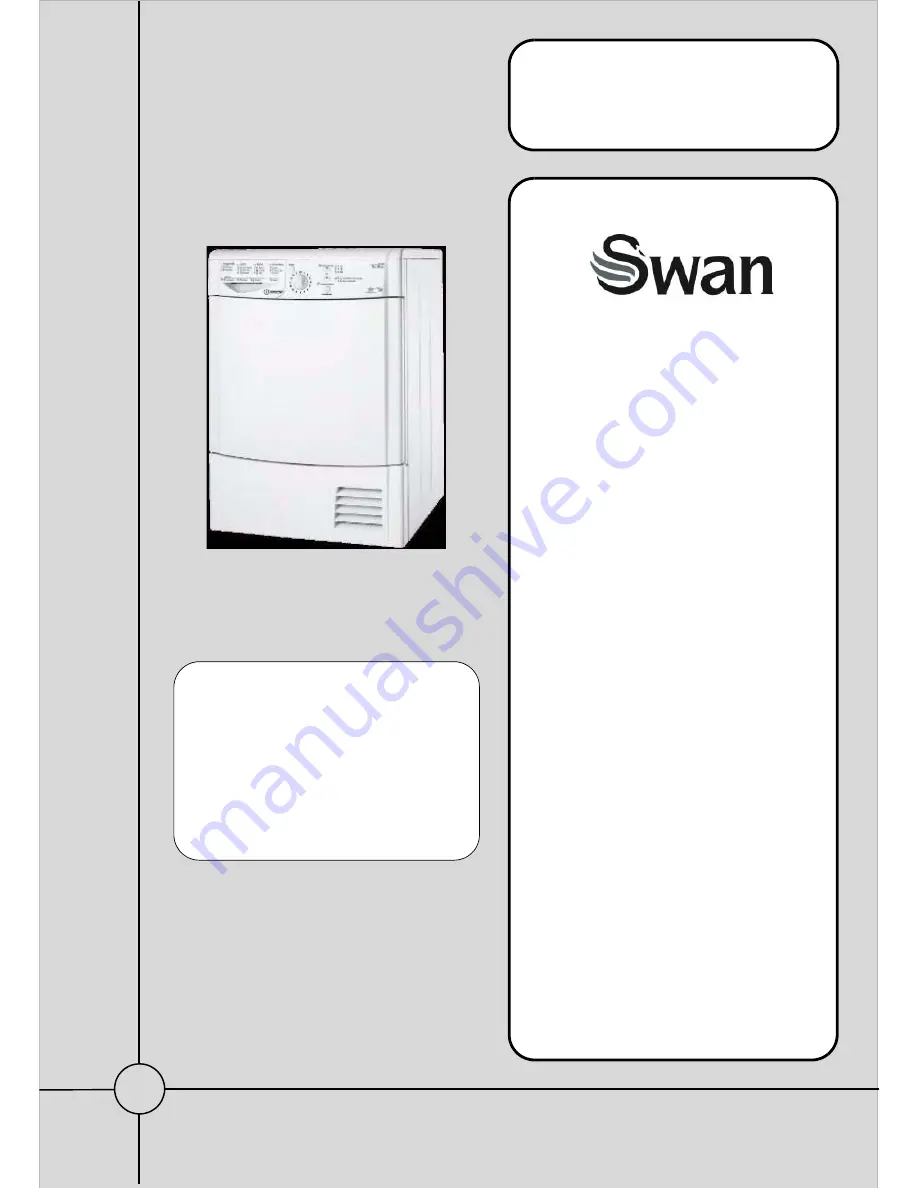
SWAN brand
Entry Level
ELECTRONIC
CONDENSER
TUMBLE DRYERS
Models Covered:
STCL407WUK
87207
STCL407BUK
87208
STCL408WUK
87209
STCL408BUK
87210
5407837 Issue 2 July 2015
SM003992 ~ C00307711
PLEASE NOTE:
These models do not
display Fault Codes if a
Fault occurs.
Refer to the Fault Finding
details on page 6.


