background image


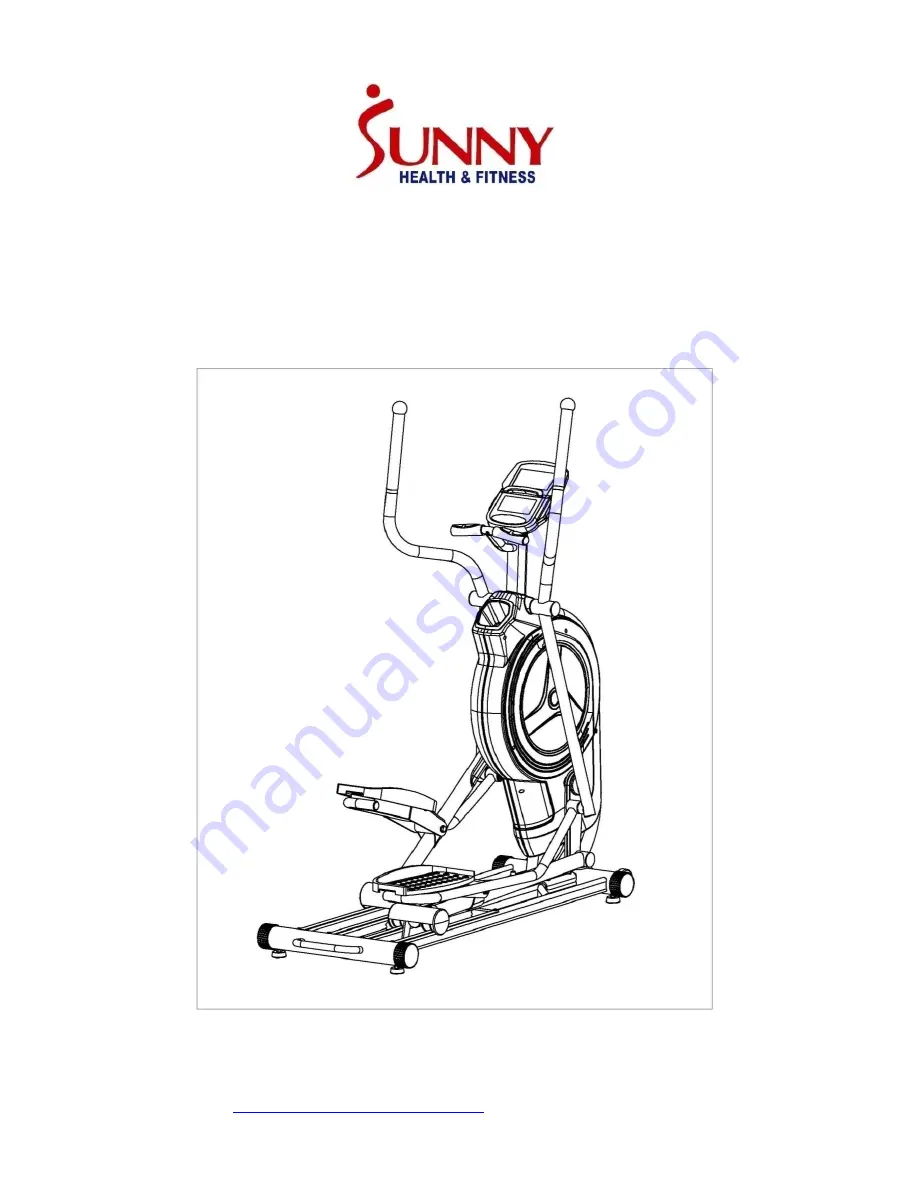
PROGRAMMABLE ELLIPTICAL 

TRAINER 

SF-E3875 

USER MANUAL 


IMPORTANT!

 Please r

etain owner’s manual for maintenance and adjustment instructions.  Your 

satisfaction  is  very  important  to  us,

  PLEASE  DO  NOT  RETURN  UNTIL  YOU  HAVE 

CONTACTED US

[email protected]

 or 1- 877 - 90SUNNY (877-907-8669).


Summary of Contents for SF-E3875

Page 1: ...ER MANUAL IMPORTANT Please retain owner s manual for maintenance and adjustment instructions Your satisfaction is very important to us PLEASE DO NOT RETURN UNTIL YOU HAVE CONTACTED US support sunnyhealthfitness com or 1 877 90SUNNY 877 907 8669 ...

Page 2: ... the equipment The equipment is designed for adult use only 4 Use the equipment on a solid flat level surface with a protective cover for your floor or carpet To ensure safety the equipment should have at least 4 feet 1 2 M of free space all around it 5 Ensure that all nuts and bolts are securely tightened before using the equipment The safety of the equipment can only be maintained if it is regul...

Page 3: ...2 EXPLODED DIAGRAM ...

Page 4: ...r D10XΦ20X2 2 61 Cross Pan Head Self drilling Screw ST4 2X12 4 19 Wave Washer D21 1 62 Flat Washer D5XD16X1 2 4 20 Bearing 6004Z 6 63 Nylon Nut M6 5 21 Flat Washer D8XΦ25X2 2 64 Spring Washer D6 4 22 Spring Washer D8 6 65 Belt Pulley 1 23 Inner Hex Pan Head Bolt M8X20 7 66 Centre Axle 1 24 Cap 4 67 Hex Bolt M6X15 4 25 Aluminum Bushing 2 68 Sleeve 1 26 Foam Grip 2 69 Inner Sleeve 1 27 End Cap 2 70 ...

Page 5: ... in order for us to accurately identify the part s needed The model number found on cover of manual The product name found on cover of manual The part number found on the EXPLODED DIAGRAM and PARTS LIST found near the front of the manual Please contact us at support sunnyhealthfitness com or 1 877 90SUNNY 877 907 8669 HARDWARE PACKAGE 89 S 10 13 14 15 17 1PC 87 S 6 1PC 86 S 8 1PC 88 S 6 1PC 90 S 1...

Page 6: ...shers No 14 2 Inner Hex Cylinder Head Bolts No 17 and 2 Curve Washers No 18 that were just removed Tighten and secure with Allen Wrench No 86 Remove the preassembled 2 Inner Hex Pan Head Bolts No 47 2 Limited Bushings No 48 and 2 Cap Nuts No 49 from the Wheel Frames No 4L R Move the Left Wheel Frame No 4L so the hole on the metal plate is lower than the Base Frame No 2 See Fig A Insert Inner Hex P...

Page 7: ... No 4L R with 4 Cross Pan Head Self drilling Screws No 51 that were just removed Tighten and secure with Spanner No 89 Remove the preassembled 2 Inner Hex Pan Head Bolts No 23 2 Spring Washers No 22 2 Flat Washers No 21 and 4 Sleeves No 91 from the long axle on the Main Frame No 1 Attach the Swing Tubes No 3L R to the axle of Main Frame No 1 with 2 Inner Hex Pan Head Bolts No 23 2 Spring Washers N...

Page 8: ... not fully tighten at this time Remove the preassembled 2 Hex Bolts No 37 2 Big Flat Washers No 38 2 Small Flat Washers No 14 and 2 Nylon Nuts No 15 from the Pedal Supports No 5L R Attach the Pedal Supports No 5L R to the Wheel Frames No 4L R with 2 Hex Bolts No 37 2 Flat Washers No 38 2 Small Flat Washers No 14 and 2 Nylon Nuts No 15 that were just removed Tighten and secure with Spanner No 90 No...

Page 9: ...ighten and secure with Spanner No 89 Remove the preassembled 4 Cross Pan Head Screws No 31 from the back of the Meter No 30 Connect the Sensor Wire No 28 and 2 Pulse Wires No 29 with corresponding wires of Meter No 30 Then attach Meter No 30 to the bracket of Main Frame No 1 with 4 Cross Pan Head Screws No 31 that were just removed Tighten and secure with Spanner No 89 Note Make sure all the wires...

Page 10: ...TO MOVE THE ELLIPTICAL There are Wheels No 13 located on the Front Base Frame No 2 Hold the handlebar on the Rear Base Frame No 2 and pull forward to lift the rear of the elliptical off the floor Now you can move the elliptical trainer ADJUSTING THE BALANCE In order to achieve a smooth and comfortable ride you must ensure that the elliptical trainer is stable If you notice that the elliptical is u...

Page 11: ...P During workout increases the resistance level Increase value of selected parameter ENTER To input the value or mode RECOVERY Enters into Recovery function when computer displays the heart rate value Recovery displays F1 F6 F1 is poor recovery heart rate F6 is excellent recovery heart rate MODE During workout switch display from RPM to SPEED ODO to DIST and WATT to CALORIES WORKOUT SELECTION Afte...

Page 12: ...rkout Parameters After selecting the desired workout mode Manual Program Pre set Programs Watt Control Program Body Fat Program Target Heart Rate Program Heart Rate Control Program and User Program You may pre set several workout parameters for desired results Note Some parameters are not adjustable in certain programs Time and Distance cannot be set up at the same time Once a program has been sel...

Page 13: ...P or DOWN button then press ENTER 2 TIME will flash so the value can be adjusted using the UP or DOWN button 3 Press the ENTER button to save the value and move to the next parameter to be adjusted Note If you set up the target time to workout then the next parameter of Distance cannot be adjusted 4 Continue through all desired parameters and press the START STOP button to begin the workout Note O...

Page 14: ...value and move to the next parameter to be adjusted Continue through all desired parameters pressing the START STOP button to begin the workout Workout in any pre set program You can adjust the level of resistance by pressing the UP or DOWN button during the workout Note If you set up the target time to workout then the next parameter of Distance cannot be adjusted Once the workout parameters coun...

Page 15: ...atically depending on the speed to maintain the constant watt value You can use the UP or DOWN button to adjust the watt value during the workout BODY FAT Program P15 Program profile SETTING DATA FOR BODY FAT Select BODY FAT Program P15 using the UP or DOWN button then press ENTER MALE will flash so Gender can be adjusted using the UP or DOWN button Press the ENTER button to save gender and move t...

Page 16: ... Program profile SETTING PARAMETERS FOR TARGET HEART RATE PROGRAM 1 Select TARGET HR P16 using the UP or DOWN button then press ENTER 2 TIME will flash The value can be adjusted using the UP or DOWN button 3 Press the ENTER button to save the value and move to the next parameter to be adjusted Note If you set up the target time to work out then the next parameter of Distance cannot be adjusted 4 C...

Page 17: ...art the workout Note If Pulse is above or below 5 the TARGET HR the computer will adjust the resistance load automatically It will check every 20 seconds approx 1 resistance load will increase or decrease Note each resistance load represents 2 levels of load If one of the workout parameters counts down to be zero it will beep and stop the workout automatically Press the START STOP button to contin...

Page 18: ...d parameters level 1 will flash Use the UP or DOWN button to adjust then press the ENTER button until finished There are 10 times total Press the START STOP button to begin the workout Note Once the workout parameter counts down to zero it will beep and stop the workout automatically Press the START STOP button to continue the workout to reach the unfinished workout parameter Version 1 1 ...

Reviews: