


WebDT Mobile Tablet Barcode Scanner Operation Guide
Mobile POS Tablet
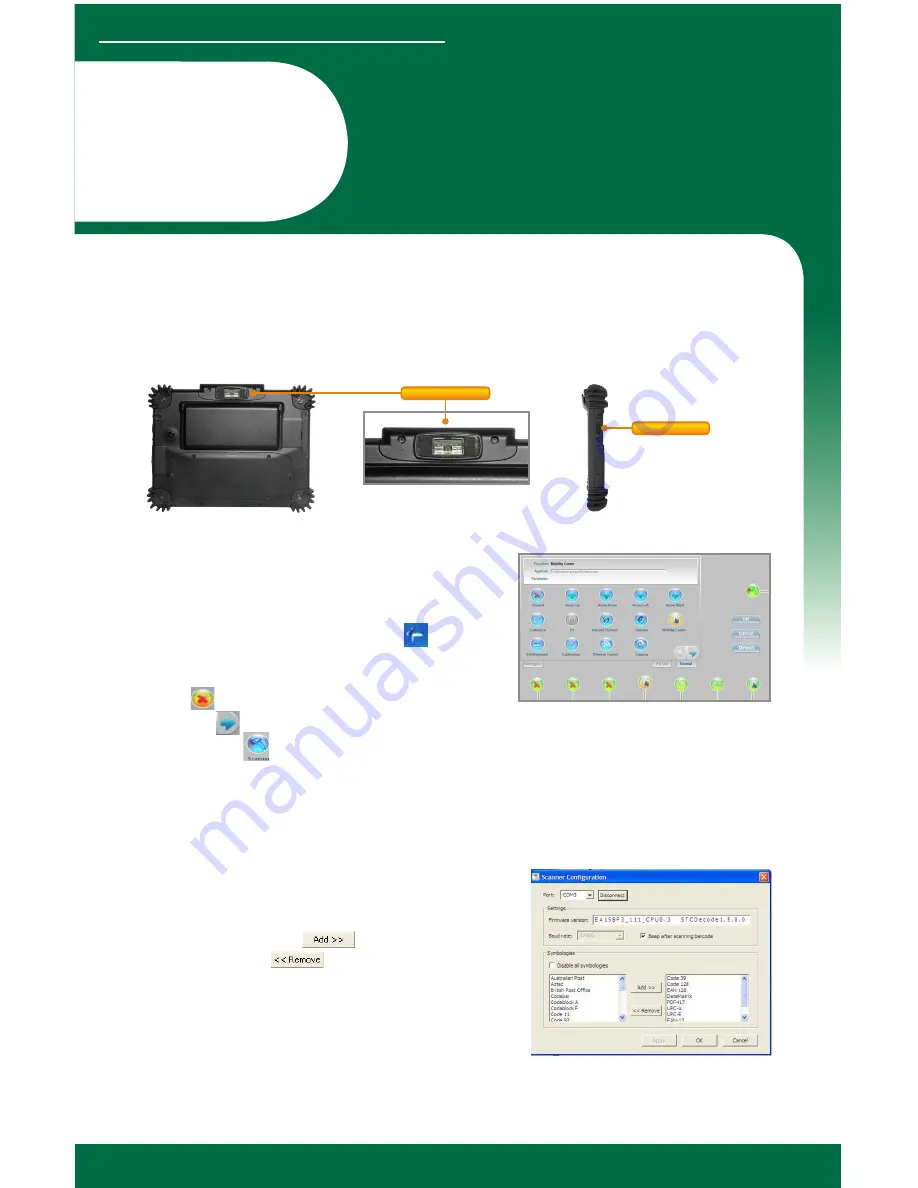
Barcode Scanner
Button Management
The default scanner trigger button is at right side. To
assign
Scanner Trigger button, follow the procedures
below.
1. Start
Button Manager
by clicking on in the
system tray.
2. Select an available unused button marked with the
icon .
3. Click on to go to the second screen of
Button Manager.
4. Click on the icon to assign the
Scanner Trigger
to the unused button.
5. Click OK to apply configuration settings and close the window.
Installation
The Barcode Scanner is preinstalled as an option for the SUMO ST390.
SUMO ST390 OPERATION GUIDE
www.sumotech.com
Scanner 1/2
Barcode Scanner
Trigger Button
Scanner Configuration
To
Add/Remove
Symbologies, follow the procedures below.
1. Click
Start | All Programs | Button Manager |
ScannerConfig
.
2. Select
COM3
and click
Connect
button.
3.
Add
Symbology with
button and
Remove
Symbology with
button.
4. Select the
Beep after scanning barcode
checkbox to
enable beep sound after scanning bar code or deselect
it to disable the beep sound.
5. Click OK to apply the configuration settings and close
the window.
Note:
Adding only the symbologies you need for testing will give the best results. Adding too many
symbologies all at the same time will influence performance.
D


