


Summary of Contents for S932
Page 21: ...20...
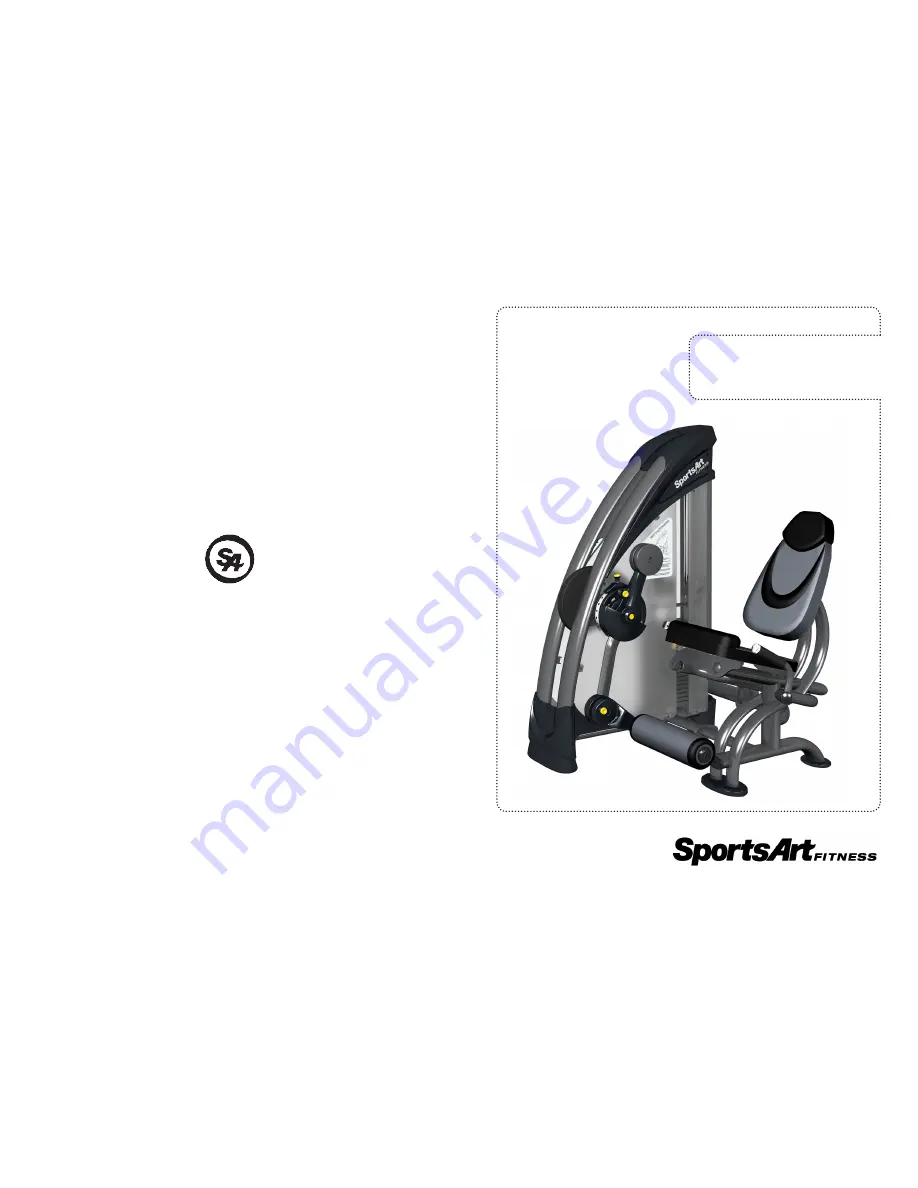
The SportsArt Fitness S932 is a high-quality elliptical trainer designed for a superior cardio workout. To ensure proper usage and maintenance, make sure to download the Owner's Manual for free from manualshive.com. This comprehensive manual provides instructions on assembly, operation, and troubleshooting to keep your equipment in top condition.
Page 21: ...20...


