

PIN pad
fig. 3
fig. 2
fig. 1
fig. 4
fig. 5
© 2013 Spire Payments Holdings S.a.r.l. All rights reserved.
All information is subject to change
without notice and Spire Payments does not warrant the information’s accuracy or correctness.
Spire Payments, the Spire Payments logo, Thyron, Thyron Payments Systems and the Thyron
Payments Systems logo are trademarks, service marks or registered trademarks or service marks of
Spire Payments Holdings S.a.r.l. All other trademarks are the property of their respective owners.
Any Spire Payments software described in this document is subject to a Software License Agreement.
Please refer to the Software License Agreement for information regarding the terms of use.
What you have received:
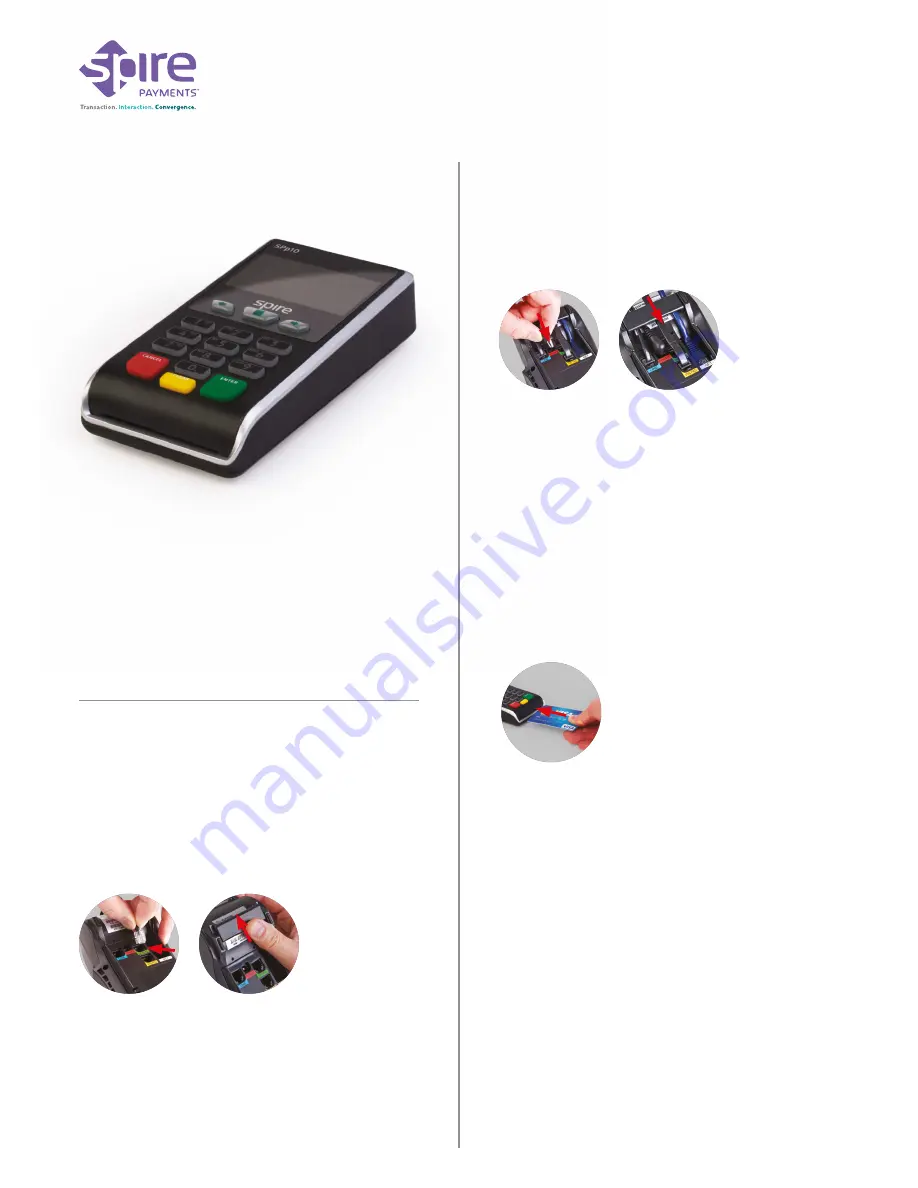
SPp10
Quick Reference Guide
•
•
•
Ensure the terminal is in its idle state.
Unplug the terminal’s power supply from the electrical outlet.
If it is difficult to locate the terminal’s electrical outlet, an alternative
is to remove the plug from the socket on the rear of the terminal
identified by a red
POWER
label. To remove rotate the plug clockwise
until it points to a 3 o’clock position at which point it can be pulled
out. If a serial cable is connected to the socket identified by a green
SERIAL
label, this will need removing first.
(fig. 1)
Step 1.
Disconnecting the T4220 terminal’s power supply
•
Place the terminal face down and slide the cable tidy upwards
until it becomes detached from the terminal.
(fig. 2)
•
Unplug the existing PIN Pad from the terminal by pressing the
small tab on the plug and pulling upwards. The socket is identified
by a yellow PIN PAD label.
Step 3.
Removing the existing PIN Pad
•
•
•
•
•
•
•
•
•
•
•
•
•
•
•
•
Remove the new SPp10 PIN Pad from its packaging.
Push the new SPp10 PIN Pad’s plug into the socket on the rear
of the terminal identified by a yellow PIN PAD label. Once it is
correctly located you will hear a soft click.
(fig. 3)
Remove the protective film from the display.
Ask the customer to insert the Chip Card into the PIN Pad.
(fig. 5)
Enter the transaction amount into the terminal when prompted.
Ask the customer to confirm the amount and enter their PIN on
the PIN Pad.
The terminal will automatically contact the acquirer and approve
or decline the transaction.
A merchant copy of the receipt will be printed. Tear off and retain
for your records.
Confirm display prompt to print the customer’s receipt.
Once printed, tear off, pass to the customer and ask the customer
to remove the card from the PIN Pad.
If disconnected, reinsert the power plug into the socket on the rear
of the terminal identified by a red POWER label. Insert the plug by
pointing it at a 3 o’clock position and rotating anti-clockwise until
at the 12 o’clock position. Reconnect the serial cable if present.
Neatly route all the cables over the top of the terminal so they
do not overlap one another.
Ensure the cable tidy is orientated with the notches on either
side sliding in first to the slots on the side of the terminal’s feet
and slide home until you hear a click. Ensure both sides of the
cable tidy are correctly located.
(fig. 4)
Turn the terminal over and, if required, switch the electrical outlet on.
Please refer to the User Manual for performing all transaction
types and reading card data by Swipe, Keyed and Contactless.
It is essential to perform specific processes at the end of a working
day, and possibly between shifts for internal records.
Please refer
to the User Manual for more details.
Step 7.
Other transaction types
Step 8.
End of day/shift change procedures
Step 4.
Connecting the new SPp10 PIN Pad
Step 6.
Performing a Chip Card sale transaction with PIN
Step 5.
Replacing the cable tidy and turning the terminal on
Step 2.
Removing the cable tidy


