


Was this document helpful?
smarttech.com/docfeedback/171178
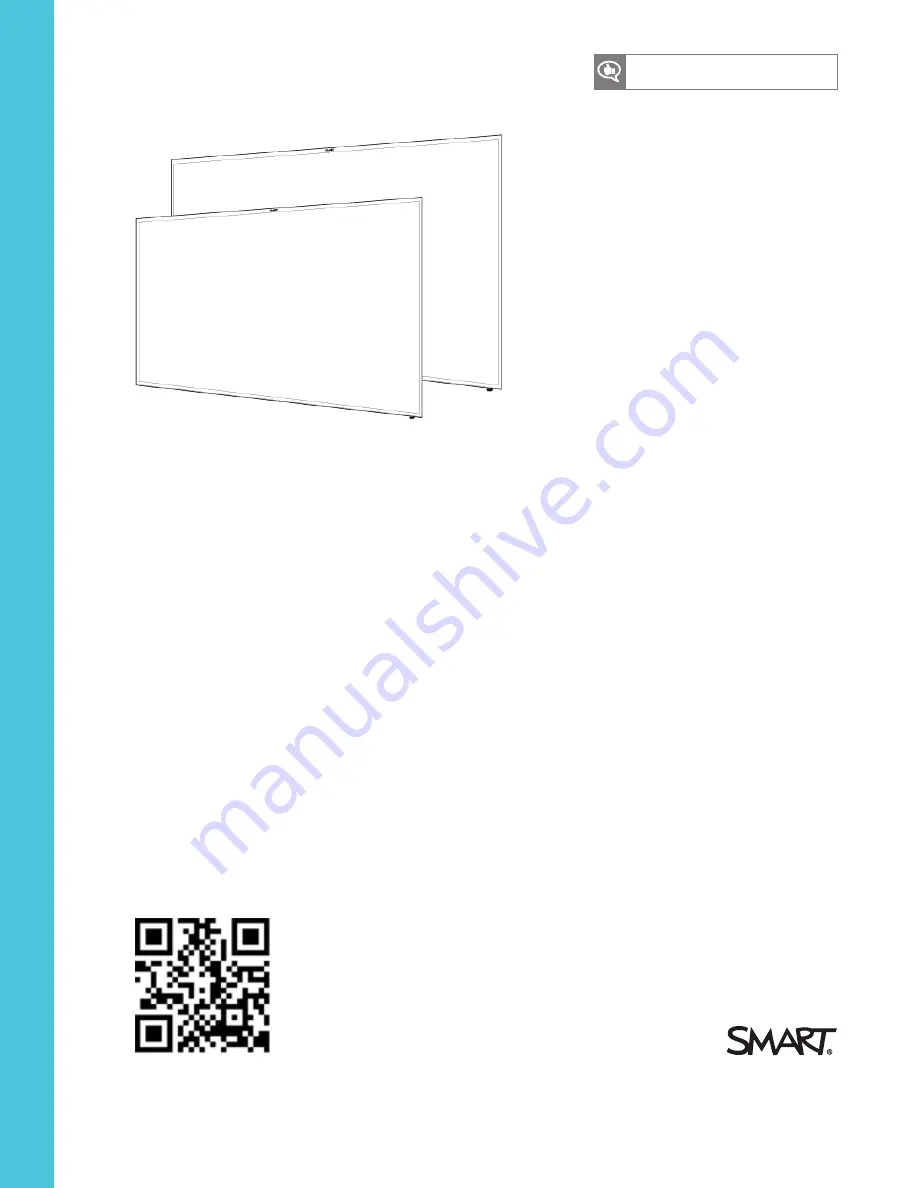
SMART Board 2000 series
Display
USER’S GUIDE
FOR SBD-2075
Содержание SMART Board 2000 series
Страница 16: ......
Страница 54: ......
Страница 59: ......
Страница 60: ...SMART TECHNOLOGIES smarttech com support smarttech com contactsupport smarttech com kb 171178 ...


