Shinko Denshi CT1602, Operation Manual
The Shinko Denshi CT1602 Operation Manual is a comprehensive guide for users to navigate through the features and functionalities of the CT1602 device. This manual is available for download free of charge from manualshive.com, ensuring easy access to the essential information required for optimal product operation.
Share
Download


Reviews:
No comments
Related manuals for CT1602
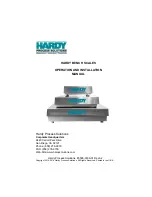
400 Series
Brand: Hardy Process Solutions Pages: 18
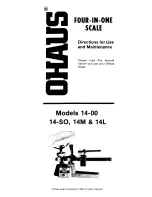
1400 Series
Brand: OHAUS Pages: 5

TR-100
Brand: Fast Weigh Scales Pages: 7

845KL
Brand: Health O Meter Pages: 2

EZ2-2000
Brand: Setra Systems Pages: 32

04144
Brand: cecotec Pages: 18

9177
Brand: Salter Pages: 48

Defender 3000 Series
Brand: OHAUS Pages: 10

HH 320
Brand: OHAUS Pages: 40

61223
Brand: Propert Pages: 24

20455
Brand: Bimar Pages: 20

FX-300
Brand: A&D Pages: 27

FW-100KA1
Brand: A&D Pages: 41

FG-150KCLWP
Brand: A&D Pages: 52

FC-10Ki
Brand: A&D Pages: 64

FX-1200i
Brand: A&D Pages: 79

FX-1200CT
Brand: A&D Pages: 84

Linear Scale
Brand: Haas Pages: 4


