background image

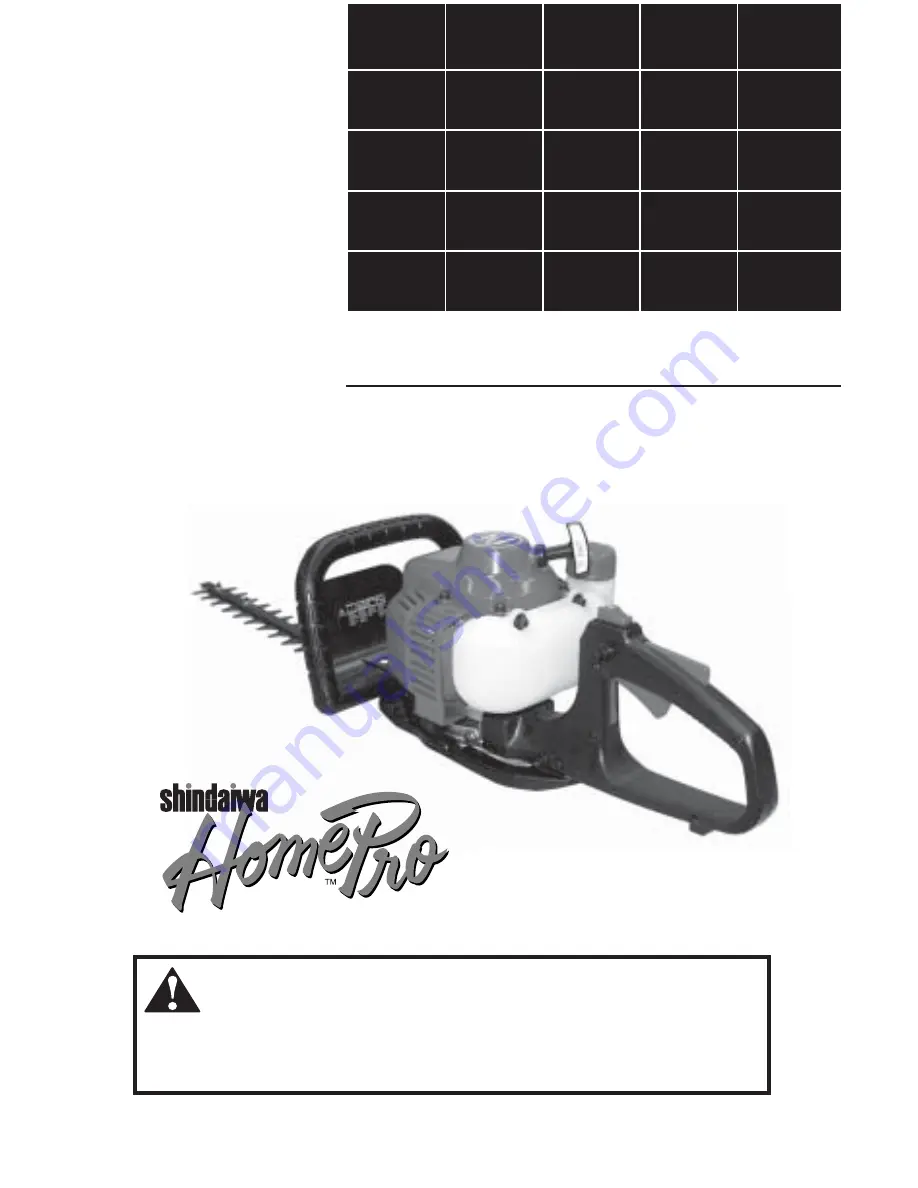
22DH DOUBLE-SIDED
HEDGE TRIMMER

SHINDAIWA OWNER'S/

OPERATOR'S MANUAL

WARNING!

Minimize the risk of injury to yourself and others! Read this manual and
familiarize yourself with the contents. Always wear eye and hearing
protection when operating this unit.

Part Number 68126-94010   Revision 2/02

Summary of Contents for HomePro 22DH series

Page 1: ...WNER S OPERATOR S MANUAL WARNING Minimize the risk of injury to yourself and others Read this manual and familiarize yourself with the contents Always wear eye and hearing protection when operating this unit Part Number 68126 94010 Revision 2 02 ...

Page 2: ...daiwa product there may be some differ ences between your 22DH series machine and what is described here Shindaiwa Inc reserves the right to make changes to products without prior notification and without obliga tion to make alterations to units previously manufactured WARNING The engine exhaust from this product contains chemicals known to the State of California to cause cancer birth defects or ...

Page 3: ...nded to help you get the most from your 22DH hedge trimmer as well as to protect you and others from harm These procedures are guidelines for safe operation under most conditions and are not intended to replace any safety rules and or laws that may be in force in your area If you have questions regarding your 22DH hedge trimmer unit or if you do not understand something in this manual your Shindai...

Page 4: ...Information Labels Make sure all information labels are undamaged and readable Immediately replace damaged or missing information labels New labels are available from your local authorized Shindaiwa dealer Safety Labels Figure 1 SAFETY ...

Page 5: ... the handles clean ALWAYS disconnect the spark plug wire before performing any maintenance work NEVER use a cracked or broken cutter or cutter bar replace it with a new or serviceable one NEVER attempt to adjust the cutter with the engine running Stay Alert You must be physically and mentally fit to operate this unit safely General Safety Instructions WARNING WARNING Never operate power equipment ...

Page 6: ...brush Secure hair so it is above shoulder level NEVER wear shorts Always wear eye protection such as goggles or safety glasses Wear appropriate footwear non skid boots or shoes do not wear open toed shoes or sandals Never operate the unit while barefoot Keep a proper footing and do not overreach Maintain your balance at all times during operation Always make sure the cutters are correctly adjusted...

Page 7: ...e stop the engine and install the blade cover Do not allow cutters to contact buildings or other hard objects during operation If a cutter should bind fast in a cut stop the engine immediately Remove the cause of the bind before proceeding Inspect the cutting site thoroughly prior to operation Remove objects that could get entangled by the cutter blade Note the locations of fence posts and other f...

Page 8: ... as a guide familiarize yourself with this unit and its various components Understanding this unit helps ensure top performance long service life and safer operation WARNING Do not make unauthorized modifications or alterations to this unit or to any of its components or accessories IMPORTANT The terms left left hand and LH right right hand and RH front and rear refer to directions as viewed by th...

Page 9: ...daiwa Premium 2 cycle mixing oil Fuel Tank Capacity 0 4 liter 13 6 oz Carburetor Walbro WYL diaphragm type with primer Ignition One piece fully electronic transistor controlled Spark Plug Champion CJ8 For EMC compliance use NGK BMR6A Air Cleaner Foam type Starting Method Recoil type Stopping Method Slide switch grounding type Unit Dimensions L x W x H 985 x 240 x 214mm 38 8 x 9 4 x 8 4 inches Blad...

Page 10: ...le Throttle Position Full Throttle Position 2 If free play adjustment is required loosen the two 10mm throttle cable nuts at the throttle cable bracket 3 Adjust the throttle cable nuts until you achieve correct throttle free play See Figure 6 4 When 1 4 inch 5 10mm free play is achieved tighten the two 10mm throttle cable nuts When the throttle cable is correctly adjusted and the throttle trigger ...

Page 11: ...ng oil Example of 50 1 mixing quantites 1 gallon of gasoline to 2 6 oz mixing oil 5 litres of gasoline to 100 ml mixing oil IMPORTANT Mix only enough fuel for your immedi ate needs If fuel must be stored longer than 30 days and Shindaiwa One oil with fuel stabilizer is not used it should first be treated with a fuel stabilizer such as StaBil WARNING Minimize the risk of fire Stop the engine before...

Page 12: ...rburetor by depressing the carburetor primer bulb 4 or 5 times until you see clear fuel flowing through the transparent primer bulb See Figure 10 Ignition Switch Throttle Lever Throttle Lockout Lever Throttle Lock Button WARNING KEEP CLEAR OF THE CUTTERS DURING STARTING OPERA TIONS THE CUTTERS MAY MOVE WHEN THE ENGINE IS STARTED Place the hedge trimmer on the ground during all starting operations ...

Page 13: ...l starter to the end of the rope travel Pulling the recoil starter to the end of the rope travel can damage the starter 8 Open the choke by moving the choke lever backward toward the fuel tank if it isn t open already See Figure 13 9 If the engine does not continue to run repeat the appropriate starting procedures for a cold or warm engine 10 When the engine starts clear excess fuel from the combu...

Page 14: ...e Open Figure 15 22DH06 STOP Position 2 If the spark plug is fouled or is soaked with fuel clean or replace the plug as necessary For spark plug specifications and gapping procedure see page 18 CAUTION Incorrect spark plug installation can result in serious engine damage 4 Replace the spark plug and tighten it firmly with the spark plug wrench If a torque wrench is available torque the spark plug ...

Page 15: ... until warm 2 If the cutters oscillate when the engine is at idle reduce idle speed by turning the idle adjustment screw counterclockwise See Figure 17 3 If a tachometer is available the engine idle speed should be final adjusted to 3 000 250 rpm min 1 Adjusting Engine Idle Idle Adjustment Screw Figure 17 Stopping the Engine 22DH06 Ignition Switch Ignition OFF 1 Cool the engine by allowing it to i...

Page 16: ...ED PARTS MAY IMPAIR THE EFFECTIVENESS OF THE EMIS SION CONTROL SYSTEM AND MAY HAVE A BEARING ON THE OUT COME OF A WARRANTY CLAIM WARNING Before performing any mainte nance repair or cleaning work on the UNIT make sure the engine and cutting attachment are completely stopped Disconnect the spark plug wire before per forming service or maintnenance work WARNING Non standard parts may not operate pro...

Page 17: ...ng Check the cutters for damage or incorrect adjustment Check for loose or missing screws or components Make sure the cutter attachment is securely fastened Check the entire unit for leaking fuel or grease Keep intake clean Figure 19 Keep cooling fins clean Muffler This unit must never be operated with a faulty or missing spark arrester or muffler Make sure the muffler is well secured and in good ...

Page 18: ...t in then reassemble See Figure 20 CAUTION Before removing the spark plug clean the area around the plug to prevent dirt and debris from getting into the engine s internal parts Every 10 to 15 hours of operation Remove and clean the spark plug See Figure 21 Adjust the spark plug electrode gap to 0 024 inch 0 6 mm If the plug must be replaced use only For EPA version Champion CJ8 For EMC version el...

Page 19: ...Three pumps of the grease gun handle should be adequate See Figure 22 DO NOT OVERFILL THE GEARCASE Every 50 Hours or before long term storage Remove the gearcase cover Use solvent and a soft brush to remove all old grease from the gearcase See Figure 23 To refill hand pack the gearcase with approximately 40 50 grams of high quality lithium based grease 50 70 of capacity DO NOT OVERFILL VIEWED FROM...

Page 20: ...oked Wire Figure 24 50 Hour Maintenance Every 50 hours of operation more frequently in dusty or dirty conditions Muffler Maintenance If carbon accumulations in the muffler or cylinder are severe or if you do not notice an improvement in performance after servicing return the trimmer to your Shindaiwa dealer for inspection Use a hooked wire to extract the fuel filter from inside the fuel tank See F...

Page 21: ... manual Repair or replace any damaged components as required and then store the unit in a clean dry and dust free area 22DH11 WARNING The cutter blades are very sharp Always wear gloves when working around the cutter assembly CAUTION Operating the hedge trimmer with worn or improperly adjusted cutters will reduce cutter perfor mance and may also damage this unit Cutter performance of this unit dep...

Page 22: ...lace fuel filter Check for proper venting Replace vent as necessary Re start NO Is there spark at the spark plug wire terminal The ignition switch is OFF O Shorted ignition Faulty ignition unit Move switch to ON I re start Consult with an authorized servicing dealer NO YES YES Check the spark plug If the plug is wet excess fuel may be in the cylinder The plug may be fouled or improperly gapped The...

Page 23: ...Cause Remedy Engine is rough at all speeds May also have black smoke and or unburned fuel at the exhaust Clogged air cleaner Loose or damaged spark plug Water in the fuel Faulty carburetor and or diaphragm Clean or replace the air filter element Tighten or replace the plug with a Champion CJ8 or equivalent spark plug of the correct heat range For electro magnetic compliance EMC use a NGK BMR6A res...

Page 24: ...t with an authorized servicing dealer Engine difficult to shut off Ground stop wire is disconnected or switch is defective Overheating due to incorrect spark plug Overheated engine Test and replace as required Replace the plug with a Champion CJ8 or equivalent spark plug of the correct heat range For electromagnetic compliance EMC use a NGK BMR6A resistor plug Adjust the spark plug electrode gap t...

Page 25: ... components are specifically listed below Where a warrantable condition exists Shindaiwa Kogyo Co Ltd will repair your small off road engine at no cost to you including diagnosis parts and labor Manufacturer s Warranty Coverage When sold within the U S this engine s emission control system is warranted for a period of two 2 years from the date this product is first delivered to the original retail...

Page 26: ...s You are responsible for presenting your small off road engine to an authorized Shindaiwa Dealer as soon as a problem exists The warranty repairs should be completed in a reasonable amount of time not to exceed 30 days If you have any questions regarding your Warranty Rights and responsibili ties you should contact a Shindaiwa customer service representative at 503 692 3070 or your local Shindaiw...

Page 27: ...27 NOTES ...

Page 28: ...wa com Shindaiwa Kogyo Co Ltd Head Office 6 2 11 Ozuka Nishi Asaminami ku Hiroshima 731 3167 Japan Telephone 81 82 849 2220 FAX 81 82 849 2481 䊚2002 Shindaiwa Inc Part Number 68126 94010 Revision 2 02 Shindaiwa is a registered trademark of Shindaiwa Inc Specifications subject to change without notice ...

Reviews: