background image

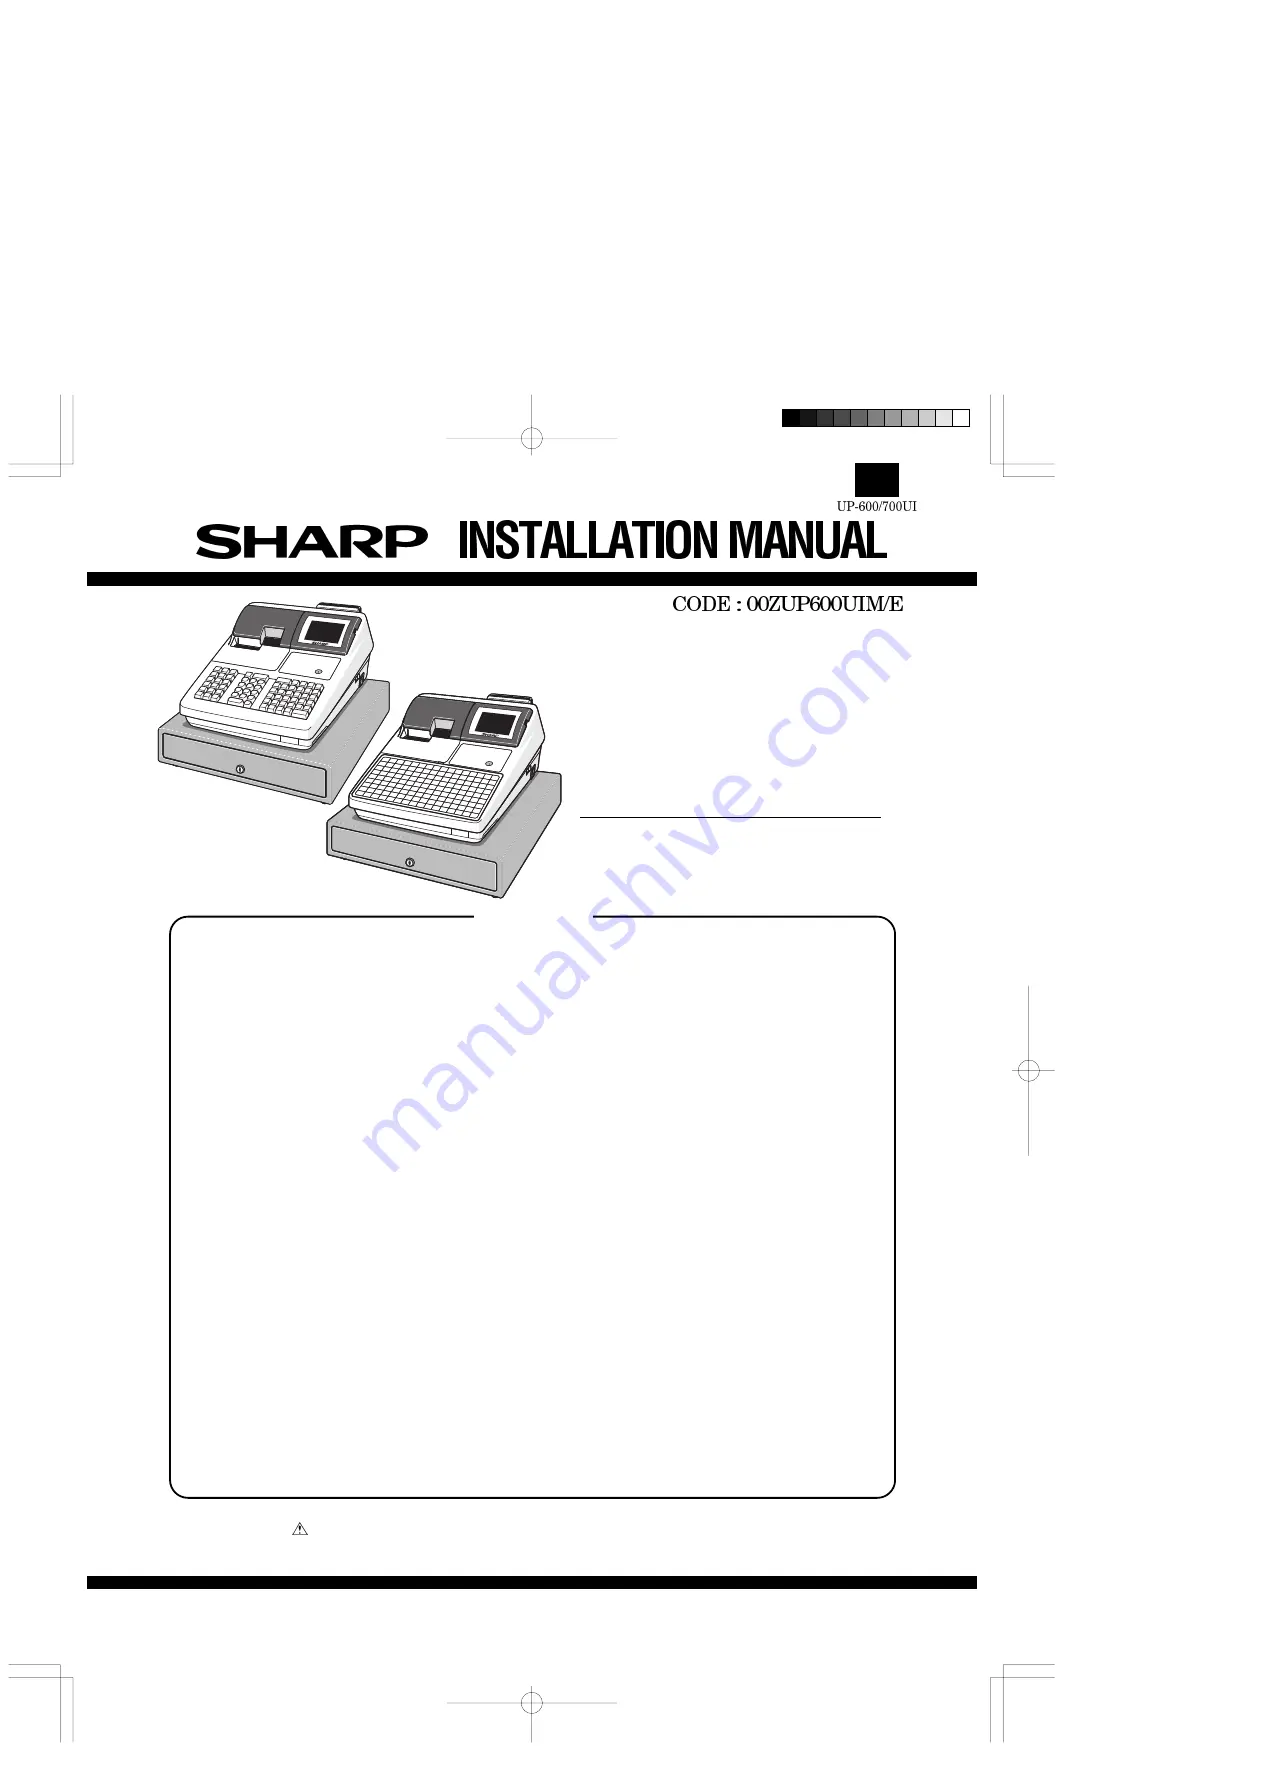
MODEL

UP-600

UP-700

(For "U" & "A" version)

CHAPTER 1. REMOVING THE REAR COVER ............................................... 1

CHAPTER 2. REMOVING THE TOP CABINET............................................... 1

CHAPTER 3. REMOVING THE LCD UNIT ...................................................... 3

CHAPTER 4. REMOVING THE PRINTER UNIT ............................................. 4

CHAPTER 5. REMOVING THE STANDARD DRAWER UNIT ........................ 4

CHAPTER 6. EXPANSION RAM BOARD : UP-S02MB/04MB ........................ 6

CHAPTER 7. MCR UNIT : UP-E13MR............................................................. 6

CHAPTER 8. POLE DISPLAY UNIT : UP-P16DP............................................ 7

CHAPTER 9. RE-232 I/F : ER-A5RS ............................................................... 8

CHAPTER 10. HAND SCANNER : ER-A6HS1 ................................................ 9

CHAPTER 11. REMOTE DRAWER : ER-03DW/04DW ................................... 9

CHAPTER 12. IN-LINE CABLE...................................................................... 10

CHAPTER 13. RS232 DEVICES.................................................................... 10

CONTENTS

Parts marked with "

" are important for maintaining the safety of the set. Be sure to replace these parts with specified

ones for maintaining the safety and performance of the set.

SHARP CORPORATION

This document has been published to be used 
for after sales service only.
The contents are subject to change without notice.

UP-600

UP-700

Summary of Contents for UP-600

Page 1: ...SPLAY UNIT UP P16DP 7 CHAPTER 9 RE 232 I F ER A5RS 8 CHAPTER 10 HAND SCANNER ER A6HS1 9 CHAPTER 11 REMOTE DRAWER ER 03DW 04DW 9 CHAPTER 12 IN LINE CABLE 10 CHAPTER 13 RS232 DEVICES 10 CONTENTS Parts marked with are important for maintaining the safety of the set Be sure to replace these parts with specified ones for maintaining the safety and performance of the set SHARP CORPORATION This document ...

Page 2: ...he modem cannot be connected to port 2 because it uses a different signal line For the RJ 45 modular to D sub 9pin conversion cable see the following UP P16DP UP E13MR In Line cable RS232 devices ER A6HS1 and RS232 devices CD CI S404 7 4 3 1 5 2 6 8 9 RS ER SD CD GND RD RS CS CI 1 2 3 4 5 6 7 8 RS ER SD GND RD DR CS Open Moduler RJ45 D sub 9pin VCC 5V S403 GND SD 3 SD RD CTS RD 2 6 8 3 2 6 8 5 5 S...

Page 3: ... fixed by ECR 2 Pin outs 3 Protocol Dispense coins Pin No 1 2 RD 3 SD 4 5 GND 6 DSR 7 RTS 8 CTS 9 1 Ground 2 SD 3 RD 4 RS 5 CS 6 DR ECR Scale Pin No Command Response ECR Scale Command Response W STX 0XX XX CR Lb STX XX XXX CR Kg Error STX status byte CR b7 Parity bit Even b6 Always 1 b5 Net WT 1 b4 Center of zero 1 b3 Outside zero capture range 1 b2 Under zero 1 b1 Out of range 1 b0 Motion 1 Scale...

Page 4: ...ommunications is fixed at the ECR 2 Handshaking DTR DSR control 3 Pin outs cmd ENQ ECR C D EOT C STX status ETX cc ACK NAK or cmd r reset b7 b6 Always 1 b5 Change dis pensed 1 b4 Low coin alarm 1 b3 Dis pensing coins 1 b2 Always 1 b1 Func tion error 1 b0 Parity error 1 Scale status byte format Pin No 1 2 RD 3 SD 4 ER 5 GND 6 DSR 7 RTS 8 CTS 9 1 F G 2 TXD 3 RXD 4 RTS 5 6 DSR 7 S G 20 DTR ECR Pin No...

Page 5: ...rge of electromagnetic noise from or into peripheral circum stances Cat 5 Category 5 cables are a popular type of LAN cable that is used for connecting network equipment and can be used at speeds up to 100 Mbps UTP cables are widely used for both 10BASE T and 100BASE TX interface standards Cat 5 cable connectors are 8 pin RJ45 modular jacks that meet category standards This type of modular jack me...

Page 6: ...l the rear cover in the reverse order of disassembly CHAPTER 2 REMOVING THE TOP CABINET CAUTION Before installation be sure to turn off the power 1 REMOVING THE TOP CABINET UP 600 1 Open the printer cover 2 Remove the ribbon cover 3 Lift the pop up display unit 4 Remove the three screws UP 700 1 Open the printer cover 2 Lift the pop up display unit 3 Remove the three screws 1 2 1 1 4 2 3 4 1 2 3 3...

Page 7: ...et unit the grounding wire and connector cables from the top Cabinet are re moved UP 600 UP 700 5 Remove the following cable between the top cabinet and the main PWB Cable between the MAIN PWB and the CKDC PWB 2 REPLACING THE TOP CABINET Install the top cabinet in the reverse order of disassembly 4 4 4 4 5 ...

Page 8: ...rom the LCD HINGE 4 Remove the LCD unit from the top cabinet Insert a flat bladed screwdriver into the right and left mounting areas and remove 5 With a flat bladed screwdriver remove the two latches of each of the LCD rear cabinet and the LCD filer Turn of A and B when you remove it 2 REPLACING THE LCD UNIT Install the LCD unit in the reverse order of disassembly 3 1 2 5 6 4 4 6 7 A B LCD volume ...

Page 9: ...ews fixed on the printer unit 3 Remove the screw fixed on the earth wire 4 Remove the printer cable from the MAIN PWB CN9 2 REPLACING THE PRINTER UNIT Install the printer unit in the reverse order of disassembly CHAPTER 5 REMOVING THE STANDARD DRAWER 1 REMOVING THE STANDARD DRAWER 1 Open the printer cover 2 Remove the screw fixed on the drawer unit 3 Stand the cabinet sideways as illustrated below...

Page 10: ...B 04MB CAUTION Before installation be sure to turn off the power 1 Open the ROM RAM case 2 Install the two spacers on the ROM RAM PWB unit 3 Connect the UP S02MB 04MB to the ROM RAM PWB unit CN 303 NOTE The UP S02MB S04MB has an electronic double layer ca pacitor C21 When removing either memory board after the machine was plugged in use caution not to bring it close to any conductor Standard posit...

Page 11: ... 4 Install the MCR unit to the MCR angle 1 and secure with 2 screws 5 Remove the rear cover 6 Connect the MCR cable to the MCR connector 7 Fix the earth wire to the main chassis with a screw 8 Install the core to the MCR cable and earth wire with two wire bands NOTE Install the ferrite core in a position less than 50mm from the cabinet 2 2 1 3 4 4 6 5 7 8 9 10 11 12 Earth wire Cabinet MCR cable Wi...

Page 12: ...SW1 RSCN2 setting 3 2 1 6 5 4 0 0 0 RS 232 invalid 0 0 0 RS 232 invalid 0 0 1 Channel 1 0 0 1 Channel 1 0 1 0 Channel 2 0 1 0 Channel 2 0 1 1 Channel 3 0 1 1 Channel 3 1 0 0 Channel 4 1 0 0 Channel 4 1 0 1 Channel 5 1 0 1 Channel 5 1 1 0 Channel 6 1 1 0 Channel 6 1 1 1 Channel 7 1 1 1 Channel 7 Note 1 If RSCN1 port and RSCN2 port of the ER A5RS are set to the same channel RSCN2 port becomes invali...

Page 13: ... cable with a band NOTE Install the ferrite core in a position less than 10mm from the D sub connector 2 Remove the rear cover 3 Insert the I F PWB to the connector of the MAIN PWB 4 Fix the I F angle to the main chassis with two screws Cable Core Wire band D sub connector Within 10mm 1 2 4 3 ...

Page 14: ... the RS232 CH1 connector 3 Change the slide switch to the 5V side of the RS232 Relay PWB unit CHAPTER 11 REMOTE DRAWER ER 03DW 04DW 1 Remove the bottom cabinet from the standard drawer unit 2 Connect to the remote drawer cable to the drawer connec tor of the MAIN PWB CN 4 or CN5 3 Fix the earth wire with a screw 5V CI S401 1 2 1 3 DRCN2 CN4 CN5 ...

Page 15: ...2 Relay PWB the signals can be switched over according to the device to be connected a D SUB connector With the switch S401 the signal to Pin 9 can be switched over between 5 and CI b Modular RJ45 connector With the switches S403 S404 the signal to Pin 4 can be switched over between CD CI VCC 5V and GND Do not change the default positions unless instructed to 1 2 3 IN LINE cable Cabinet Within 50m...

Page 16: ...storedinaretrievalsystem ortransmitted Inanyformorbyanymeans electronic mechanical photocopying recording orotherwise withoutpriorwrittenpermissionofthepublisher SHARP CORPORATION Digital Document Systems Group Quality Reliability Control Center Yamatokoriyama Nara 639 1186 Japan 2001 July Printed in Japan ...

Reviews: