


MINI-CHAÎNE DVD
CADENA MINI CON DVD
MINI SISTEMA DVD
MODEL
MODELE
MODELO
MODELO
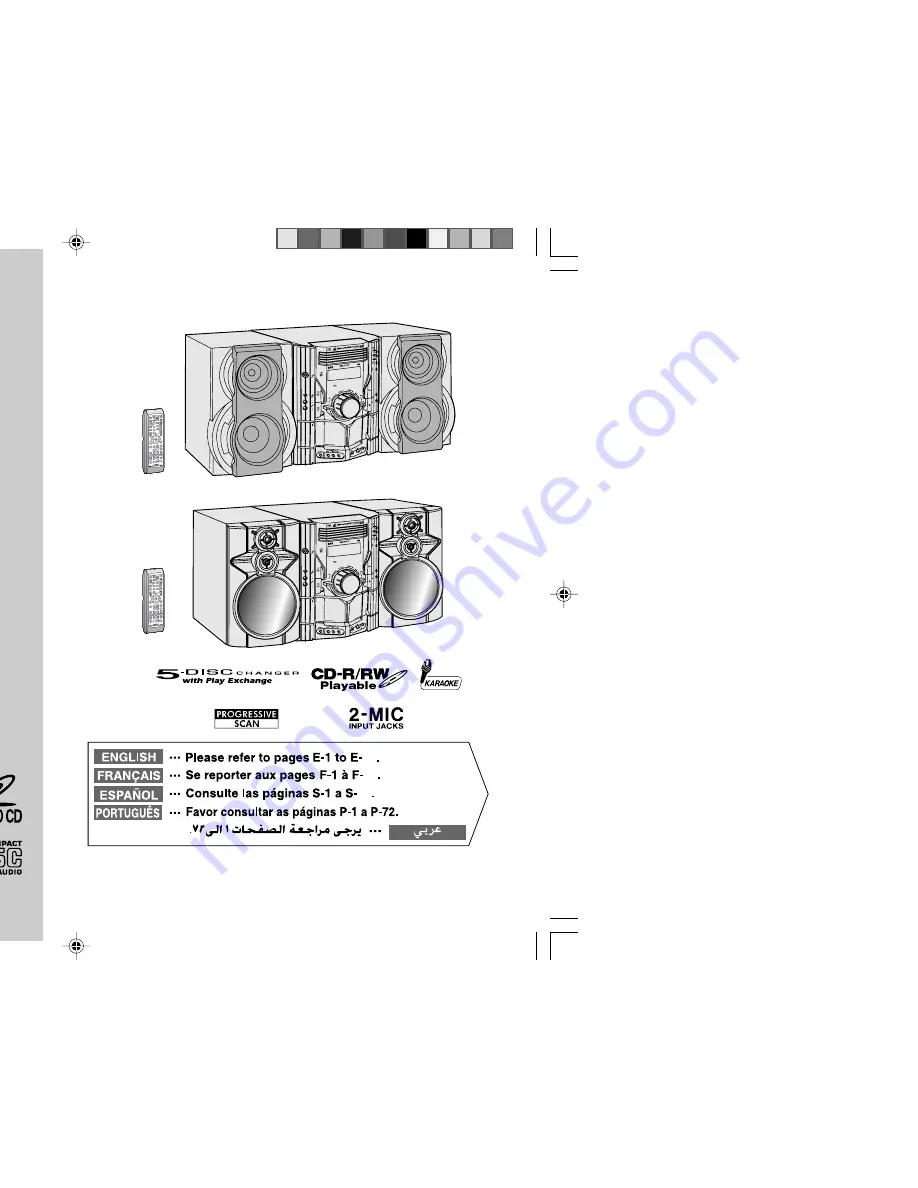
CD-DV650W
CD-DV850W
OPERATION MANUAL
MODE D’EMPLOI
MANUAL DE MANEJO
MANUAL DE OPERAÇÃO
DVD MINI SYSTEM
NTSC/PAL
SHARP CORPORATION
72
72
72
CD-DV650W
DVD MI
NI SYST
EM
CD-DV65
0
MIC
MIC
LEV
EL
MIN
MAX
1
2
DVD MIN
I SYSTE
M
CD-DV85
0
MIC
MIC
LEV
EL
MIN
MAX
1
2
CD-DV850W
CD-DV650W_FC&BC
4/2/07, 6:38 PM
1


