background image

This document has been published to be used for

after sales service only.

The contents are subject to change without notice.

Parts marked with “

“ are important for maintaining the safety of the set. 

Be sure to replace these parts with specified ones for maintaining the safety and performance of the set.

SHARP CORPORATION

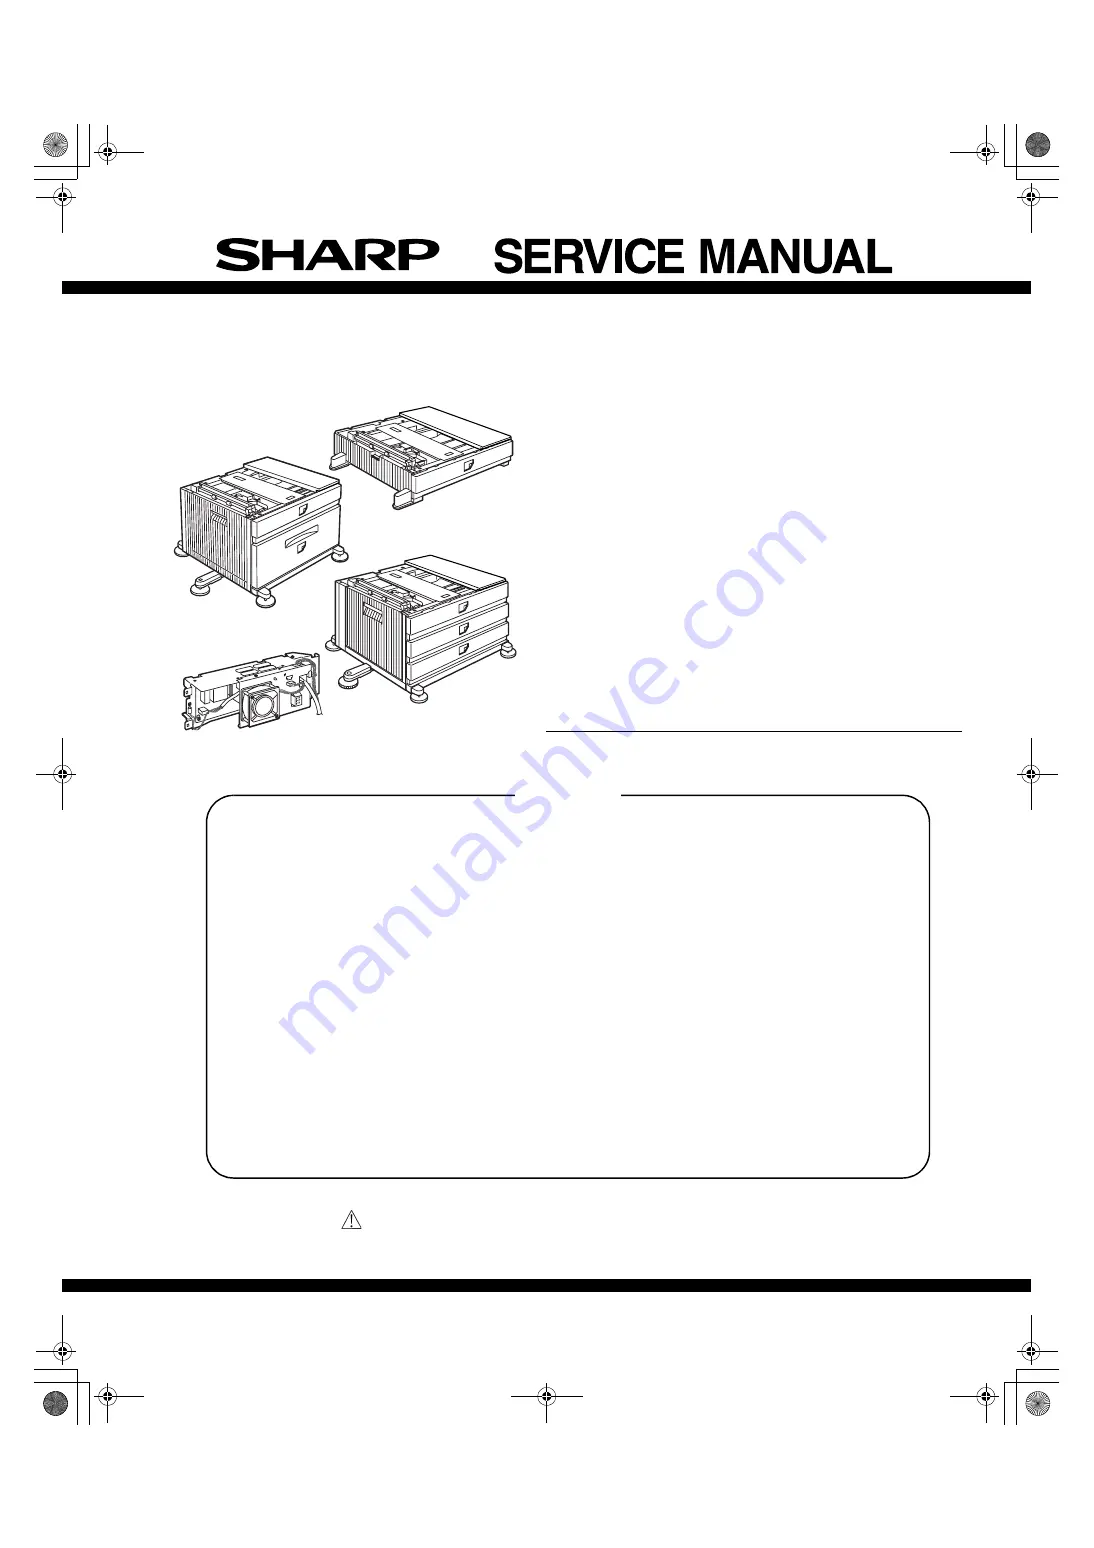
LASER PRINTER OPTIONS

PAPER FEED UNIT

OPTIONAL POWER SUPPLY UNIT

AR-D13

AR-D14

AR-MU1

MODEL

AR-DC1

CODE : 00ZARD13//A1E

[1]

PRODUCT OUTLINE . . . . . . . . . . . . . . . . . . . . . . . . . . . . . . . .  1 - 1

[2]

CONFIGURATION  . . . . . . . . . . . . . . . . . . . . . . . . . . . . . . . . . .  2 - 1

[3]

SPECIFICATIONS  . . . . . . . . . . . . . . . . . . . . . . . . . . . . . . . . . .  3 - 1

[4]

UNPACKING AND INSTALLATION. . . . . . . . . . . . . . . . . . . . . .  4 - 1

[5]

EXTERNAL VIEWS AND INTERNAL STRUCTURES . . . . . . .  5 - 1

[6]

ADJUSTMENTS . . . . . . . . . . . . . . . . . . . . . . . . . . . . . . . . . . . .  6 - 1

[7]

DISASSEMBLY AND ASSEMBLY, MAINTENANCE. . . . . . . . .  7 - 1

[8]

BLOCK DIAGRAM, WIRING DIAGRAM. . . . . . . . . . . . . . . . . .  8 - 1

[9]

OTHERS. . . . . . . . . . . . . . . . . . . . . . . . . . . . . . . . . . . . . . . . . .  9 - 1

CONTENTS

AR-MU1

AR-D13

AR-DC1

AR-D14

Summary of Contents for AR-D13

Page 1: ...ing the safety and performance of the set SHARP CORPORATION LASERPRINTEROPTIONS P APERFEEDUNIT OPTIONALPOWERSUPPL YUNIT AR D13 AR D14 AR MU1 MODEL AR DC1 CODE 00ZARD13 A1E 1 PRODUCT OUTLINE 1 1 2 CONFIGURATION 2 1 3 SPECIFICATIONS 3 1 4 UNPACKING AND INSTALLATION 4 1 5 EXTERNAL VIEWS AND INTERNAL STRUCTURES 5 1 6 ADJUSTMENTS 6 1 7 DISASSEMBLY AND ASSEMBLY MAINTENANCE 7 1 8 BLOCK DIAGRAM WIRING DIA...

Page 2: ...onal power unit AR DC1 must be installed together 3 The AR MU1 cannot be installed together with the saddle finisher AR FN Scanner unit AR EF1 EF2 Applicable models AR P350 P450 AR M350 M450 DM 3500 3501 4500 4501 DM 3551 4551 AR D14 AR FN7 AR MU1 AR D13 AR EF1 AR EF2 AR FN6 AR MS1 AR DC1 Related to paper feed unit AR MU1 AR D14 AR D13 Scanner rack Multi purpose drawer Stand 3 x 500 sheet paper dr...

Page 3: ...per empty and 6 steps Paper loading system To be loaded from the upper side with front loading system Tray ascent descent time Ascent Within 12 seconds At paper empty required time from tray insert to the empty detection Descent Own weight descent Dehumidification heater Not provided Power consumption 32 2W or lower Power source Supplied from main unit DC24V 1 3A DC5V 0 2A External dimensions 585x...

Page 4: ...setting by user Factory default paper size setting To be set to maximum paper guide width at factory default status Media available for paper feeding Plain paper 60 128g m 16 34lbs Index paper 176g m 47lbs Cover paper 200 205g m 54 55lbs Envelope 75 90g m 20 24lbs Transparency film TBD Media heavier than 105g m should be A4 8 5x11 or smaller Media heavier than 120g m should be fed from shorter edg...

Page 5: ... tray 2 Hold the main unit of the printer at the positions shown in the illustration and put the main unit on the stand paper drawer so that the front side and the left side of the main unit are aligned to those of the stand paper drawer 4 Connect the main unit to the stand paper drawer 1 Attach the rear mounting plates with two supplied screws 2 Pull out the upper paper tray of the stand paper dr...

Page 6: ...t the optional power supply harness connector to CN11 red connector of the PCU PWB of the main unit of the printer 3 Reattach the harness cover to its original position and fix it with the removed screw At this time ensure that the optional power supply harness are arranged as shown in the illustration Fix the harness securely to the wire saddle 8 Connect the relay harness of the stand paper drawe...

Page 7: ...ide of the printer to the OFF position Then remove the power plug from the outlet 2 Attach the adjusters and adjust them 1 Insert the left adjusters to the stand paper drawer 2 Turn the five adjusters to lower them until they touch the floor 3 Attach the four adjuster covers 3 Put the main unit of the printer on the stand paper drawer 1 Pull out the paper tray of the main unit until it stops and t...

Page 8: ...tion of the multi purpose drawer and then fix it with three supplied screws 7 Connect the power supply unit harness to the PCU PWB of the main unit of the printer 1 Remove the screw that fixes the harness cover of the main unit of the printer and slide the harness cover up to remove it Process the harness cover as shown in the illustration 2 Connect the optional power supply harness connector to C...

Page 9: ...ing AR MS1 if you install a finisher or mail bin stacker together a power supply unit AR DC1 is needed 1 Turn off the main switch of the main unit of the printer Turn the main switch located on the front side of the main unit to the OFF position Then remove the power plug of the main unit from the outlet 2 Put the main unit of the printer on the multi purpose drawer 1 Pull out the paper tray of th...

Page 10: ...or mail bin stacker the steps below are not needed Proceed to step 10 5 Remove the rear cabinet of the multi purpose drawer 1 Remove the two screws that fix the rear cabinet of the multi purpose drawer and then remove the rear cabinet 2 Remove the screw that fixes the AC inlet cover and then remove the AC inlet cover Process the AC inlet cover as shown in the illustration 6 Attach the power supply...

Page 11: ...he wire saddle 11 Adjust the position of the paper guides of the paper tray Refer to Setting and adjustment described later 4 AR DC1 Before installation Start installation after checking that the DATA indicator on the operation panel is not lit or blinking 1 Turn the main switch of the printer to OFF Turn the main switch located on the front of the printer to OFF Then remove the power plug of the ...

Page 12: ...g of the optional power supply harness has been handled as shown in the illustration 6 Attach the multi rear cabinet 1 Pass the AC cord of the optional power supply unit as shown in the illustration and secure the multi rear cabinet with the two screws 2 Attach the AC inlet cover to the multi rear cabinet and secure it with the removed screw 7 Connect the AC cord of the optional power supply unit ...

Page 13: ...AND INTERNAL STRUCTURES A External view B Internal structure 1 AR D13 1 Multi purpose tray No 2 tray 2 No 3 tray 3 No 4 tray 4 Large capacity tray 5 Desk left door Code Name Function Remark 1 TPFD1 2 TPFD2 3 TPFD3 1 AR DU13 5 4 AR DU14 1 5 2 3 AR MU1 1 5 1 TPFD1 2 TPFD2 3 TPFD3 ...

Page 14: ...AR D13 D14 MU1 DC1 EXTERNAL VIEWS AND INTERNAL STRUCTURES 2 2 AR D14 3 AR MU1 Code Name Function Remark 1 DPFD1 2 DPFD2 3 DPFD3 Code Name Function Remark 1 MCPPD 1 DPFD1 2 DPFD2 3 DPFD3 1 MCPPD ...

Page 15: ...CC transport clutch Clutch for transport from LCC desk 4 MCLUM Multi purpose tray lift up motor Multi purpose tray lift up 5 MCPCL Multi purpose paper feed clutch Clutch for paper feed from Multi purpose tray 6 TMM LCC transport motor LCC desk paper transport 7 TPCL2 Tandem tray 2 paper feed clutch Clutch for paper feed from tandem tray 2 8 TLUM2 Tandem tray 2 lift up motor Tandem tray 2 lift up 3...

Page 16: ...pose tray 6 DMM No 3 tray desk transport motor No 3 tray desk paper transport 7 DPCL2 No 4 tray paper feed clutch Clutch for paper feed from tandem tray 2 8 DPCL1 No 3 tray paper feed clutch Clutch for paper feed from tandem tray 1 Code Name Function Remark 1 MCFCL Multi purpose tray transport clutch Multi purpose tray transport clutch 2 MCLUM Multi purpose tray lift up motor Multi purpose tray li...

Page 17: ... edge size detection L When pressed In MP tray rear edge size PWB 11 TTSD Tandem tray open close sensor Tandem tray open close detection H Tray closed 12 TLLD2 Tandem 2 tray upper limit sensor Tandem tray 2 upper limit detection L Upper limit detected 13 TPED2 Tandem 2 tray paper empty sensor Tandem tray 2 paper empty detection H Paper loaded 14 TSPD2 Tandem 2 tray remaining paper quantity sensor ...

Page 18: ... No 4 tray rear edge size detection L When pressed In No 4 tray rear edge size PWB 16 DCSS23 No 4 tray rear edge sensor 3 No 4 tray rear edge size detection L When pressed In No 4 tray rear edge size PWB 17 DCSS24 No 4 tray rear edge sensor 4 No 4 tray rear edge size detection L When pressed In No 4 tray rear edge size PWB 18 DPFD1 Desk paper transport sensor 1 Desk paper transport detection L Pap...

Page 19: ... MCSS2 MP tray rear edge sensor 2 MP tray rear edge size detection L When pressed In MP tray rear edge size PWB 7 MCSS3 MP tray rear edge sensor 3 MP tray rear edge size detection L When pressed In MP tray rear edge size PWB 8 MCSS4 MP tray rear edge sensor 4 MP tray rear edge size detection L When pressed In MP tray rear edge size PWB 9 MCPED MP tray paper empty sensor MP tray paper empty detecti...

Page 20: ...ay TRAY 1 SIZE SETUP in the message display press the key to display LCC SIZE SETUP and press the OK key 4 Press the or key to change the size and press the OK key The large capacity tray paper size is A4 or LTR only 3 Setting the paper size and type When the paper size or type is changed in a paper tray set them referring to the following procedure A Setting the paper size and type from the opera...

Page 21: ... 1 Press the CUSTOM SETTINGS key The custom setting menu screen will appear 2 Press the TRAY SETTINGS key The paper tray selection screen will appear 3 Select the paper tray for which the setting is to be made If the desired tray is not on the display use or key to scroll the display until it appears 4 Select the paper type and the paper size If TRAY 1 has been selected in step 3 The highlighted k...

Page 22: ...ean Replace Adjust Lubricate Move position Unit name Part name When calling 50K 100K 150K 200K 250K 300K 350K 400K Remark Paper feed separation section Paper feed rollers 1 Torque limiter 1 Transport section Transport rollers Transport paper guides Drive section Gears Specified position Belts Other Sensors Unit name Part name When calling 50K 100K 150K 200K 250K 300K 350K 400K Remark Paper feed se...

Page 23: ...er and pull out the multi purpose tray 2 Remove the paper guide 3 Disengage the roller hook and remove the roller When installing the roller check to insure that the hook is securely engaged in the groove 4 After removing the roller remove the torque limiter When installing the torque limiter check to insure that the pin is fully inserted into the torque limiter groove 1 2 1 1 5 3 4 3 No Name Job ...

Page 24: ...r feed section a Paper feed unit disassembly 1 Remove the stopper and pull out the large capacity tray 2 Remove the left door 3 Remove the tandem paper feed unit No Name Job item Cycle 1 Belts Check 240K No Name Job item Cycle 1 Sensors Check 80K a a a 1 1 1 1 2 3 4 3 3 4 4 a 1 2 1 1 7 9 6 8 8 ...

Page 25: ...y 2 When installing the roller check to insure that the hook is securely engaged in the groove When installing the torque limiter check to insure that the pin is fully inserted into the torque limiter groove c Belt Tandem tray 1 Tandem tray 2 No Name Job item Cycle 1 Rollers Clean 40K Check 80K Replace 80K or 2 years 2 Torque limiter Check 240K Replace 480K 2 b a a b 2 a 2 No Name Job item Cycle 1...

Page 26: ... 5 d Sensor 3 Paper transport section 1 Remove the left door a Transport roller Roller No Name Job item Cycle 1 Sensors Check 80K a a a 1 1 1 1 2 3 4 3 3 4 4 a 2 1 1 No Name Job item Cycle 1 Transport rollers Clean 40K 2 Rollers Clean 40K a b b a b a b a b ...

Page 27: ...e the multi purpose tray drive section 2 Gear Belt b Tandem tray drive section 1 Remove the tandem tray drive section 2 Gear Belt No Name Job item Cycle 1 Gears Lubricate 40K 2 Belts Check 240K No Name Job item Cycle 1 Gears Lubricate 40K 2 Belts Check 240K 2 1 1 5 3 4 4 No Name Job item Cycle 1 Gears Lubricate 40K 2 Belts Check 240K 8 6 6 6 6 7 7 7 ...

Page 28: ...abinet 2 Remove the control PWB and the sensors B AR D14 1 Paper feed section a Paper feed unit disassembly 1 Remove the stopper and pull out the tray 2 Remove the left door 3 Remove the paper feed unit No Name Job item Cycle 1 Sensors Check 80K 2 1 1 2 1 1 a 1 2 1 1 5 3 3 3 3 3 4 5 5 3 ...

Page 29: ...e hook is securely engaged in the groove 4 After removing the roller remove the torque limiter When installing the torque limiter check to insure that the pin is fully inserted into the torque limiter groove c Belt d Sensor No Name Job item Cycle 1 Rollers Clean 40K Check 80K Replace 80K or 2 years 2 Torque limiter Check 240K Replace 480K 1 2 a 3 b No Name Job item Cycle 1 Belts Check 240K No Name...

Page 30: ...roller Roller 3 Drive section 1 Remove the rear cabinet a Multi purpose tray drive section 1 Remove the multi purpose tray drive section 2 Gear Belt No Name Job item Cycle 1 Transport rollers Clean 40K 2 Rollers Clean 40K 2 1 1 a b b a b a a b No Name Job item Cycle 1 Gears Lubricate 40K 2 Belts Check 240K 2 1 1 5 3 4 4 ...

Page 31: ...1 Remove the tandem tray drive section 2 Gear Belt 5 Others 1 Remove the rear cabinet 2 Remove the control PWB 3 Remove the sensors No Name Job item Cycle 1 Gears Lubricate 40K 2 Belts Check 240K 11 9 9 9 10 10 No Name Job item Cycle 1 Sensors Check 80K 2 1 1 a a a a 1 1 1 1 2 3 4 3 3 4 4 ...

Page 32: ... guide 3 Disengage the roller hook and remove the roller When installing the roller check to insure that the hook is securely engaged in the groove 4 After removing the roller remove the torque limiter When installing the torque limiter check to insure that the pin is fully inserted into the torque limiter groove c Belt No Name Job item Cycle 1 Rollers Clean 40K Check 80K Replace 80K or 2 years 2 ...

Page 33: ...e the rear cabinet 2 Remove the tray drive section 3 Gear Belt 4 Others 1 Pull out the multi purpose tray No Name Job item Cycle 1 Sensors Check 80K No Name Job item Cycle 1 Transport rollers Clean 40K 2 Rollers Clean 40K a a a 1 1 1 1 2 3 4 3 3 4 4 a a b b a b No Name Job item Cycle 1 Gears Lubricate 40K 2 Belts Check 240K 2 1 1 5 4 4 3 a 5 4 ...

Page 34: ...S GND 5V S GND 5V S GND 5V S GND 5V S GND 5V S GND 5V S GND TLUD1 TLUD2 5V S GND 5V S GND TPFD1 5V S GND 5V S GND TPED2 5V S GND MCSPD MCSS4 MCSS3 MCSS2 MCSS1 MCLUD MCPED TDRS TTSD TPFD3 TPFD2 TPED1 5V S GND 5V S GND TSPD1 TSPD2 TRANSISTOR ARRAY TD62003 24V TLUM2 24V 24V 24V MCPCL TLUM1 TPFCL H8 3644 TANDEM DESK UNIT DIGITAL TRANSISTOR DIGITAL TRANSISTOR DIGITAL TRANSISTOR DIGITAL TRANSISTOR DIGIT...

Page 35: ...D 5V S GND 5V S GND 5V S GND S GND H8 3644 MCPCL DPFCL DLUM1 DLUM2 DPFD3 DDRS MCPED MCLUD MCSS1 MCSS2 MCSS3 MCSS4 MCSPD MCPWS DCSS11 S GND S GND S GND S GND DSPD1 5V S GND 5V S GND DSPD2 DCSS12 DCSS13 DCSS14 S GND S GND S GND MCLUM 24V S GND S GND S GND S GND DCSS21 DCSS22 DCSS23 DCSS24 DHRY1 DHRY2 DIGITAL TRANSISTOR DIGITAL TRANSISTOR DH PWB AC L AC N AC L DH MPF DH DESK SCN UN DMMCLK DMM DMM T D...

Page 36: ... MCLUD DCPR MCSPD MCSET MCSS1 MCSS2 MCSS3 MCSS4 GND1 S GND MCM T MCMCLK MCM MCPPD MCLUD MCSPD VD S GND VD S GND MCPED MCSPD MCPED S GND MCSS1 MCSS1 S GND MCSS2 MCSS2 S GND MCSS3 MCSS3 MCSS4 MCSS4 S GND MCPWS VAREF MCFCL DCPR VB MCMCLK MCFCL MCPCL MCM MCM T VB MCLUM MCM MCPCL VB VB P GND MCLUM DH MPF DH PWB AC L AC N AC N AC L MCSET MCSET S GND OPTIONALY VB A A B B C C D D E E E E D D C C B B A A M...

Page 37: ...D1 VB TLUM2 TLUM2 VD 5V S GND S GND 1 TPFD2 9 5 8 7 6 N C VD 5V S GND TTSD 12 11 10 PHR 12 1 2 3 4 5 6 7 8 9 TPED2 TSPD2 TLUD2 VD 5V S GND VD 5V S GND N C PHR 9 VD 5VR MCSS1 VB 24V 24V MCLUM MCSS3 MCSPD MCSS4 TPFCL 13 MCLUM MCPCL TMM T TMMCLK 14 15 16 17 18 19 20 MCSS2 TMM GND2 S GND 2 3 4 5 6 7 8 9 10 11 12 1 GND1 P GND VB 24V VB 24V VD 5V GND2 S GND PHDR 20VS 1 F GND VD 5V MCPED TDRS MCPWS TPFD1...

Page 38: ...1 P GND 4 MCSS2 17 20 VD 5V 18 1 DMM T 16 14 3 9 7 MCSS1 VB 24V 11 MCSS3 VB 24V MCSPD MCPCL 15 8 6 MCLUM DMM 2 GND2 S GND DMMCLK 24V MCLUM 5 19 10 PHDR 20VS 1 MCPED DDRS N C DPFD1 MCLUD MCPWS2 3 13 5 12 VD 5V 4 GND2 S GND 1 9 6 7 15 16 11 14 10 2 8 VD 5V GND2 S GND GND2 S GND VD 5V VD 5V GND2 S GND VD 5V MCPWS PHDR 16VS 1 2 7 8 1 3 10 11 4 9 5 6 PHR 11 TEST S GND RES 5V VD CLOCK OUT TXD FVpp RXD T...

Page 39: ... MCSS1 6 4 7 9 10 GND2 GND2 GND2 CN F MCSS3 MCSS4 11 12 GND2 GND2 GND2 GND2 GND2 PHDR 12VS 1 24V 1 MCLUM 2 PHR 2 MCPCL 24V MCFCL 24V 3 1 MCM GND1 24V MCM T 2 5 4 MCMCLK 6 7 8 9 PHR 9 2 1 24V DCPR PHR 3 N C 3 MCSS4 17 MCPCL 11 MCMCLK GND1 5 MCPED 16 MCSS3 10 MCSET 4 MCM T 24 18 12 N C MCDRS 22 20 6 MCSS2 3 MCSPD 14 MCLUM VAREF 8 MCSS1 MCPPD 2 MCPWS 13 DCPR 7 MCFCL 5V 1 15 MCM GND2 23 19 9 MCLUD 21 ...

Page 40: ... CNM 6 R119 4 7kJ LED101 SLR 322 R131 4 7kJ R115 220J1 4W PS102 RXE010 PS101 RXE010 PS103 RXE010 CNB 5 VB TLUM2 CNB 6 VB DLUM2 JP104 VB LUM2 JP101 VB LUM1 JP105 VB MCLUM CNJ 2 VB TLUM1 CNJ 3 VB DLUM1 CND 5 VB MCLUM CNE 1 5 7 11 CNE 13 MCPWS2 CNI 6 R145 120J1 4W CNA 6 R133 120J1 4W JP103 5V JP102 5V CNI 3 9 CNE 3 4 9 10 15 CND 13 CNA 3 9 5V CNJ 6 9 CP107 VD CNB 3 9 12 R166 4 7kJ R163 4 7kJ R118 4 7...

Page 41: ... 2 DCSS11 CNK 5 DCSS15 CNK 1 DCSS14 CNK 2 DCSS13 CNK 3 DCSS12 CNK 4 Q203 2SB1198K T146 QR R158 3kJ1 2W 10kJ R159 3kJ1 2W R156 DCSS22 CNL 4 3kJ1 2W R136 3kJ1 2W R135 3kJ1 2W R154 R117 10kJ 47J1W R164 47J1W R138 R132 1MJ R108 R104 R105 R106 R190 R151 R139 R148 R188 R180 R144 R114 R187 R189 R182 R183 R184 R185 R186 R107 R191 R141 R113 R109 R110 R112 R111 R124 R121 R122 R150 R140 R149 R175 R167 R143 R...

Page 42: ...WRITER PWB 3 4 5 6 7 FVpp TXD RES 8 9 MD S GND CLOCK OUT RES 5V VD FVpp MD S GND CLOCK OUT 10 TXD TXD RXD RES RES RXD TXD 11 TEST TEST GND1 P GND 4 MCLUM 7 1 6 B20B PHDSS B 10 2 5 3 8 9 CN D MULTI 13 TMM T 16 TMMCLK 19 MCSS1 11 MCSPD 14 MCPCL 17 20 MULTI TMM 12 15 MCLUM 18 GND2 S GND DMMCLK MCSPD DPFCL DMM T DMM VB 24V TPFCL VB 24V 24V MCLUM MCPCL VB 24V VD 5V MCSS4 GND2 S GND MCSS2 MCSS3 VB 24V V...

Page 43: ...F CNC 3 24V2 CNC 4 GND1 CNC 5 GND2 CNC 6 MCPPD CNC 7 MCDRS CNC 8 MCPED CNC 9 MCLUD CNC 10 MCPWS CNC 12 MCSS2 CNC 13 MCSS3 CNC 14 MCSS4 CNC 24 DCPR CNC 15 MCSPD CNC 16 MCSET CNC 17 MCPCL CNC 18 MCFCL CNC 19 MCLUM CNC 20 MCM T CNC 21 MCMCLK CNC 22 MCM CNC 11 MCSS1 R003 3kJ1 2W 10KJ1 4W R001 R002 3kJ1 2W CNA 2 MCLUM CND 9 MCPCL CND 7 MCFCL CNE 9 MCPWS CNE 6 VAREF CNE 13 MCLUD CNE 12 MCPED CNE 10 MCPP...

Page 44: ...owledgments Windows and Windows NT are trademarks of Microsoft Corporation in the U S A and other countries IBM and PC AT are trademarks of International Business Machines Corporation PCL is a trademark of Hewlett Packard Company Pentium is a registered trademark of Intel Corporation All other trademarks and copyrights are the property of their respective owners SHARP CORPORATION Digital Document ...

Reviews: