Printed in Indonesia
1AG6P1P4896--
SG218/GX (0608CR-SJ)
↓
↓
How to read this manual
This instruction manual for your camera is organized into the following
sections.
For first-time users
Please read the sections on “SETUP” and “SIMPLE” in this
manual, as well as the included “QUICK GUIDE” to
familiarize yourself with your camera’s operation.
To use the various camera features
Please read the sections on “NORMAL” and “OPTION
SETTINGS” in this manual. To view on a TV, please read
the section on “OTHER DEVICES AND CONNECTIONS” in
this manual. To connect to a computer, please see the “Xacti
Software DVD INSTRUCTION MANUAL”.
To use additional features
To use a computer to edit the recorded data or to save data
to a DVD, please read the “Xacti Software DVD
INSTRUCTION MANUAL”.
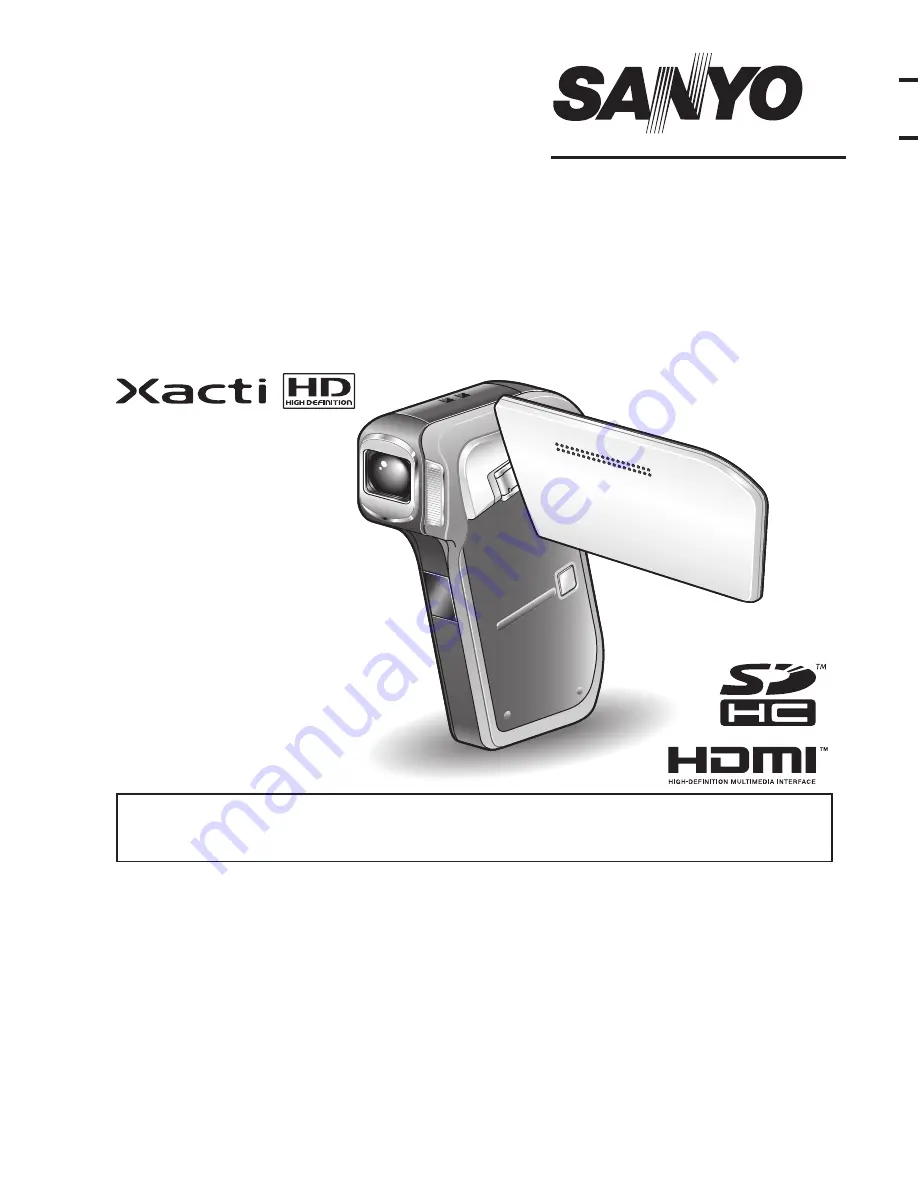
VPC-HD800GX
INSTRUCTION MANUAL
Digital Movie Camera
Important note
This manual explains how to safely operate the VPC-HD800GX.
Please read these instructions carefully before using the camera.
Make sure to read and understand the separate booklet “SAFETY MANUAL”.
Keep this manual in a safe place for later reference.
The separately sold VCP-HD700GX2KIT AV Connection Kit is required to use the
Xacti Library.
For information concerning operating and handling the Xacti Software DVD,
please see the back cover.
Xacti Software DVD 1.4
For Digital Movie Camera
For information concerning operating and handling the camera, please see the
back cover.
Please read these instructions carefully before using. Be sure to keep this manual
for later reference.
Instruction Manual
Digital Movie Camera
VPC-HD800/Xacti Software DVD 1.4
INSTRUCTION MANUAL
About the PDF-file Instruction Manuals
Please see pages ii to xiv in this manual.
Bedienungsanleitungen im PDF-Dateiformat
Auf die Seiten ii bis xiv in dieser Anleitung verwiesen.
À propos des manuels d’instructions en format PDF
Référez-vous aux pages ii à xiv de ce manuel.
Acerca de los manuales de instrucciones en formato PDF
Consulte las páginas ii a xiv de este manual.
Handleidingen in de vorm van PDF-bestanden
Zie pagina ii tot xiv van deze handleiding.
Informazioni sui manuali di istruzioni in file PDF
Vedere le pagine da ii a xiv di questo manuale.
Informações sobre os Manuais de Instrução em PDF
Leia as páginas ii a xiv deste manual.
En
De
Fr
Es
Nl
It
Ru
Pt
Summary of Contents for Xacti VPC-HD800GX
Page 28: ...English 14 k Soft case ...
Page 63: ...49 English SIMPLE MODE NORMAL MODE SIMPLE Mode Playback Menu 3 4 2 1 OK Start slideshow ...
Page 226: ...APPENDICES English 212 MEMO ...
Page 227: ...SANYO Electric Co Ltd ...
Page 228: ......
Page 229: ......
Page 230: ......
Page 231: ......
Page 232: ......
Page 233: ......
Page 234: ......
Page 235: ......
Page 236: ......
Page 237: ......
Page 238: ......
Page 239: ......
Page 240: ......
Page 241: ......
Page 242: ......
Page 243: ......
Page 244: ......
Page 245: ......
Page 246: ......
Page 247: ......
Page 248: ......
Page 249: ......
Page 250: ......
Page 251: ......
Page 252: ......
Page 253: ......
Page 254: ......
Page 255: ......
Page 256: ......
Page 257: ......
Page 258: ......
Page 259: ......
Page 260: ......
Page 261: ......