Samsung DVD-R100E, Instruction Manual
The Samsung DVD-R100E is a versatile DVD player that enhances your home entertainment experience. To ensure easy setup and operation, make use of the included Quick Setup Manual. Download its comprehensive user manual for free at manualshive.com to explore all the features and functionalities of this remarkable product.
Share
Download


Reviews:
No comments
Related manuals for DVD-R100E

DP-201
Brand: Olympus Pages: 2

DR 1000 - Directrec Dictation Kit
Brand: Olympus Pages: 36

VCR-2020
Brand: Exacom Pages: 31

S-VR-0164
Brand: Sunsky Pages: 10

Memory Stick ICD-MS515
Brand: Sony Pages: 2

M2020A - M Microcassette Transcriber
Brand: Sony Pages: 2

ICD-UX300 - Digital Flash Voice Recorder
Brand: Sony Pages: 2

ICD-UX200WHT - Digital Flash Voice Recorder
Brand: Sony Pages: 3

ICD-UX200RED - Digital Flash Voice Recorder
Brand: Sony Pages: 3

ICD-UX502
Brand: Sony Pages: 106

ICD-UX512
Brand: Sony Pages: 128

ICD-UX200 - Digital Flash Voice Recorder
Brand: Sony Pages: 124
RDR VXD655 - DVDr/ VCR Combo
Brand: Sony Pages: 2

RDR VX555 - DVDr/ VCR Combo
Brand: Sony Pages: 2
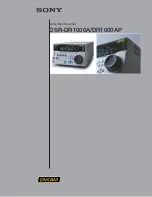
DVCAM DSR-DR1000A
Brand: Sony Pages: 6
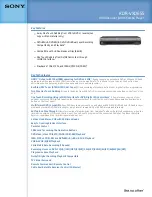
DRX-840U
Brand: Sony Pages: 2

DRX-510UL
Brand: Sony Pages: 2

DRX-720UL
Brand: Sony Pages: 32


