Sabrent EC-
UEI“ U“B
E“ATA TO
IDE
SATA/SATA II ALUMINUM HARD DRIVE ENCLOSURE WITH COOLING FAN
1. Device Setup
3.5
Inch IDE Drive:
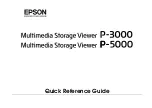
1. Check
if your IDE drive has
Jumpers
, if so make sure they are set to
Master
.
(Note: Please refer to the drive
:
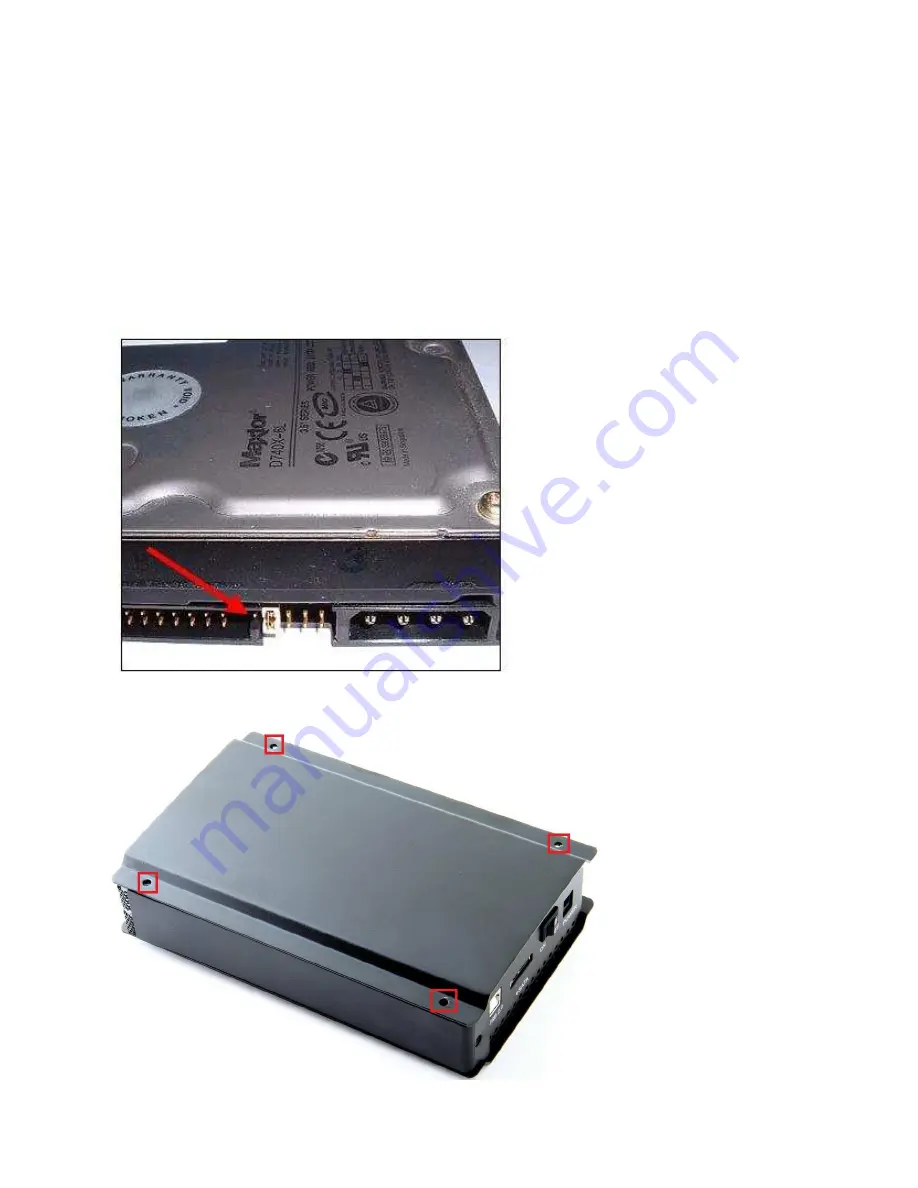
2.
Remove
the
screws,
on the side
without
the fan, using the included screwdriver.
Remove
the
panel:
Figure A:
Summary of Contents for EC-UEIS7
Page 2: ...Figure B 3 Locate the IDE power cable Connect it to the IDE power port on your drive Figure A...
Page 4: ...Figure B Figure C 5 Insert the hard into the enclosure as shown below Figure A...
Page 5: ...Figure B 6 Place the cover back on the enclosure Screw it back in place Figure A...
Page 12: ...4 At the following prompt N 5 C N...
Page 17: ......