Copyright © 2017 Ruckus Wireless, Inc.
Page 1 of 3
Published May 2017, Part Number 800-71062-001 Rev E
C110 Dual Band 802.11ac Wall
Plate Cable Modem Access
Point
Quick Setup Guide
This Quick Setup Guide provides step-by-step instructions
on how to set up your Ruckus Wireless C110 Dual Band
802.11ac Wall Plate Cable Modem Access Point. After
completing the steps described in this Guide, you will be
able to access the C110 and begin providing wired and
wireless network access to users.
The C110 has many options:
•
Includes DOCSIS (or EuroDOCSIS) 3.0 cable modem
•
It can be mounted on a standard USA- or EU-style
single-gang wall outlet box.
•
It has bottom cutouts for one or two bypass cables. The
mounting bracket has locating hooks to keep the
bypass cables aligned with the cutouts when attaching
the C110 to the mounting base.
•
It can have a low-power (0.5W or less) USB device
plugged in.
T
HIS
G
UIDE
IN
O
THER
L
ANGUAGES
•
请从以下网站获得该指南的简体中文版
https://support.ruckuswireless.com
•
Vous trouverez la version française de ce guide à
l'adresse suivante
https://support.ruckuswireless.com
•
https://support.ruckuswireless.com
で ご覧 く だ さ い
•
이
가이드의
한국어
버전은
웹
사이트
(
https://support.ruckuswireless.com
에서
확인하시기
바랍니다
•
Veja a versão em português (Brasil) deste guia em
https://support.ruckuswireless.com
•
Puede ver la versión en español (América Latina) de
esta guía en
https://support.ruckuswireless.com
B
EFORE
Y
OU
B
EGIN
Before deploying Ruckus Wireless products, please check
for the latest software and the release documentation.
•
User Guides and Release Notes are available at
http://support.ruckuswireless.com/documents
•
Software Upgrades are available at
http://support.ruckuswireless.com/software
•
Open Source information is available at
http://opensource.ruckuswireless.com
•
Software License and Limited Warranty are available at
http://support.ruckuswireless.com/warranty
P
ACKAGE
C
ONTENTS
•
C110 Cable Modem Access Point
•
AC/DC power supply
•
Mounting bracket
•
Two 6mm M3 Torx screws (white)
•
Four 1” 6-32 thread Phillips pan head machine screws
•
Two 4” long cable ties
•
Product warranty statement
•
Regulatory flyer
•
Declaration of Conformity, if required
•
This
Quick Setup Guide
R
EQUIRED
T
OOLS
AND
S
ETUP
R
EQUIREMENTS
•
No. 2 Phillips screwdriver and T10 Torx driver for the
mounting bracket screws
•
A standard USA- or EU-style single-gang wall outlet
box
•
Coaxial cable for backhaul
About Peripheral Devices
The C110 can supply power to USB devices through its
USB port on the bottom of the unit.
•
The USB port is intended for low-power devices such
as BLE (Bluetooth low energy) beacons. The maximum
power that the USB port can supply is 0.5W.
S
TEP
1: C
ONFIGURING
THE
C
ABLE
M
ODEM
(
OPTIONAL
)
NOTE
:
The C110 normally receives its latest WLAN AP and
CM firmware and initial configuration settings from the
Ruckus WLAN controller and cable modem termination
system (CMTS) high speed data services equipment,
respectively, when it powers up; if this is the case, then
skip the following steps and continue with
Mounting Bracket to an Outlet Box
If the WLAN AP in the C110 does not receive its latest
firmware and initial configuration settings from the Ruckus
WLAN controller when the AP powers up, or if the WLAN
AP will be operating in a standalone mode, then continue
with these procedures:
•
Step 2: Connecting the Computer to the C110
•
Step 3: Preparing Your Computer for C110 Setup
•
Step 4: Logging Into the C110 Access Point
•
Step 5: Customizing the Wireless Settings
S
TEP
2: C
ONNECTING
THE
C
OMPUTER
TO
THE
C110
NOTE
: The following instructions are for configuring the
C110’s wireless interfaces. If your C110 will receive its
configuration settings from the CMTS/Ruckus WLAN
controller, then skip these steps and proceed to
Attaching the Mounting Bracket to an Outlet Box
NOTE
: For this step you will need a computer with an
Ethernet port, wireless card and a web browser.
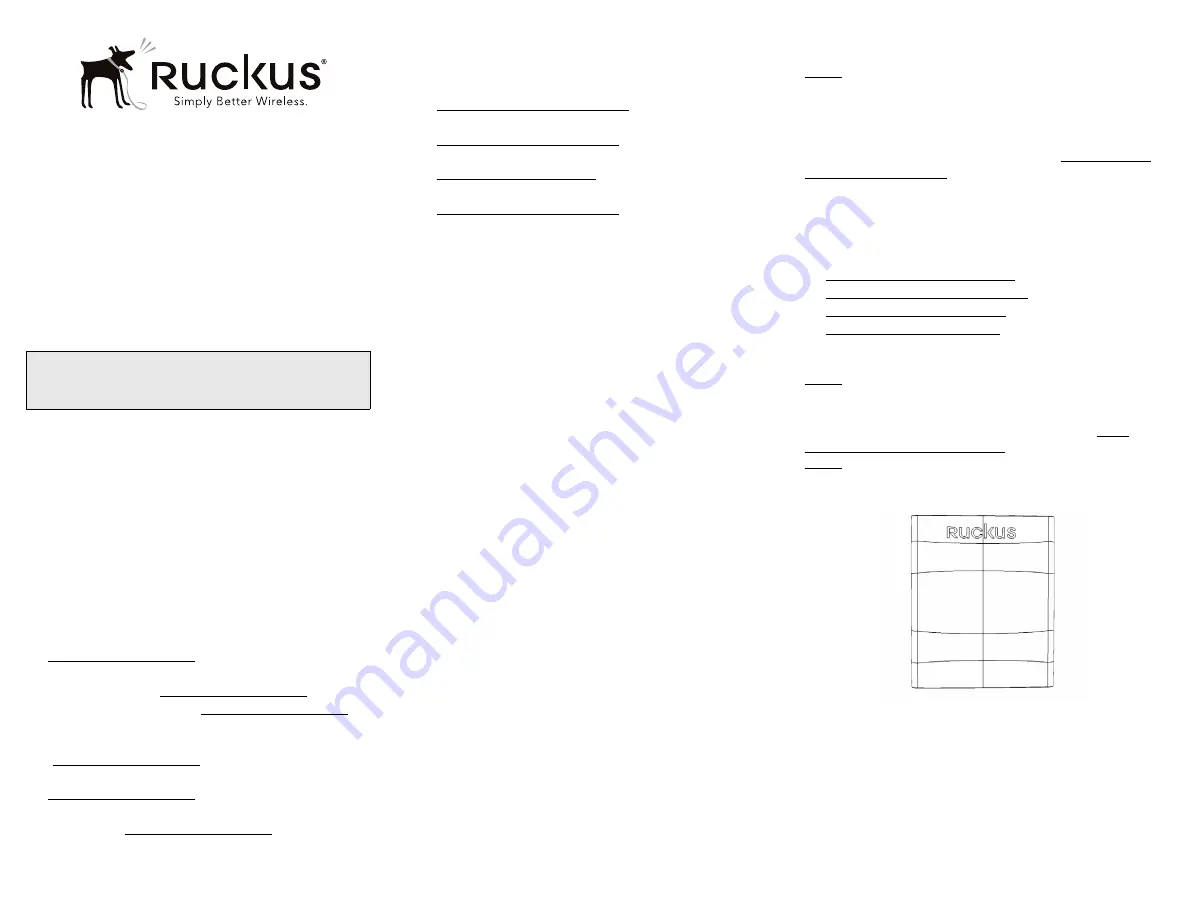
Figure 1: Front view
1
After removing your C110 from its package, place it
next to your computer.
2
Using an Ethernet cable, connect your computer’s net-
work port to either of the Ethernet ports on the bottom
of the C110.
3
Using an AC adapter (included), connect the C110
12VDC
port to a protected power source.
NOTE:
The C110 requires a minimum firmware revision
of SmartZone 3.4.1 or later, or ZoneDirector 9.13.3 or
later to operate.


