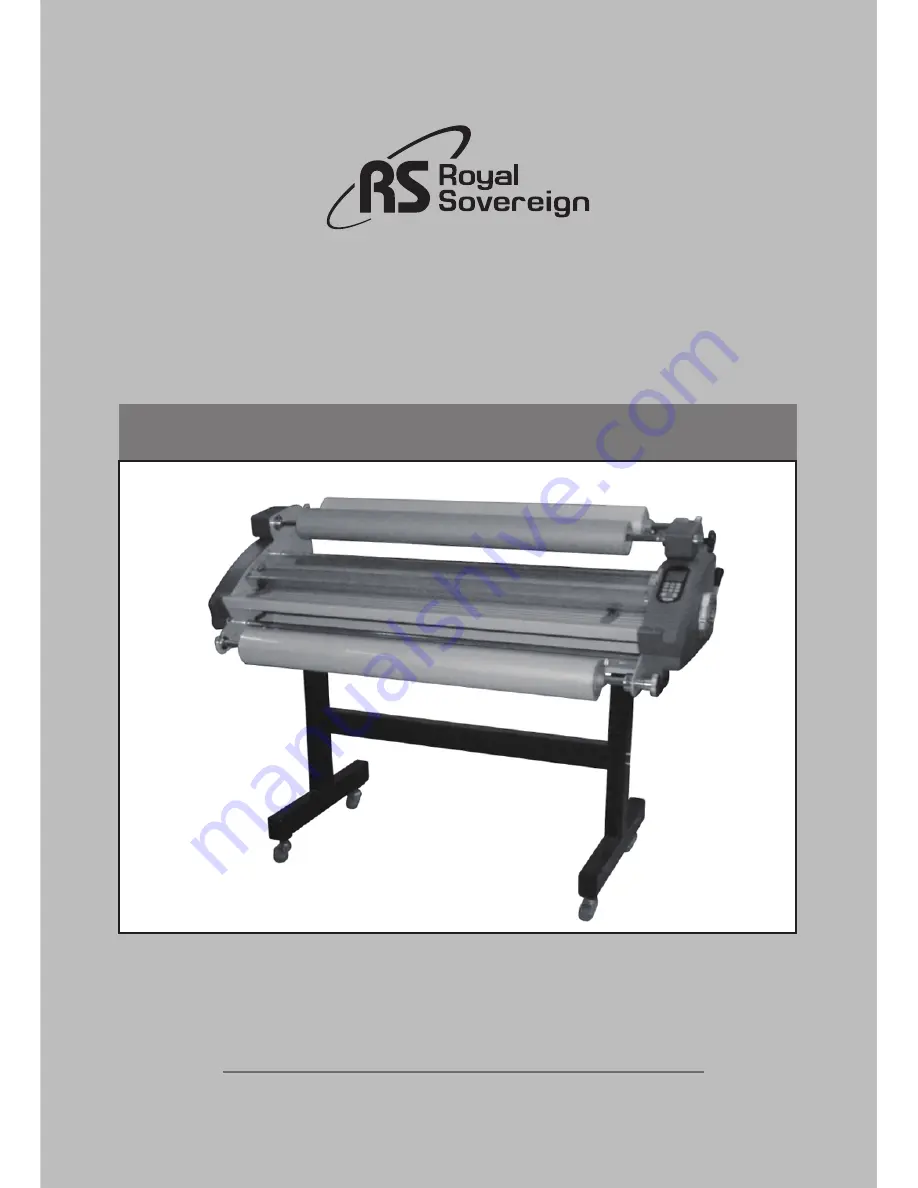
background image

RSL1062  Laminator

OWNER'S MANUAL

Read all instructions carefully before use.

  For any Customer Support needs please choose the  

Customer Support tab 

on www.royalsovereign.com  

Royal Sovereign International Inc.

www.royalsovereign.com

Summary of Contents for RSL1062

Page 1: ...tor OWNER S MANUAL Read all instructions carefully before use For any Customer Support needs please choose the Customer Support tab on www royalsovereign com Royal Sovereign International Inc www roya...

Page 2: ...lm 5 6 Threading Film 6 1 Hot Film 6 7 6 2 Cold Film 8 6 3 Mounting 9 7 Control of Roller Pressure 10 8 Control Panel 11 9 Laminating Steps 9 1 Hot Laminating 12 13 9 2 Cold Laminating 14 10 Using Cro...

Page 3: ...let prior to moving and or repairing 8 Keep out of reach of children 9 Only Royal Sovereign authorized maintenance and service technicians should make repairs 10 Do not attempt to laminate items that...

Page 4: ...PART NAME NO PART NAME 1 UPPER FILM 7 LOWER FILM 2 TAKE UP BOBBIN 8 GUIDE DOCUMENT 3 IDLE BAR 9 HANDLE TENSION 4 HOT ROLLER 10 PRESSURE LEVER 5 SAFETY COVER 11 CONTROL PANEL 6 FRONT TABLE 12 KNOB TENS...

Page 5: ...missing parts are reported and a claim is filed with the reseller immediately upon receipt of shipment Part Name Owner s Manual 2 57mm 3 76mm Auto Grip L wrench 2 5 L wrench 6 Dust Cover Main Power F...

Page 6: ...2 using the special tool fix the auto grips on the film shaft with set screws 3 Set the glossy side of the upper and lower film towards the heat rollers Glossy side is PET film and matte side is therm...

Page 7: ...peed section 4 Remove the Front Table 5 Pull down the upper film over the Safety Cover to the lower film align and center the lower film to upper film Picture 1 6 Rewind the upper film until the film...

Page 8: ...der boards between the pair of main rollers Picture 5 16 Press the Run button and adjust the supply roll tension knobs by rotating clockwise or counterclockwise Turn it until the supply roll films hav...

Page 9: ...e the Lower Idle Bar 5 Reinstall the Front Table and close the Safety Cover 6 Adjust the nip setting to 1 4 6mm 7 Insert and push the leader board until board reaches the nip point 8 Press the Run but...

Page 10: ...the center out Figure 2 3 Adjust the pressure lever to ensure the proper opening Figure 3 4 Flip the image over the upper roller and hold on to the release liner Figure 4 5 Press the foot pedal once a...

Page 11: ...llowing positions OPEN For detaching and cleaning rollers 6MM For laminating 6mm 0 24in thick board 5MM For laminating 5mm 0 2in thick board 3MM For laminating 3mm 0 12in thick board 1 5MM For laminat...

Page 12: ...ECK To check current upper and lower roller temperatures Display automatically returns to the previous settings after 5 blinks 7 ST BY To change to stand by mode temperature will automatically reset t...

Page 13: ...f the manual 6 Use the upper and lower Tension knobs to properly adjust the tension of the roll film Having the tension too tight will slow down or prevent the rollers from turning and if the tension...

Page 14: ...d you may continue laminating 3 When laminating a document much smaller than the film place the document in the center of the film for better lamination results 4 When laminating at high temperatures...

Page 15: ...essing the button choose and set proper speed by using the and button 5 It is when ready is dispalyed on the screen and beeps three times 6 Turn on the take up device and set the proper film tension b...

Page 16: ...ion at the desired point of detachment Figure 1 2 Grasp film with one hand press the cutter downward into the application and slide it first to one end of the application then to the other end to comp...

Page 17: ...Build Up 1 Remove the film from the laminator 2 Use a damp water only cloth and a rubber gum eraser to remove the adhesive on the Teflon metal and silicone rollers NOTE Rub firmly but do not scrub th...

Page 18: ...is lower than the room temperature a Upward curl b Downward curl The main roller temperatures are too low and or lamination speed is too fast Possible Solution a Put the power switch to the I On posit...

Page 19: ...4 5 4 5 3 4 3 3 Func No 1 2 3 4 5 6 7 8 9 Temp Speed Remark Preset User Film thickness 38 micron 1 5 mil 75 micron 3 mil 80 micron 3 2 mil 100 micron 4 mil 125 micron 5 mil 150 micron 6 mil 175 micro...

Page 20: ...C geared Max Temperature control 150 C 302 F Speed control 9 settings Transport type 4 Roller Film core size Auto grip 2 3 Cooling system 2 AC FAN Cross cutter Yes Hot lamination Yes Cold lamination Y...

Page 21: ...is warranty shall be at Royal Sovereign s option to repair or replace any such defective part or product These remedies are only available if Royal Sovereign s examination of the product discloses to...

Reviews: