1
Wireless 1D
Pocket barcode scanner
Quick Guide
M o de l no . : i DC9602 A
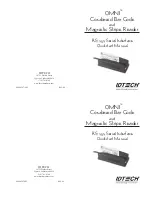
Introduction
Designed primarily for P.O.S. retail environments, the iDC9602A is a wireless
pocket barcode scanner that allows you to scan various barcoded items.
Its in-built Motorola SE955 engine allows you to reliably read 1D barcodes on
various shapes and is a great space-saver for busy or limited workspaces.
It supports iOS, Android, and Windows devices through Bluetooth HID or SPP
communication.
Technical data
*
Light source................650 nm Laser Diode
*
Depth of field..............Up to 1430 mm (dependent on width of barcode).
*
Scan speed.................104(±)12 scan/sec (bi-directional)
*
Best resolution.............0.1 mm (4 mils) – Code 39
*
Transmission range......BT Class 1 (100m, line of sight)
*
Profiles........................HID & SPP profile 2.4GHz Wireless
*
Memory Capacity.........1M memory inside
*
Input voltage...............5V/DC
*
Rechargeable battery....3.7V 900mA Li-Ion battery
*
Operating time.............25,000 readings when full charged
*
Operating conditions.....-0
℃
to 50
℃
*
Dimensions..................100 x 43 x 24.5mm (L x W x H)
*
Symbologies:
UPC-A, UPC-E, UPC-E1, EAN-8, EAN-13, Bookland EAN, Code 128,
UCC/EAN-128, ISBT 128, Code 39, Trioptic Code 39, Code 32 (Italian Pharma
Code), Code 93, Code 11, Interleaved 2 of 5, Discrete 2 of 5, Chinese 2 of 5,
Codabar, MSI, GS1 DataBar
Delivery content
* Pocket Barcode scanner x 1
* Quick instructions x 1
* Mini USB cable x 1((for charging only)
* Strap x 1
Limited Warranty
Riotec provides one-year limited warranty.
Riotec will not warranty any product which has been subjected to improper
usage, neglect or unauthorized repair or installation.
Besides, warranty does not cover the faulty usages or consumable parts.
(Cable & battery are consumable.)
Safety instructions
Read the operating instructions carefully and especially observe the safety
information. If you do not follow the safety instructions and information on
proper handling in this manual, we assume no liability for any resulting personal
injury or damage to property.
*
The product is equipped with a Class 2 laser.
*
Never look into the laser beam and never point it at people or animals. Laser
radiation can seriously damage your eyes.
*
Do not point the laser beam at mirrors or other reflective surfaces. The
uncontrolled, reflected beam may strike people or animals.
*
Don’t put scanner in places excessively high temperatures, such as expose
under direct sunlight
*
Don’t use scanner in extremely humid area or drastic temperature change
*
The rechargeable battery is permanently built into the product and cannot be
replaced.
*
Never damage the rechargeable battery. Damaging the casing of the
rechargeable battery might cause an explosion or a fire!
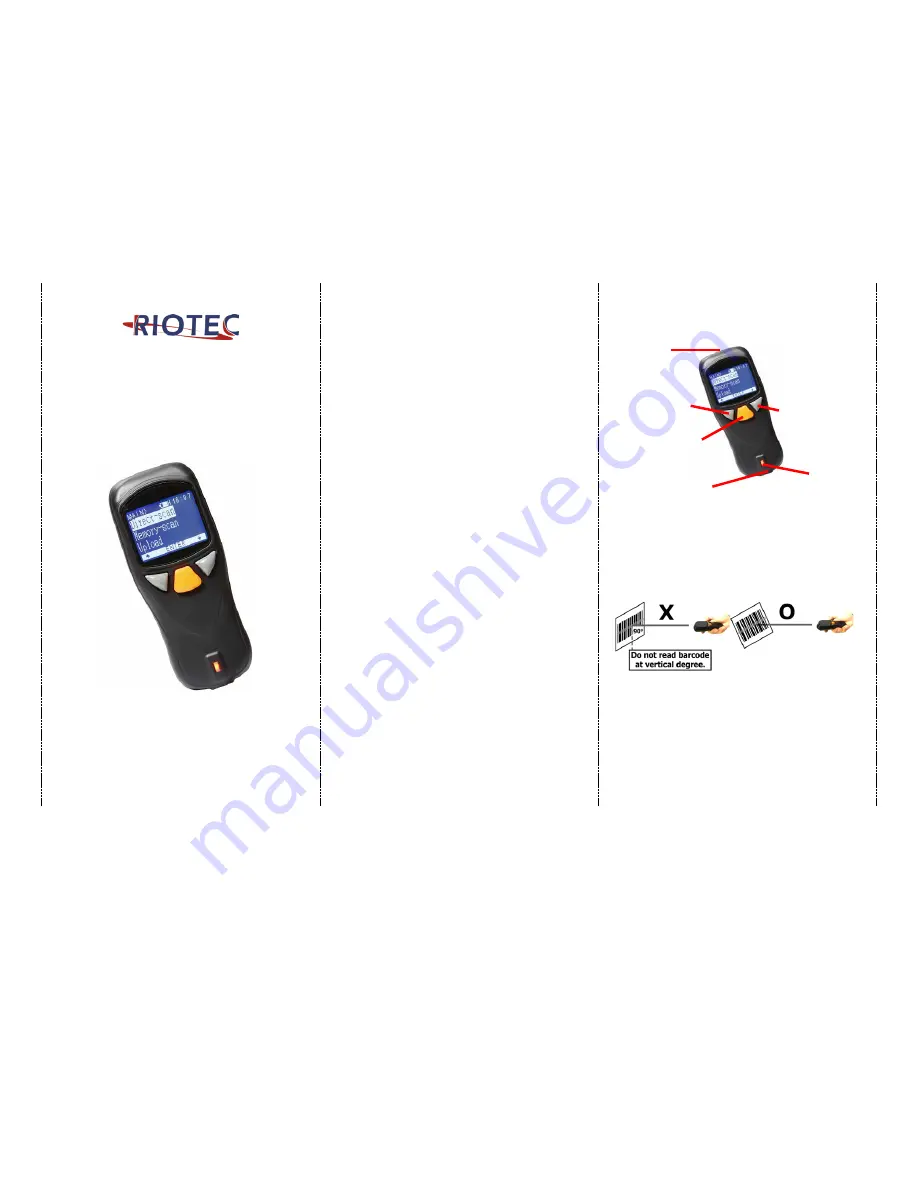
Operating elements
**
Please switch ON and charge scanner for 3~4 hours at first time
before use.
** In the beginning, you must press the orange trigger button for
8 seconds to turn on the pocket barcode scanner. Then, press
it for scanning barcodes & waking up from sleeping mode.
Power Saving button:
Press the button for 2~3
seconds then enter power
saving mode
SCAN/ENTER/Power ON
Button
(For iOS Device ONLY)
the button to raise and lower
ON-Screen Keyboard
Indicator (LED)
Exit
Window
Mini USB port
with protective cover
charge scanner via mini USB host cable.