

Network Settings Guide
Confi rming the network
environment
Con
fi
rm the network environment you want to
use.
Perform the following procedure using a
computer on the network to which the printer
will be connected. The following procedure
uses Windows 7 as an example.
Click the [Start] menu.
Enter “cmd” in the [Search
programs and
fi
les]
fi
eld, and
then press the [Enter] key.
The command prompt appears.
Enter “ipcon
fi
g /all”, and then
press the [Enter] key.
The details about the network
environment appear.
1
2
CVW601
Dhcp Enabled
1.
“Yes” is displayed if the addresses on the
screen were assigned by DHCP. The network
settings can be automatically con
fi
gured.
IP address, subnet mask, and default gateway
2.
The IP address, subnet mask, and default
gateway that have been assigned to the
computer are displayed.
For manual con
fi
guration, use the same
values as displayed here.
Confi guring network
settings
About network connection
❖
methods
Network connection methods vary depending
on the network environment and the machine
type. Select the method from among the
following that is most appropriate for your
network environment, and then see the section
for your machine type.
Connect the printer to the
router or the hub using the
Ethernet cable.
Hold down the [Job Reset] key
and turn on the printer.
CVW254
When the Power indicator lights up and
the Alert indicator starts to
fl
ash, release
the key.
The printer’s power is turned on, and the
test page is printed out.
Printing starts approximately 30 seconds
after the Alert Indicator starts blinking.
Start Smart Organizing
Monitor.
CTT065
The following screen appears if the
connection has not been established yet.
The following screen appears if the
connection has not been established yet.
Click [Connect Printer].
Click [Search Network Printer].
A list of printers currently connected to
the network appears.
Select your printer, and then
click [OK].
If the printer information
appears after a while, the
connection was established
successfully.
If nothing appears on the screen, repeat
this procedure.
The network settings are
complete.
The next step is to install the printer
driver from the provided CD-ROM.
For details, see
User Guide
on the
provided CD-ROM.
IPv4 address manual confi guration
B.
(DHCP disabled)
The printer’s MAC address is required.
•
See
•
Quick Installation Guide
, and have
the printer ready to print.
To connect to a broadband router or to a hub
•
that is connected to a broadband router:
→
A. IPv4 automatic con
fi
guration (DHCP
enabled)
The DHCP function on the broadband router
allows you to automatically con
fi
gure the
necessary settings.
To connect to a hub that is connected to the
•
network
→
A. IPv4 automatic con
fi
guration (DHCP
enabled)
If IPv4 automatic setting is not available:
•
→
B. IPv4 manual setting (DHCP
disabled)
To connect to a LAN that consists of only
•
hubs
→
B. IPv4 manual setting (DHCP disabled)
To connect with IPv6
•
→
See
User Guide
on the provided CD-
ROM.
If you want to connect to a large network that
•
is confi gured with various servers, consult
your network administrator.
SP 310
DN
/310
DNw
/311
DN
/311
DNw
Preparation
❖
Use Smart Organizing Monitor to connect the
printer to the network.
Install Smart Organizing Monitor
fi
rst on a
computer on the same network.
For details, see
User Guide
on the provided
CD-ROM.
IPv4 address automatic confi guration
A.
(DHCP enabled)
A router with DHCP functionality or a DHCP
•
server is required.
Make sure the USB cable is not connected to
•
the printer beforehand.
Connect the printer to the
router or the hub using the
Ethernet cable.
Turn on the printer.
Start Smart Organizing
Monitor.
CTT065
Read this manual carefully before you use the product and keep it handy for future reference.
For safe and correct use, please be sure to read “Safety Information” before using the machine.
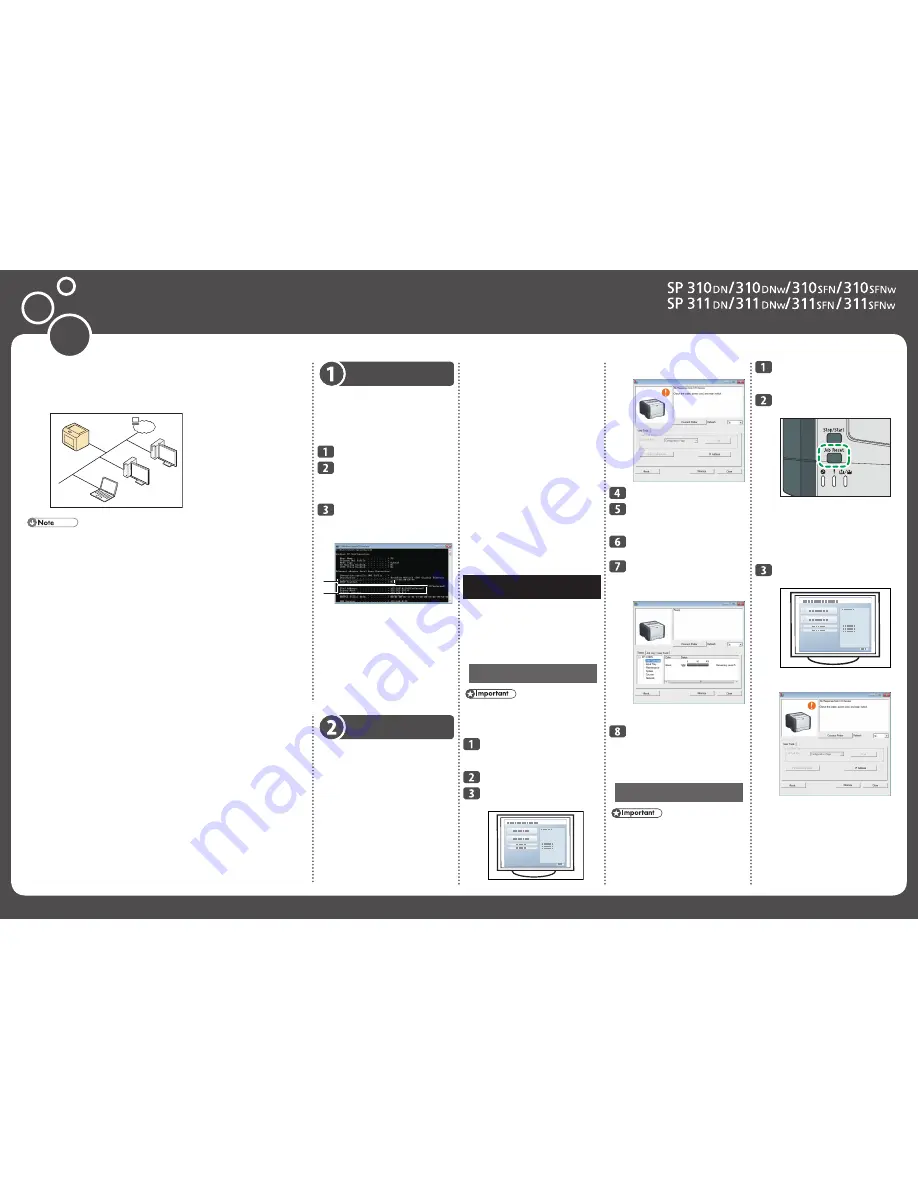
This manual explains how to connect this printer to the network with an Ethernet cable.
By connecting to the network, the printer can be used as a network printer.
CQT631
If you want to connect the printer directly to a computer, connect the printer and the computer using
•
a USB cable. For details, see
Quick Installation Guide
on the provided CD-ROM.
Terminology
❖
This section introduces you to the terminology used here or displayed on the screen.
Broadband router:
A device for connecting to the Internet, mainly used in home networks.
It combines a DHCP function and a few Ethernet ports, which makes it possible to easily establish a
LAN.
Hub:
A device that contains multiple Ethernet ports and that can be used to establish a LAN.
A hub does not usually contain DHCP functionality, but such functionality is available if the hub is
connected to a router that has DHCP functionality or a DHCP server.
MAC address:
A unique identi
fi
er assigned to each network communication device.
MAC addresses are registered by the manufacturer, and it cannot be changed.
IP address:
An identi
fi
er assigned to each device on the network or a LAN.
An IP address is like a home address on the network.
IPv4/IPv6:
There are two types of IP addresses: IPv4 and IPv6.
The term “IP address” usually refers to an IPv4 address. An IPv6 address is referred to as an “IPv6
address”.
IPv6 addresses might not be available depending on the network environment.
DHCP:
A protocol that assigns necessary information, such as an IP address, to devices on the network on a
temporary basis.
This type of functionality provides reliable and simple network con
fi
guration without user
intervention.
This function is convenient for users who are not familiar with network con
fi
guration.
LAN:
A network that spans a relatively small area such as a single building.
It enables connections between computers, printers, and other communication devices to interact
with each other on the network.


