


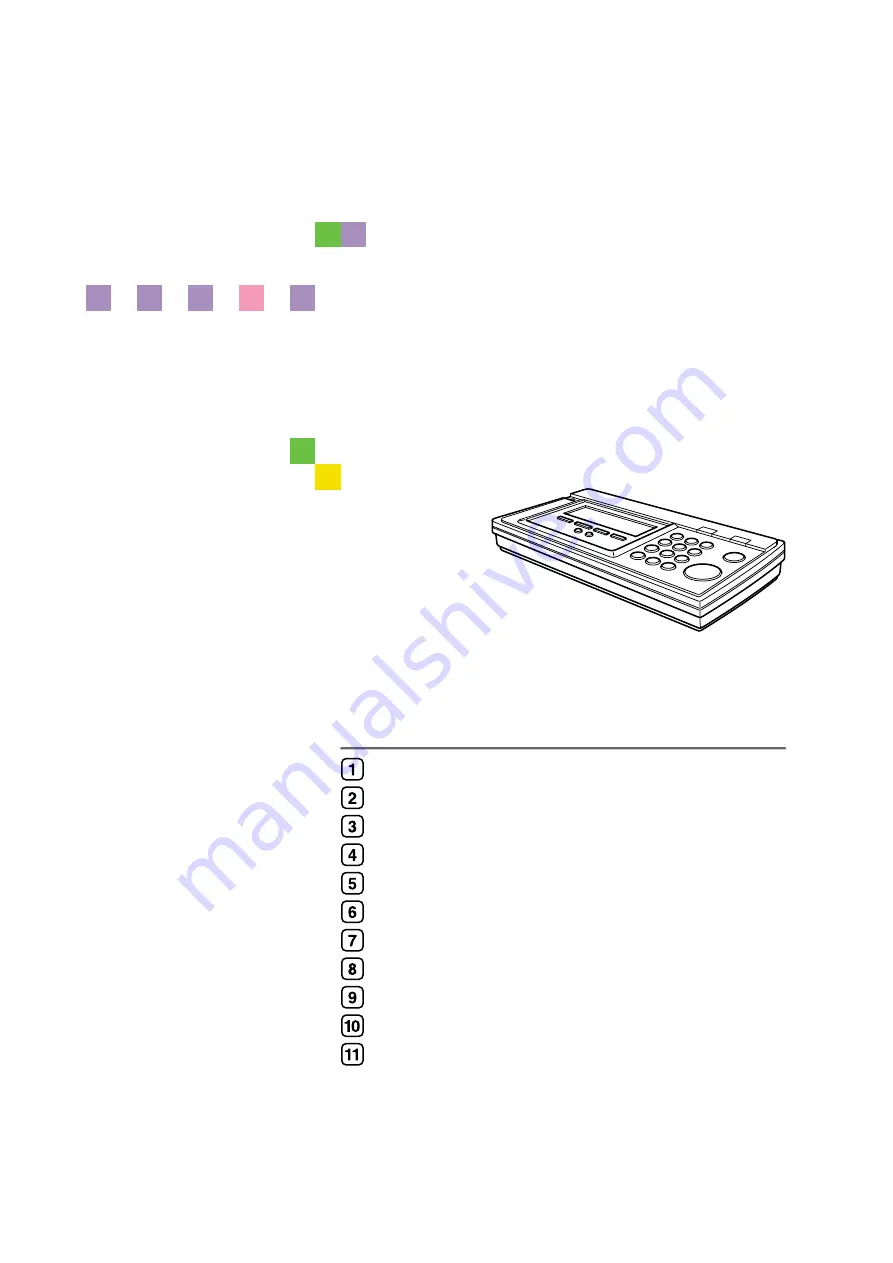
Network Scanning Unit
Type A
Operating Instructions
Read this manual carefully before you use this machine and keep it handy for future reference. For safe and correct use, be sure to read the Safety
Information in this manual before using the machine.
What You Can Do With This Machine
Configuring the Scanner Settings
Setting Originals on a Scanner
Sending Scan File by Scan to Folder
Sending Scan File by Scan to FTP
Sending Scan Files Using Delivery Server
Summary of Contents for Network Scanning Unit A
Page 8: ...vi ...
Page 28: ...What You Can Do With This Machine 20 1 ...
Page 36: ...Setting Up the Machine 28 2 ...
Page 118: ...Configuring the Scanner Settings 110 3 ...
Page 138: ...Sending Scan File by E mail 130 5 ...
Page 148: ...Sending Scan File by Scan to Folder 140 6 ...
Page 154: ...Sending Scan File by Scan to FTP 146 7 ...
Page 164: ...Printing Scanned Image Files 156 8 ...
Page 168: ...Sending Scan Files Using Delivery Server 160 9 ...
Page 172: ...Using the Network TWAIN Scanner Function 164 10 ...
Page 204: ...196 EN USA G829 8602 ...
Page 206: ...Network Scanning Unit Type A Operating Instructions EN USA G829 8602 ...


