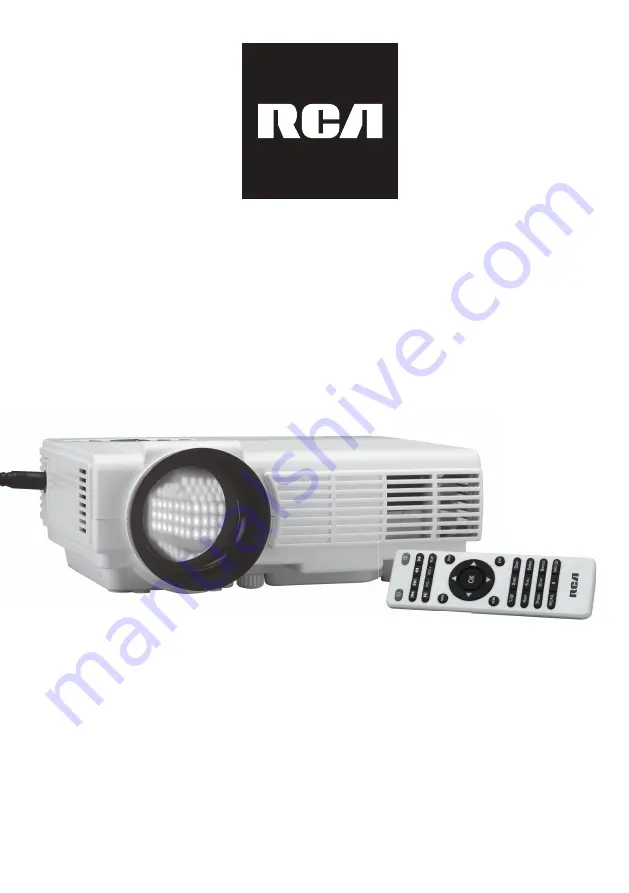
background image


MODEL NO. RPJ112

MULTIMEDIA PROJECTOR

,16758&7,210$18$/

3/($6(5($'%()25(23(5$7,1*7+,6(48,30(17

7KLVSURGXFWLVPDQXIDFWXUHGDQGVROGE\&XUWLV,QWHUQDWLRQDO/WG
5&$WKH5&$ORJRWKHWZRGRJV1LSSHUDQG&KLSSHUORJRDUH
UHJLVWHUHGWUDGHPDUNVRUWUDGHPDUNVRI5&$7UDGHPDUN
0DQDJHPHQWDQGDUHXVHGXQGHUOLFHQVHE\&XUWLV,QWHUQDWLRQDO/WG
$Q\RWKHUSURGXFWVHUYLFHFRPSDQ\WUDGHRUSURGXFWQDPHDQGORJR
UHIHUHQFHGKHUHLQDUHQHLWKHUHQGRUVHGQRUVSRQVRUHGE\
5&$7UDGHPDUN0DQDJHPHQWRULWVDIILOLDWHV

Summary of Contents for RPJ112

Page 1: ...QDWLRQDO WG 5 WKH 5 ORJR WKH WZR GRJV 1LSSHU DQG KLSSHU ORJR DUH UHJLVWHUHG WUDGHPDUNV RU WUDGHPDUNV RI 5 7UDGHPDUN 0DQDJHPHQW DQG DUH XVHG XQGHU OLFHQVH E XUWLV QWHUQDWLRQDO WG Q RWKHU SURGXFW VHUYLFH FRPSDQ WUDGH RU SURGXFW QDPH DQG ORJR UHIHUHQFHG KHUHLQ DUH QHLWKHU HQGRUVHG QRU VSRQVRUHG E 5 7UDGHPDUN 0DQDJHPHQW RU LWV DIILOLDWHV ...

Page 2: ...eptacles and the point where they exit from the apparatus 10 Only use a achments accessories specified by the manufacturer 11 Unplug this apparatus during lightning storms or when unused for long periods of me 12 Refer all servicing to qualified service personnel Servicing is required when the apparatus has been damaged in any way such as power supply cord or plug is damaged liquid has been spilled ...

Page 3: ...posure 5 WARNING Changes or modified to this unit not expressly approved by the party responsible for compliance could void the user s authority to operate the equipment 6 WARNING Use of this unit near fluorescent ligh ng may cause interference regarding use of the remote If the unit is displaying erra c behavior move away from any fluorescent ligh ng as it may be the cause 7 WARNING Shock hazard Do ...

Page 4: ...installed and used in accordance with the instruc ons may cause harmful interference to radio communica ons However there is no guarantee that interference will not occur in a par cular installa on If this equipment does cause harmful interference to radio or television recep on which can be determined by turning the equipment off and on the user is encouraged to try to correct the interference by ...

Page 5: ...s Install USB Device And Micro Sd Card TF Using SD Card and USB Playback Using Projector Menu 1 0 Using Projector Menu 2 0 Using Projector Menu 3 0 Using Projector Menu 4 0 Specifications P1 P2 P3 P4 P4 P5 P5 P6 P7 P8 P8 P9 P9 P10 P11 P11 P12 P13 P14 P15 P16 P16 P17 P18 P19 P20 P21 4 MODEL NO RPJ112 MULTIMEDIA PROJECTOR 16758 7 21 0 18 3 6 5 25 23 5 7 1 7 6 48 30 17 7KLV SURGXFW LV PDQXIDFWXUHG DQ...

Page 6: ...ver the lens with the included lens cap Remove Close The Lens Cover Install The Lens Hood 5 CLOSE REMOVE LENS COVER LENS COVER LENS HOOD LENS COVER REMOVE INSTALL LENSGHOOD LENS COVER REMOVE INSTALL Close the lens cover when unit not in use For protect the projector lens ...

Page 7: ...d in rear configurations please use a screen suitable for rear projection 6 FRONT PROJECTION FRONT PROJECTION REAR PROJECTION REAR PROJECTION THE CENTER OF LENS SCREEN P P P P P Square Rectangle To reduce image distortion it is recommended to position the projector as close to the center of the screen as possible A projector mount is required to install the projector in a ceiling ...

Page 8: ...hase a projector mount recommended by an installation professional and follow the instructions that come with the mount Before installing the projector in the ceiling please check to make sure the ceiling structure can support the weight of the projector and the mount If in doubt please ask the advise from an installation professorial Note Projector mount and screw s not included ...

Page 9: ...the center of the screen as possible KEYSTONE CORRECTION KNOB Adjust the focus by turning the knob while observing the image pixels near the center of the screen Optimal focus is obtained when the pixels are clearly visible Depending on the projected screen size the focus near the screen edges may be less sharp than the screen center Then sharpen the image by rotating the focus knob Keystone image...

Page 10: ... sliding to open The ba ery cover can then be li ed away Fit the correct ba eries not included referring to the polarity markings Finally replace the cover NOTES Ba eries shall not be exposed to excessive heat such as sunshine fire Be sure that the ba eries are installed polarity correctly Do not mix old and new ba eries Only same or equivalent type ba eries as recommend are to be used Do not dispo...

Page 11: ...ETVIGATOR Bu ons 2 LENS 3 FOCUS ADJ Knob 4 TRAPEZOIDAL ADJ Knob 5 POWER Indicator 6 POWER Bu on 7 RETURN Bu on 8 MENU Bu on 9 SOURCE Bu on 10 IR Window 11 ANGEL ADJ Knob 12 EAR PHONE Jack 13 AV OUT Jack 14 TF Card Slot Micro SD Card 15 HDMI Port 16 USB Port 17 VGA Port OK ...

Page 12: ...lect screen item of projector menu EXIT Press the bu on to exit the projector menu Press the bu ons to fast search forward and rewind on USB TF Press the bu ons to search next or previous file on USB TF Press the bu ons to control the volume from the projector Press the bu on to play pause the connect USB TF card Press the bu on to rotate mirror projector screen Press the bu on to select image scal...

Page 13: ...on unit and power indicator will light GREEN 3 Press the bu on to HDMI mode and the video of HDMI device will show on projector screen 4 Press the bu on to turn off unit power H Not Included DMI CABLE In rare cases if the projector s speaker has no sound when playing a DVD movie in a player connecting to the HDMI input please check the player s digital audio settings and make sure it is set to Auto...

Page 14: ... on to VGA mode and the video of VGA device will show on projector screen 4 Press the bu on to turn off unit power Please refer to the following table to adjust the output signal from computer To V Computer cable not included GA PORT NOTE BOOK DECK TOP OR COMPUTER CABLE COMPUTER CABLE Type Resolu on Frequency Field Frequency VGA 640x480 31 5 60 34 7 70 37 9 72 37 5 75 31 4 50 35 1 56 SVGA 800x600 3...

Page 15: ...r connect press the bu on to turn on unit and power indicator will light GREEN 4 Press the bu on to AV mode and the video of AV device will show on projector screen 5 Press the bu on to turn off unit power AV cable not include Connec ng a video player by AV cable 14 LEFT CHANNEL RIGHT CHANNEL VIDEO CABLE VIDEO PLAYER VIDEO CABLE YELLOW AUDIO LEFT CHANNEL WHITE AUDIO RIGHT CHANNEL RED ...

Page 16: ...wer of your projector before connec on 2 Connect the audio cable by referring to the figure below 3 A er connec on turn both units on then audio will be heard from the external amplifier s speakers 4 Switch both units off a er use Audio cable not include Connec ng audio output to an external amplifier 15 AUDIO CABLE ...

Page 17: ...nd the power indicator will light RED 2 Install the USB device into USB port 3 A er connect press the bu on to turn on unit and power indicator will light GREEN 4 Press the bu on to USB TF mode use bu ons to search the file and press the bu on to start play back 5 Press to fast search forward and rewind 6 Press to search next or previous file 7 Hold bu on to stop playback Note Please switch off the p...

Page 18: ...SSGOK PRESSGOK USE TO SELECT PRESSGOK PRESSGOK Use bu ons to select manual page This manual showed on right upper of view screen Use or to select different language Use bu ons to select Y or N If chose Y unit go to factory reset To select different angle and mirror the projector screen To different dura on me to off 5 sec 10 sec 15 sec 30 sec Service use only OK OK English Hrvatski Nederlands Chinese ...

Page 19: ...icture effect to So Medium Vidid User Use or to select Red Green Blue digit If chose User item Use to select different color temperature to So Medium Vidid User Use or to select Red Green Blue digit If chose User item Use bu ons to select screen ra o 4 3 or 16 9 Use bu ons to select Off Low Middle High Default Use bu ons to select PC se ng to Auto adjust Horizontal Pos Ver cal Pos Size Phase Use to s...

Page 20: ... TO SELECT USE TO SELECT USE TO SELECT PRESSGOK PRESSGOK USE TO SELECT PRESSGOK PRESSGOK Use bu ons to select manual page This manual showed on right upper of viewing screen Use to select different sound effect Medium Movie Music Sports User Follow below figure Use to select Balance level to 0 50 To select Off On Use to select different sound effect to Off SRS TruSurround Surround OK OK User Define Parame...

Page 21: ...ESSGOK PRESSGOK PRESSGOK PRESSGOK Use bu ons to select manual page This manual showed on right upper of viewing screen Use to select clock to Day Month Year Hour Minutes Use to select mer turn off to Day Hour Minutes Use to select mer turn on to Day Hour Minutes To select sleep mer turn to Off 10min 20min 30min 60min 90min To select auto mer func on to turn On Off Press bu on to enter projector menu ...

Page 22: ...port SD card up to 32GB Support format mpeg1 Mpeg2 mpeg4 mp3 Jpeg Weight 0 8KG Dimension 198 x 153 x 68 5 mm Light source type LED Display na ve resolu on 800 x 480 HDMI input supported video resolu on Power consump on Opera ng 36W Standby 0 8W 21 1080p 1080i 720p 576i 480p and 480i For service assistance and product information please call 1 800 968 9853 Pour obtenir assistance et information app...

Page 23: ...excluded Save as herein provided C I Service Dept Canada or C I Service Dept USA shall not be responsible for any damages to persons or property including the unit itself howsoever caused or any consequential damages arising from the malfunction of the unit and by the purchase of the unit the purchaser does hereby agree to indemnify and save harmless C I from any claim for damages to persons or pr...

Reviews: