


Broiling/Broiling Guide 23, 24
Light; Bulb Replacement 14, 32
Roasting/Roasting Guide 21, 22
Thermostat Adjustment–
Model
LGB346
Contents
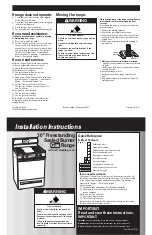
Use and Care & Installation
of Your Gas Range
Summary of Contents for LGB346
Page 58: ...53 The Problem Solver NOTES ...
Page 59: ...54 NOTES ...