Raisecom RC3000, User Manual
Introducing the RODCRAFT RC3000 - a powerful tool designed to make your work easier! Its efficient performance and durability will impress any user. To ensure you maximize its potential, don't forget to download the Operation Manual from manualshive.com. This detailed and comprehensive manual is available for free download, offering step-by-step instructions and valuable insights.
Share
Download


Reviews:
No comments
Related manuals for RC3000

2750
Brand: Keithley Pages: 179

123448
Brand: VOLTCRAFT Pages: 90

G1000 Series
Brand: WATANABE Pages: 44

MIE-RB10B
Brand: Rebel Pages: 40

KM 6030
Brand: Kusam-meco Pages: 16

81783
Brand: Vorel Pages: 6

EVM760
Brand: Perel Pages: 50

XDM2041 Series
Brand: Owon Pages: 46

CA450
Brand: YOKOGAWA Pages: 84

BM805s
Brand: Brymen Pages: 16

TBM157
Brand: Brymen Pages: 24

BM885
Brand: Brymen Pages: 24
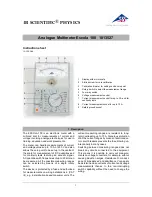
Escola 100
Brand: 3B SCIENTIFIC Pages: 8

QK-A031
Brand: Quark-Elec Pages: 5

PAN 184
Brand: PANCONTROL Pages: 192

30XR
Brand: Meterman Pages: 16

2704C
Brand: B&K Pages: 5

CM-METER-01
Brand: SureCall Pages: 2


