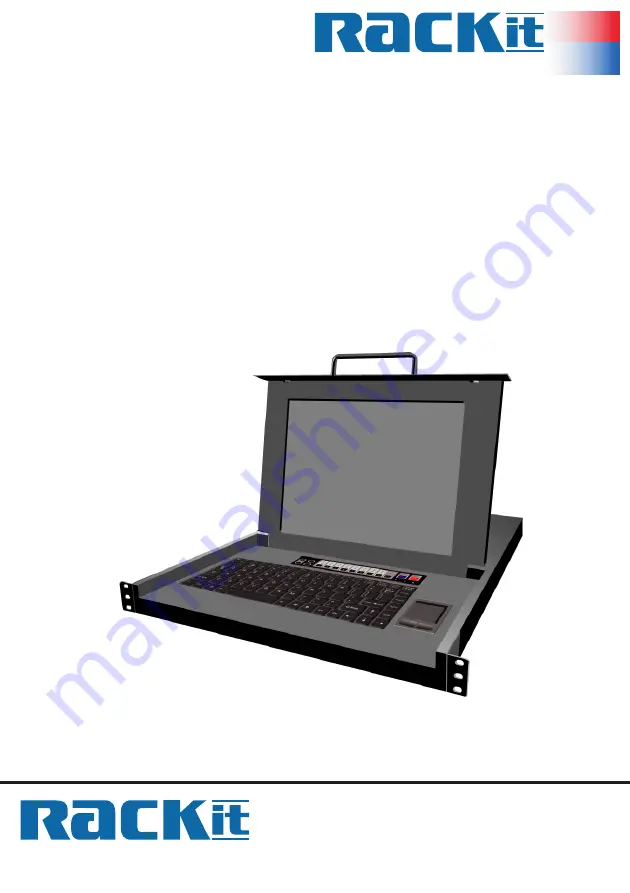
background image

MR

S

-

8

1

5

Rack-Mount


15" 

Flat Panel Console

 w/KVM Switch

Technology Corporation

®

Expert Solutions for the LAN Environment

Rackit

®

 Technology Corporation

274 Madison Avenue, New York, NY 10016
Tel: (212) 679-0050 • Fax: (212) 679-0040

1 . 8 0 0 . 6 3 6 . 3 4 3 4

www.RackitTechnology.com

Technology Corporation

www.RackitTechnology.com

®

Installer/User Guide 

Installer/User Guide 

Summary of Contents for MRS-815

Page 1: ...echnology Corporation Expert Solutions for the LAN Environment Rackit Technology Corporation 274 Madison Avenue New York NY 10016 Tel 212 679 0050 Fax 212 679 0040 1 8 0 0 6 3 6 3 4 3 4 Technology Cor...

Page 2: ...iven to the correctness of the con tents The information in this document is subject to change without notice Rackit Technology Corporation is not liable for any injury or loss that results from the u...

Page 3: ...out the Chassis 8 Securing the Unit 8 About the Rear Ports 10 About the Keyboard 11 About the Touchpad 11 Using the Control Panel 12 Installation 13 About the Power Supply 14 Making the Connection 15...

Page 4: ...he following items One 1U rack mount console Two keys Two rear L brackets Pre installed KVM cables if purchased 8 cables included as of October 1 2003 3 in 1 cable for PS 2 mouse PS 2 keyboard and VGA...

Page 5: ...e using a power cord that didn t ship with the equipment ensure that it is rated for the voltage and cur rent labeled on the equipment s electrical ratings label The voltage rating on the cord should...

Page 6: ...act a space as possible Additionally a key attribute is the built in KVM switch which lets administrators instantly connect to any server on the net work and remotely control any computer connected to...

Page 7: ...wo 2 watt stereo speakers SCREEN ADJUSTMENT CONTROLS Menu auto brightness pitch contrast color Built in OSD microchip Plug Play VESA DDC1 and DDC2B POWER BUTTON On Off button indicator MUTE BUTTON Spe...

Page 8: ...he MRS 815 we strongly recommend ones that possess optimum signal integrity and which are of sufficient length to connect the unit with the interfacing computer About the Rack Mounted Chassis The chas...

Page 9: ...it To unlock the unit 1 Insert the key into the lock 2 Turn the key to the left counterclockwise A 3 Press the sliding lock outward in the direction of the arrow B 4 Lift the cover open with the hand...

Page 10: ...le plugs in here from the interfacing computer Once plugged in the touchpad on the console functions normally C Audio The audio cable plugs in here from the interfacing com puter Once plugged in the s...

Page 11: ...About the Touchpad This is a standard touchpad pointing device Once the unit has been con nected to the interfacing computer it functions according to the operating sys tem driving it Sliding your fi...

Page 12: ...options C Auto Automatically sets the monitor defaults for horizontal and vertical position brightness contrast and screen resolution As MRS 815 adjusts the monitor the message Auto tuning appears D...

Page 13: ...rack unit space 1U when folded MRS 815 supports mounting depth of 23 to 36 inches To mount the MRS 815 use the screws that came with your server rack to mount the brackets onto the rack on all four c...

Page 14: ...erload power outlets or extension cords An overload can result in fire or electric shock Do not use an extension cord unless absolutely necessary Using an improper extension cord could result in a ris...

Page 15: ...ctor to the purple key board port on the back of the console Connect the other end of the keyboard line to the computer skeyboardport 4 Connect the blue VGA connector to the VGA port at the back of th...

Page 16: ...g up on the handle The monitor keyboard and touch pad are immediately accessible If the MRS 815 is blocked from above by other devices pull the unit out toward you sliding it away from the mounted cha...

Page 17: ...s you can go to the Windows support Web site and download updated drivers if available After downloading the driver installation package run the setup pro gram and follow the on screen instructions to...

Page 18: ...position of the screen Press plus to move the screen up Press minus to move it down H Position adjusts the horizontal position of the screen Press plus to move the screen left Press minus to move it r...

Page 19: ...guage Highlight Return and press menu to exit the Language submenu OSD Adjust Adjusts OSD menu options OSD H Position adjusts the horizontal position of the OSD menu on the screen Press plus to move t...

Page 20: ...lume Volume raises and lowers the audio volume Press plus to increase the volume Press minus to decrease the volume Recall resets audio settings to the factory default values Return after making your...

Page 21: ...be sure none of the component wires are loose or detached Q The equipment won t turn on A Check to make sure the power cord is plugged in completely and that your power supply matches the MRS 815 devi...

Page 22: ...quency energy and if not installed and used in accordance with the instruc tions may cause harmful interference to radio communications Operation of this equipment in a residential area is likely to c...

Page 23: ...ted current up to and including 16 A EN 60950 Safety of Information Technology Equipment NOTE EN 55022 emissions requirements provide for two classifications Class A is for typical commercial areas Cl...

Page 24: ...24...

Reviews: